How to Arrange Pilates Machines to Maximize Your Studio Floor Space
Floor space utilization is one of the most critical factors that determine a Pilates studio’s profitability, class capacity, and overall operational efficiency. Many new studio owners either waste valuable square footage with overly sparse machine placement or overcrowd equipment, leading to restricted client movement, unsafe teaching conditions, and poor customer experience.
Smart Pilates machine arrangement balances maximum equipment density, unobstructed training range, safe instructor access, and smooth studio traffic flow. With scientific layout rules and standardized clearance measurements, even small studios can accommodate more machines without sacrificing class quality or safety. This guide shares professional, industry-standard layout strategies to help you optimize your studio floor plan and boost revenue potential.
1. Standard Clearance Rules for All Pilates Equipment (Industry Benchmarks)
Every Pilates machine requires fixed surrounding clearance for full-range client movement, instructor cueing, and safe entry and exit. These measurable spacing standards are the foundation of high-efficiency studio layout, suitable for all commercial boutique studios and training centers.
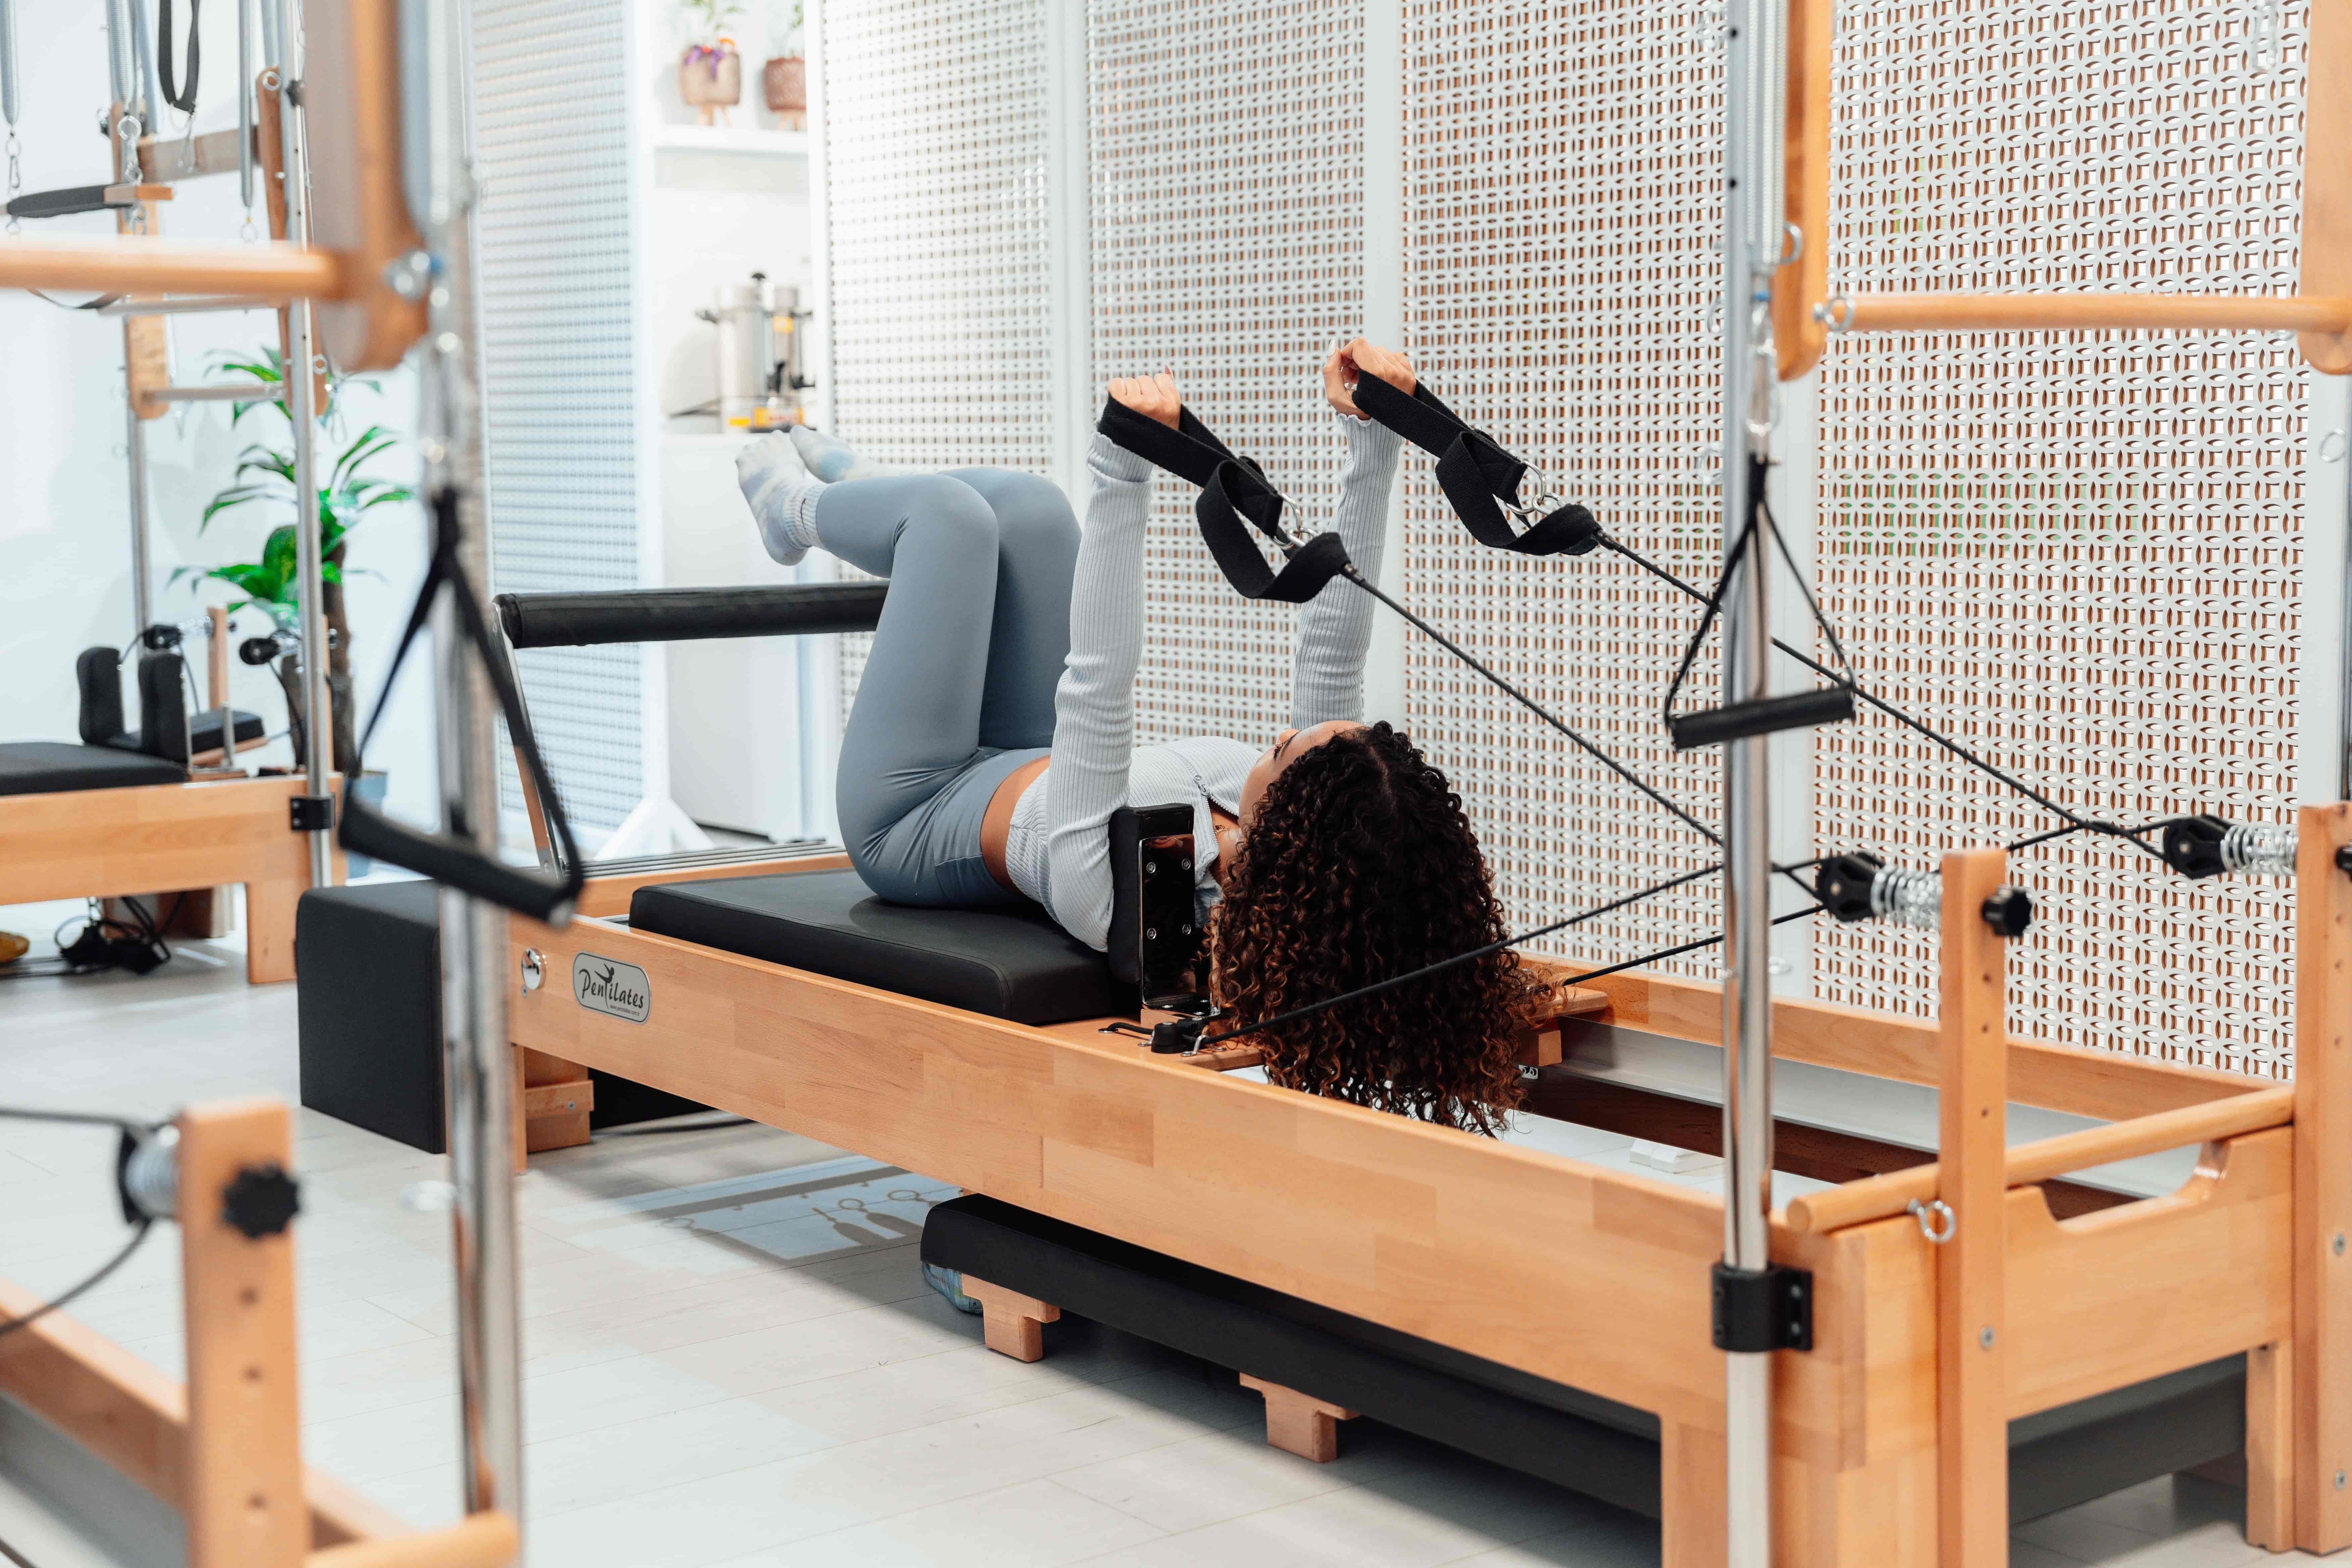
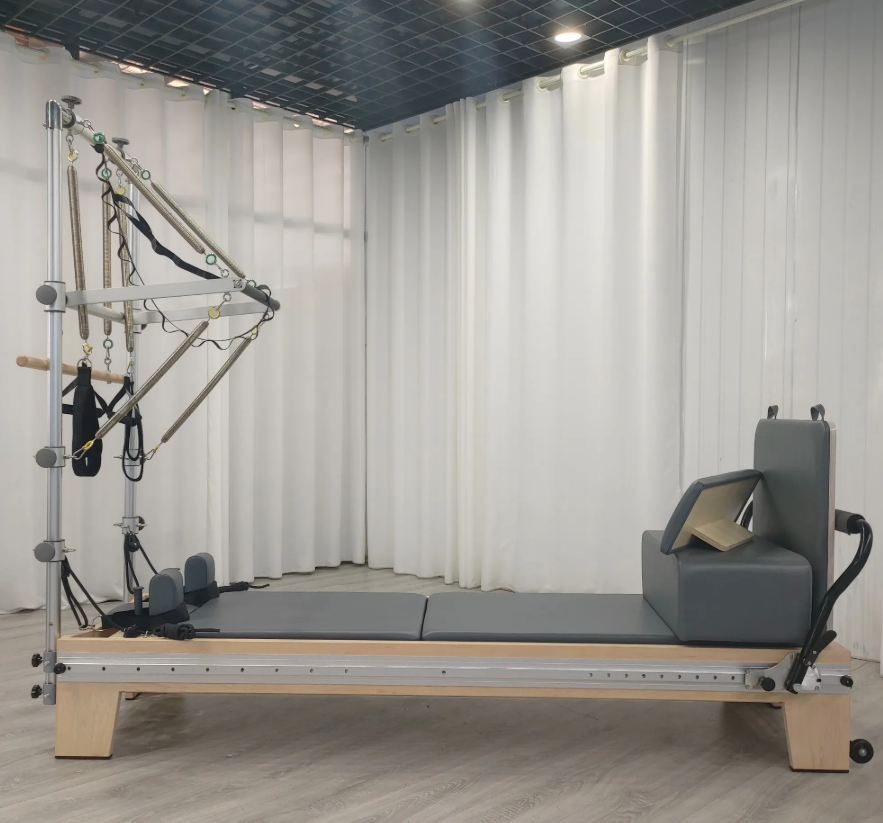
Pilates Reformer Clearance (Core Group Class Equipment)
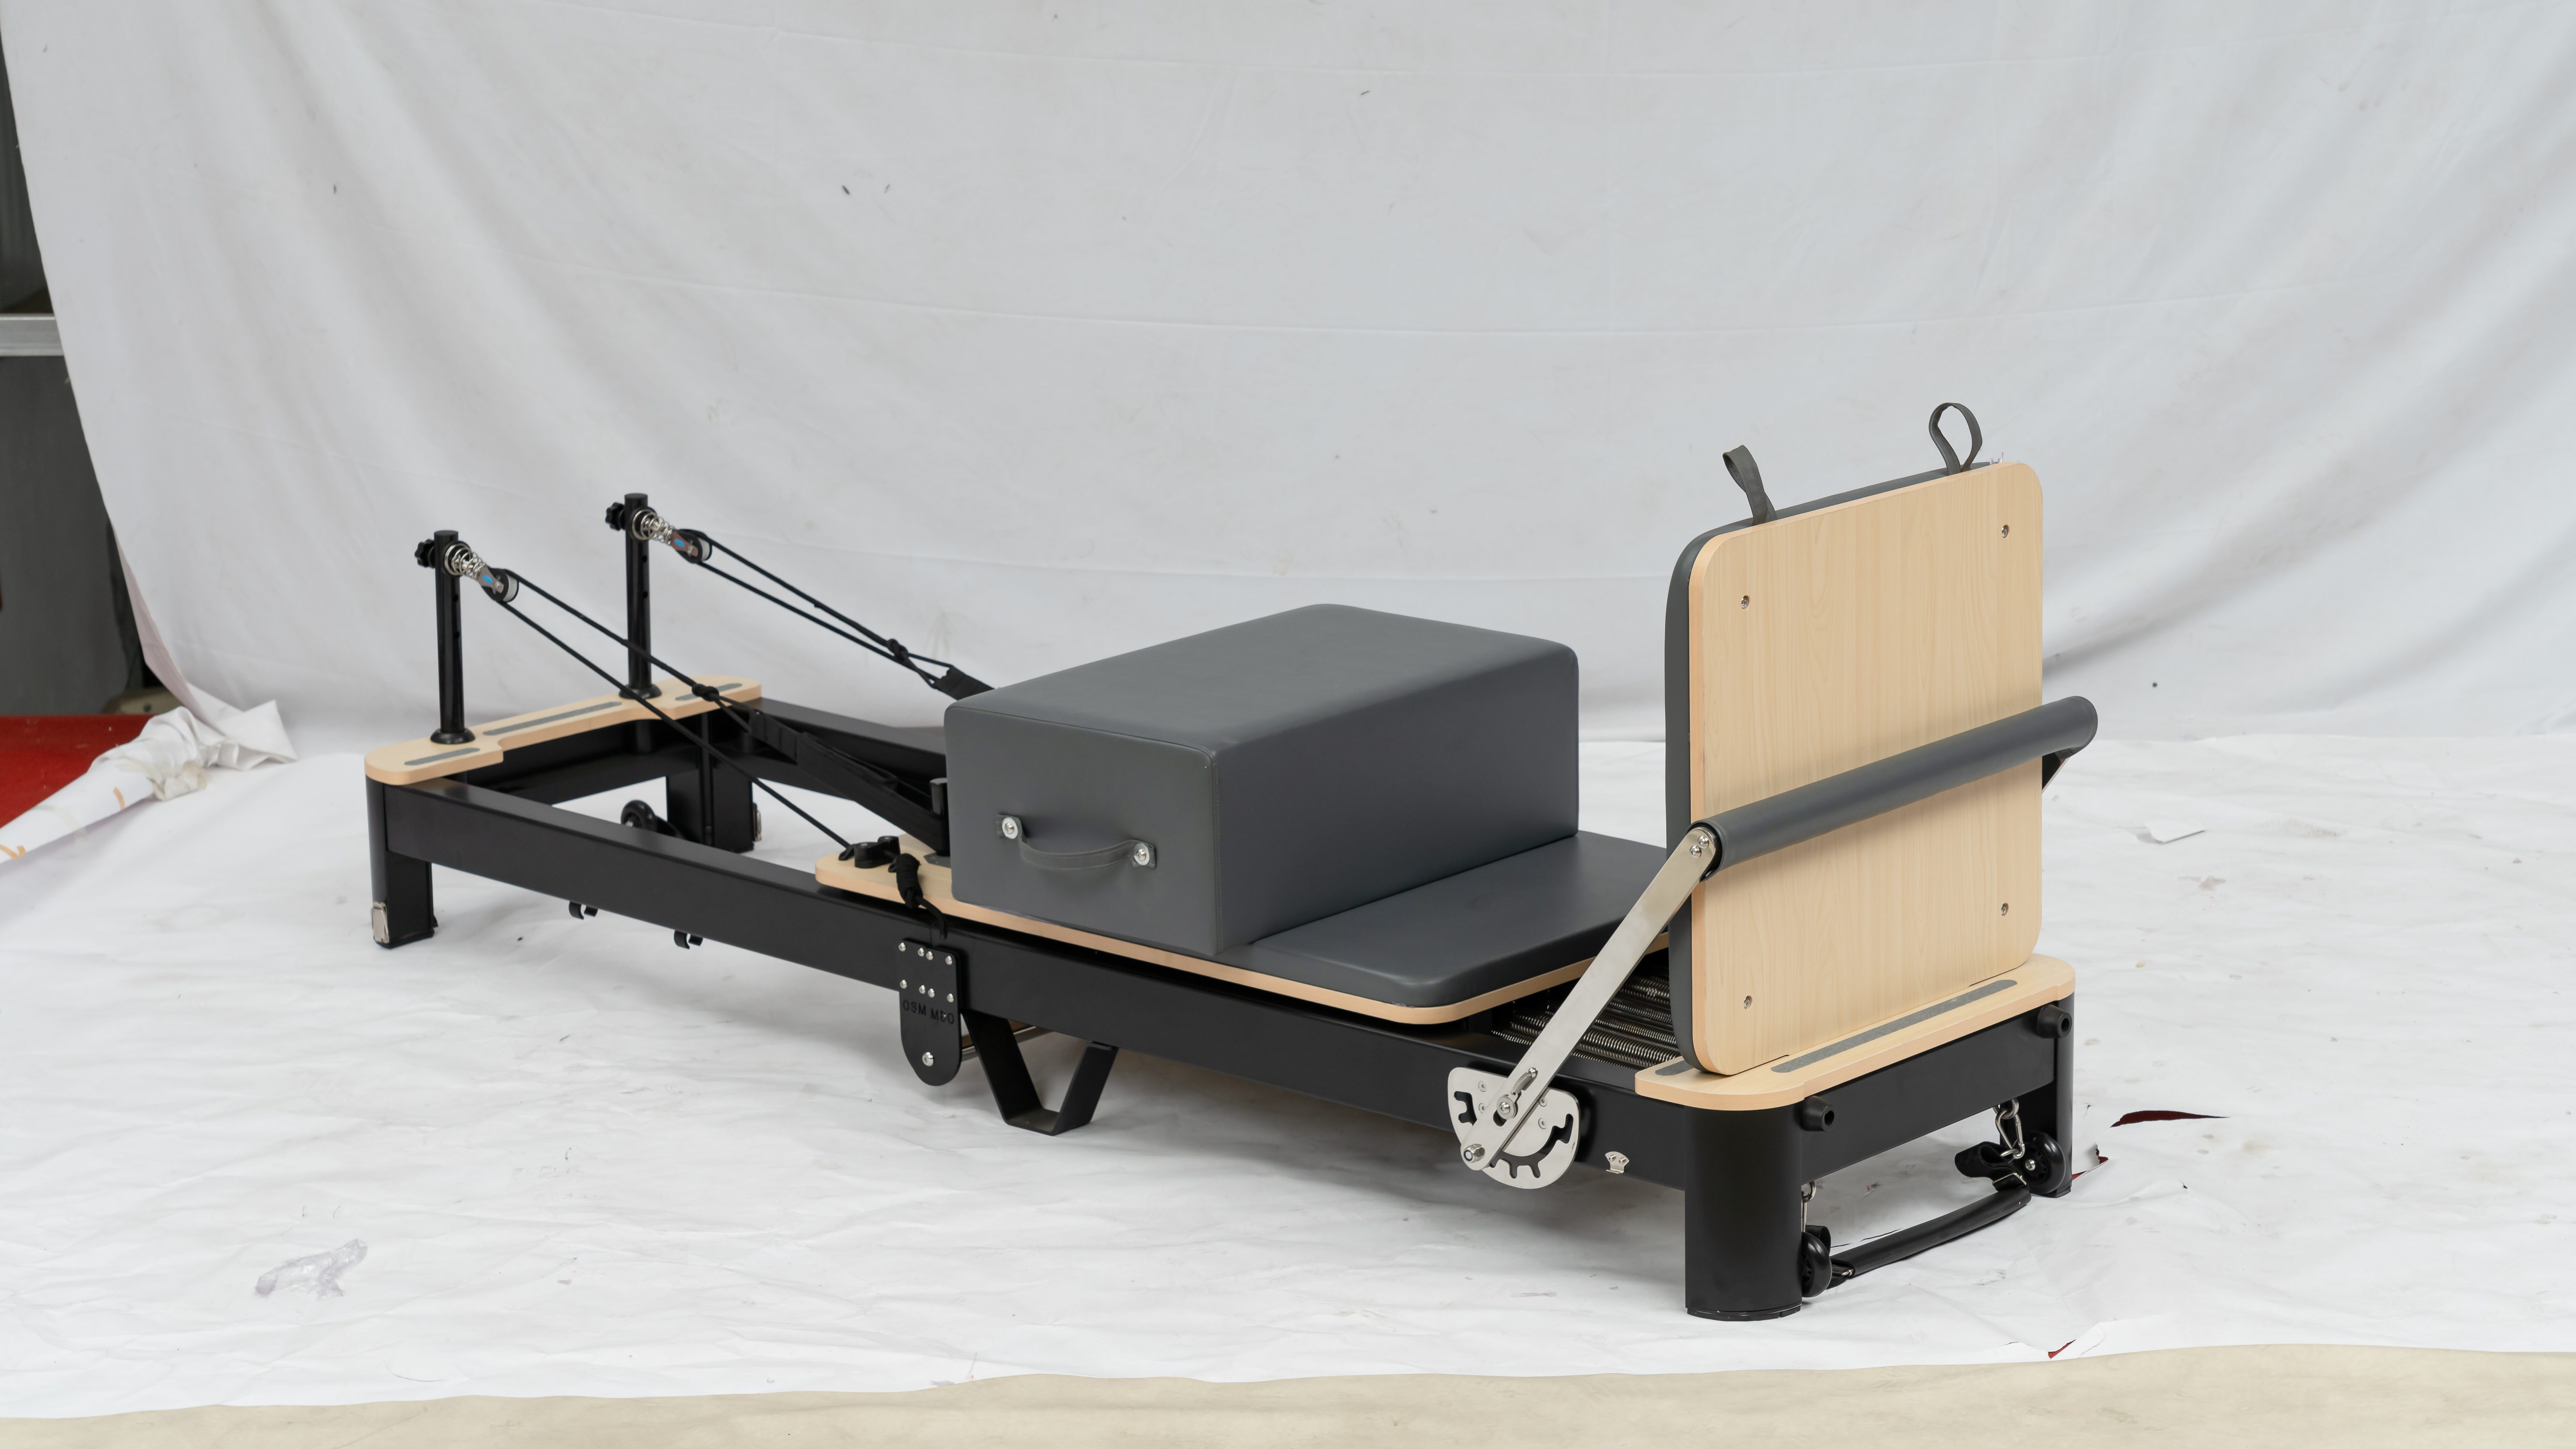
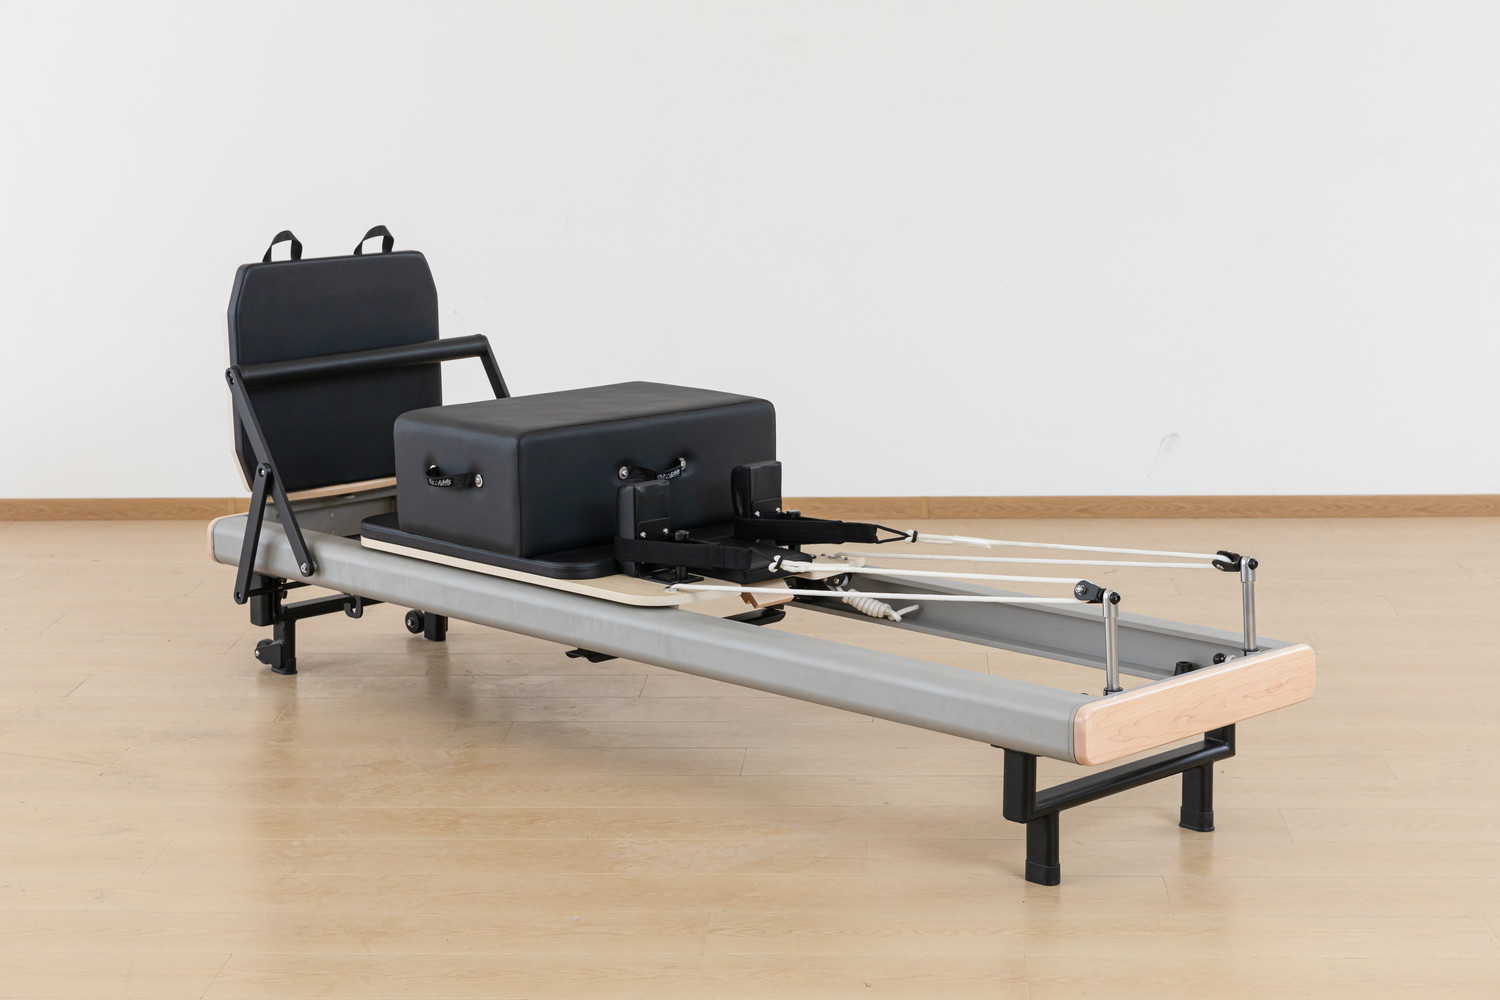
As the most widely used studio equipment, reformers follow golden spacing rules to balance space saving and training comfort:
- Side-to-side clearance between reformers: 90cm (35 inches) – the optimal commercial standard, avoiding limb collision during stretching while maximizing floor utilization
- Front footbar clearance: 80–100cm (31–39 inches) for safe mounting, dismounting and lower-body full-range movement
- Rear headrest clearance: 80cm (31 inches) to reserve space for supine stretching and instructor assistance
- Single reformer station total space: 2.4m × 1.8m minimum; 2.7m × 2.1m for premium comfortable teaching
Cadillac Trapeze Table Clearance
Cadillac tables require larger surrounding space due to multi-angle suspended spring movements and vertical training ranges:
- All-side uniform clearance: 110cm (43 inches)
- Minimum ceiling height: 2.5m (98 inches) to prevent head collision during vertical stretching and rehabilitation movements
Auxiliary Equipment Clearance Standards
- Ladder Barrel: 60cm (24 inches) minimum surrounding clearance for spinal extension and full-body stretching
- Stability Wunda Chair: 80cm (31 inches) surrounding space to ensure unilateral limb training balance and safety
- Spine Corrector: 50cm (20 inches) reserved space, flexible for corner and edge placement
2. Three High-Efficiency Pilates Studio Layout Patterns
Different studio shapes and square footage require targeted layout modes. The following three professional arrangements are widely adopted by global boutique Pilates studios to maximize floor space.
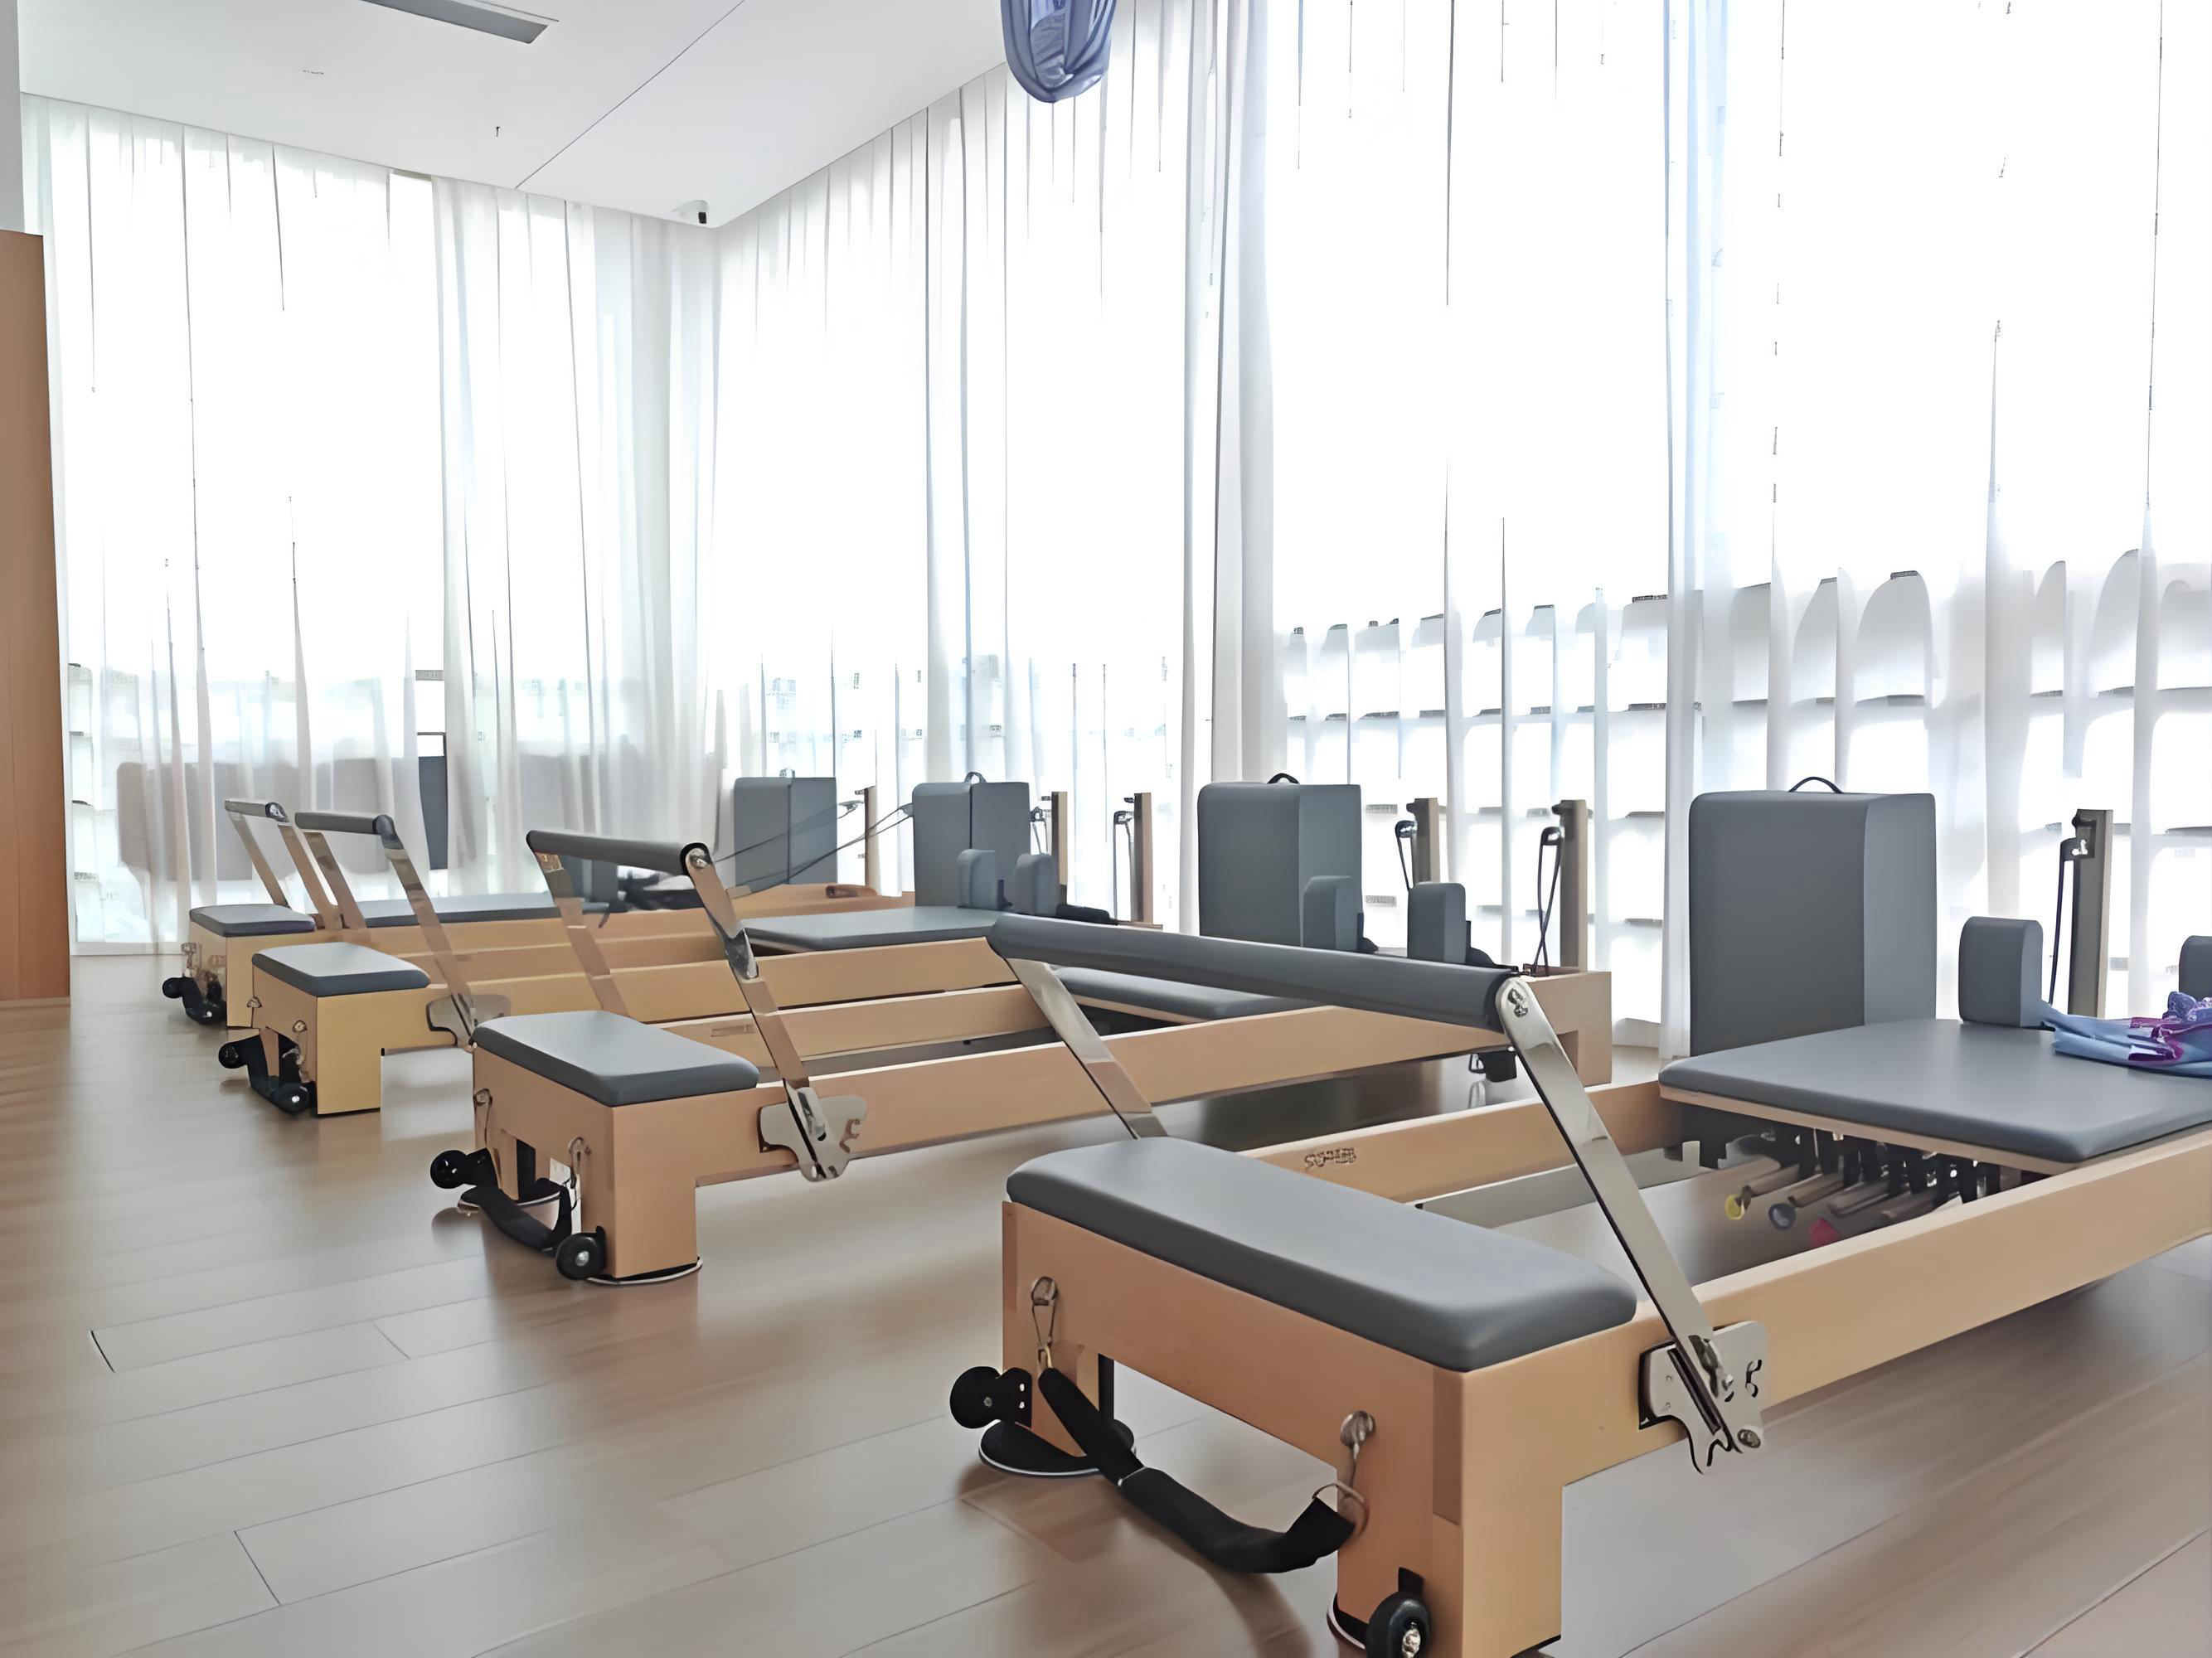
Parallel Linear Layout (Best for Long & Narrow Studios)
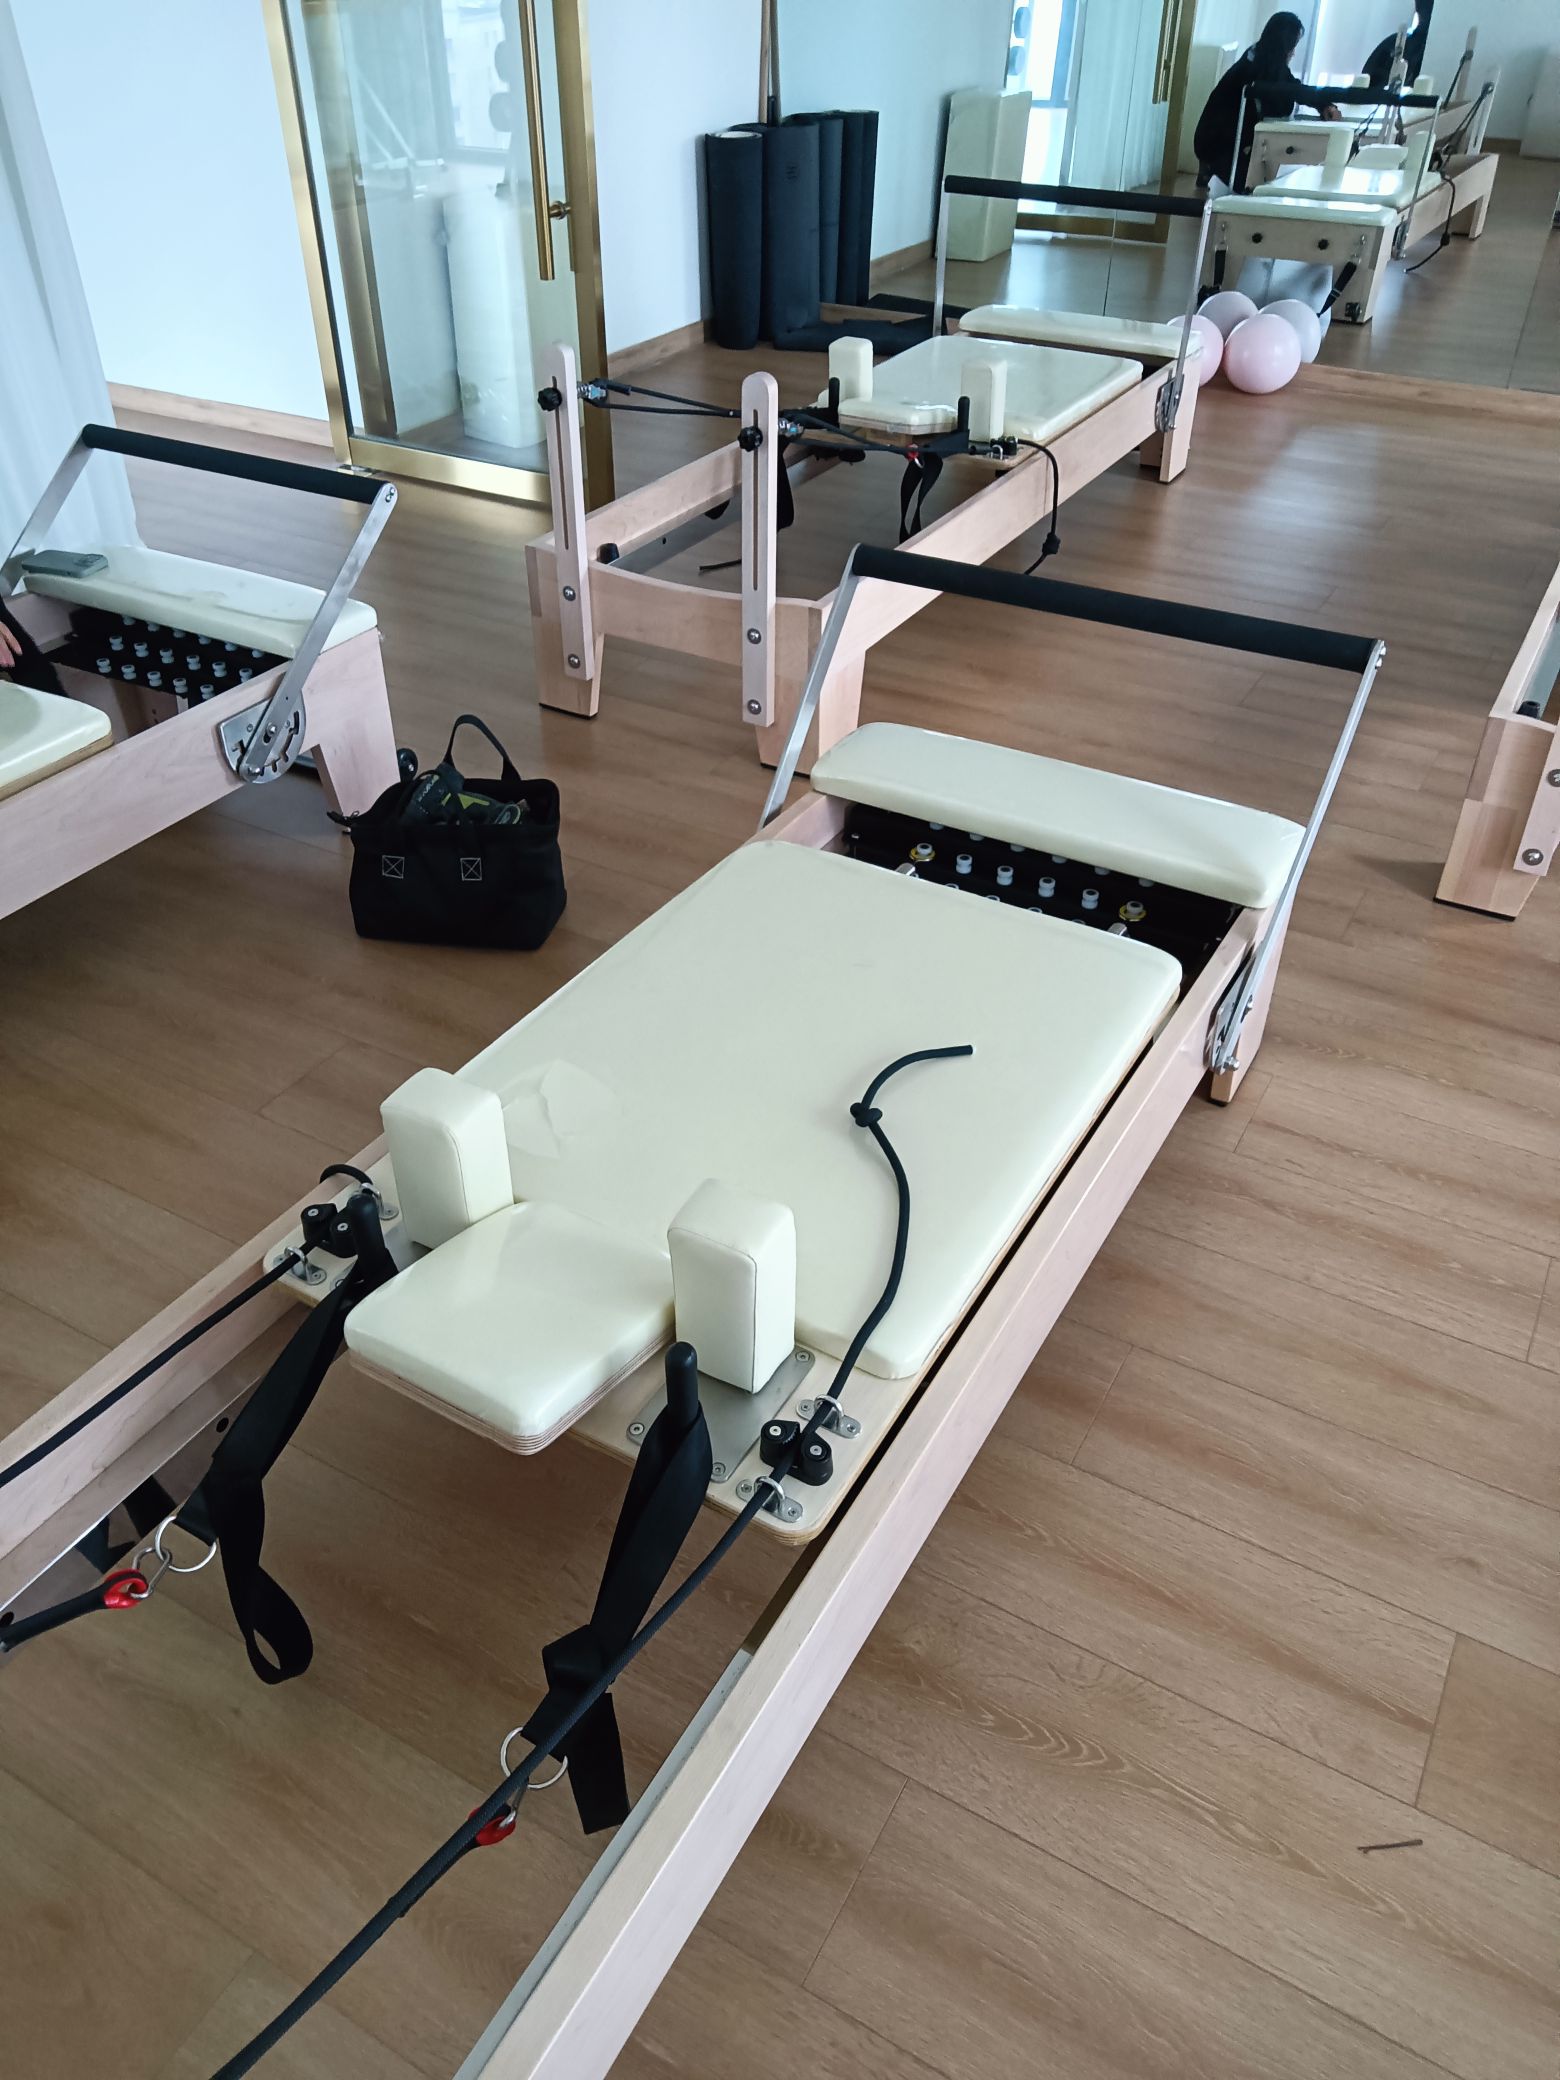
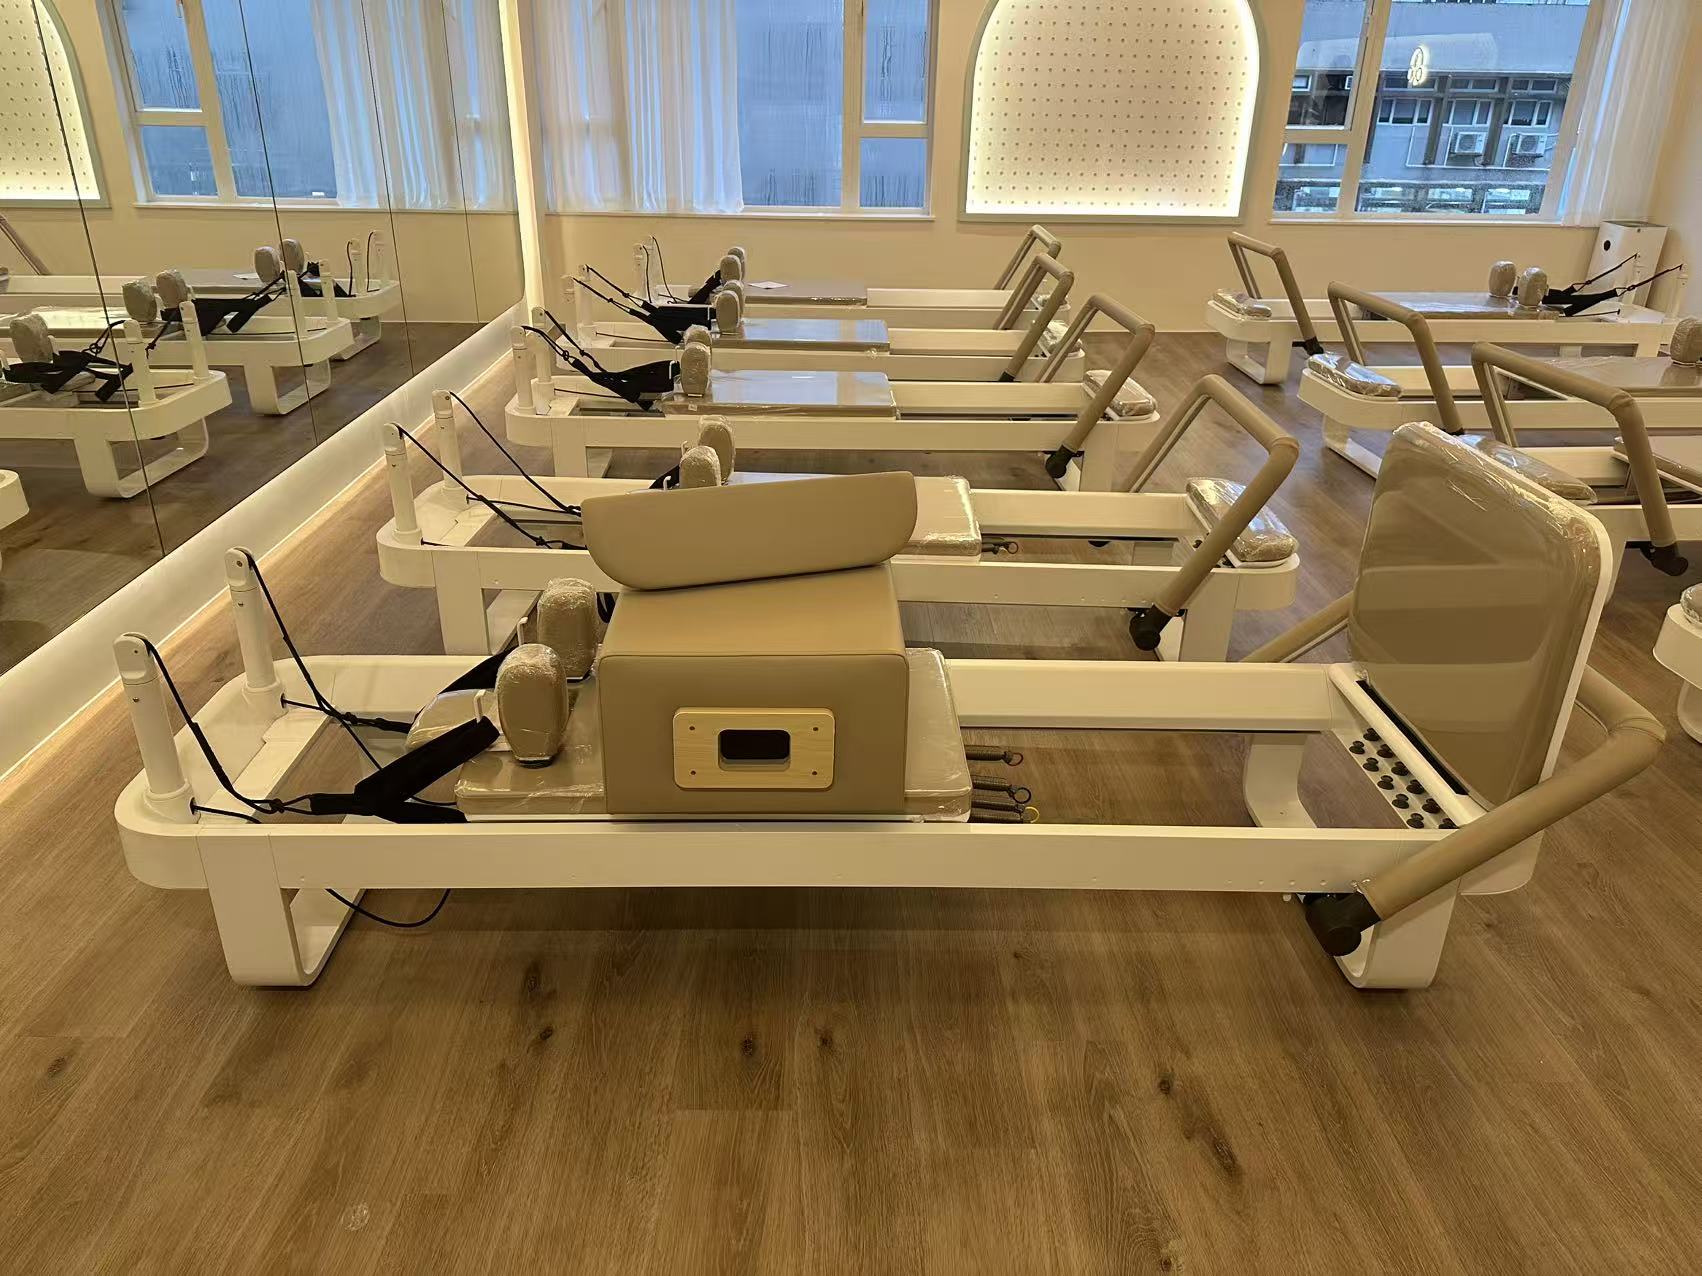
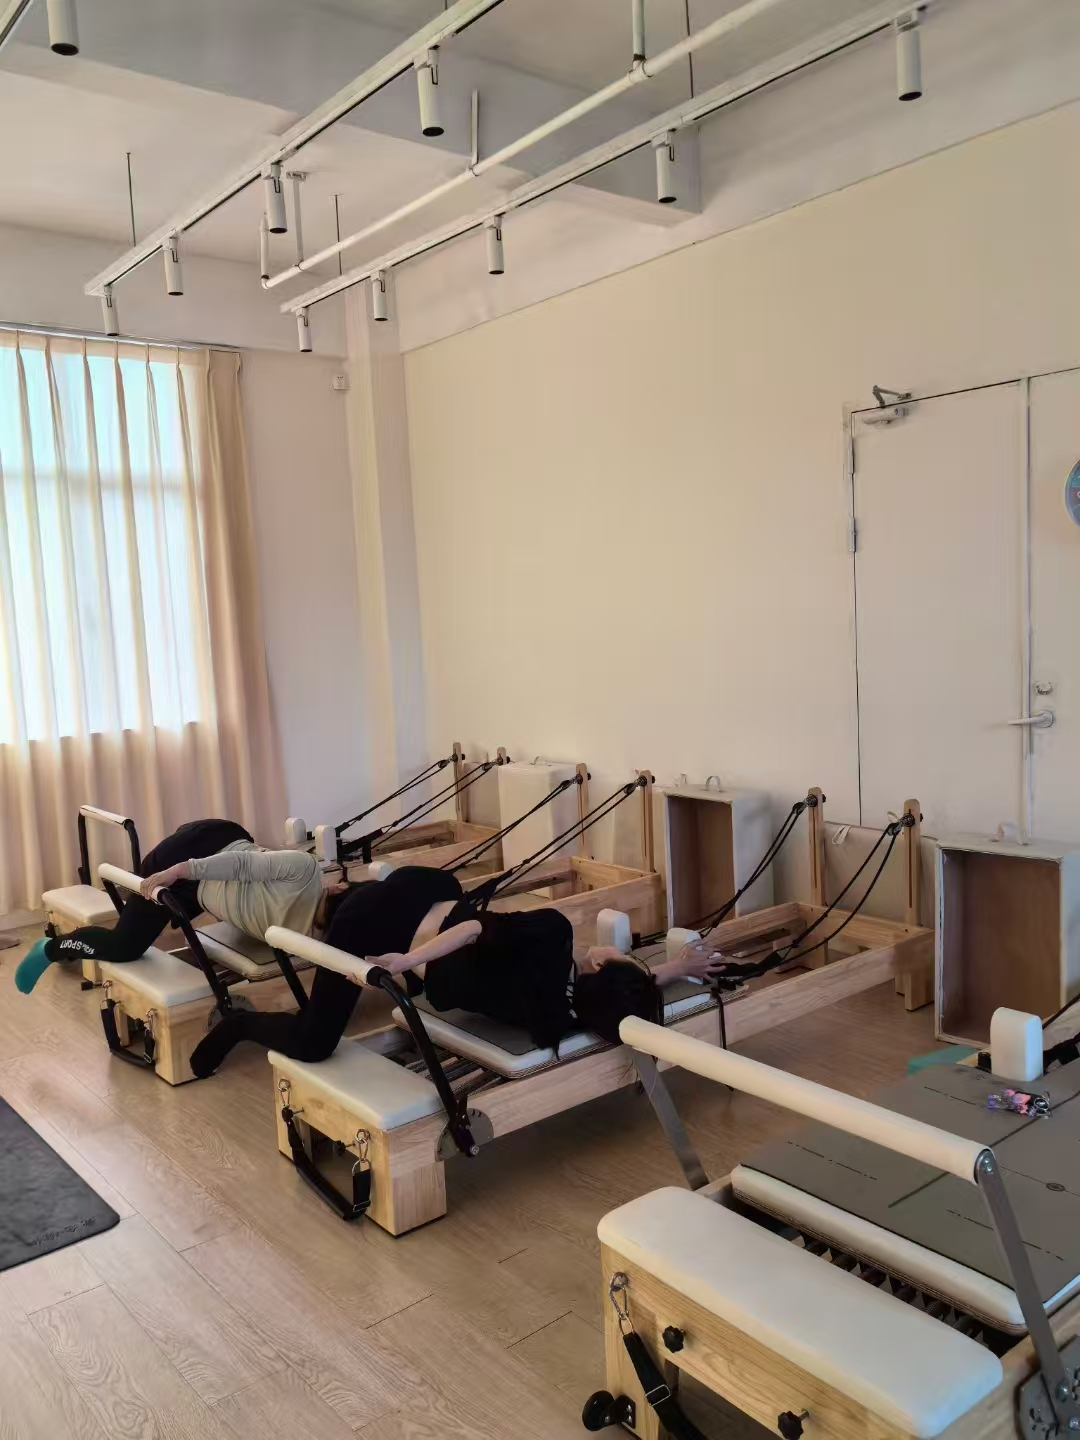
This is the most space-saving and mainstream layout for rectangular studios. Place all reformers in parallel rows along the longest wall, maintaining uniform 90cm side spacing and consistent front and rear clearance. Reserve a 1–1.2m wide main middle aisle for staff walking and emergency passage.
Advantages: Eliminates irregular space waste, standardizes class sightlines, allows one instructor to supervise all clients simultaneously, and fits 20% more machines than scattered placement. Ideal for small-group reformer classes with 4–10 students.
Wall-Hugging Perimeter Layout (Best for Square Studios)
Place large equipment (reformers and Cadillac tables) along the studio walls, and arrange small auxiliary equipment (barrels, chairs, correctors) in the central area. This mode centralizes empty space for mat training, warm-up activities and private teaching zones.
Advantages: Fully utilizes edge dead space, centralizes functional areas, and supports mixed teaching modes of group classes and one-on-one private training.
Zoned Functional Layout (Best for Large Comprehensive Studios)
Divide the studio into independent functional zones: Reformer Group Class Zone, Rehabilitation Private Teaching Zone, Auxiliary Training Zone, and Relaxation Zone. Place high-frequency reformers in the most accessible central area, and low-frequency rehabilitation equipment in relatively quiet corners.
Advantages: Realizes classified teaching, avoids mutual interference between different courses, and maximizes the utilization rate of each functional space.
3. Key Space-Saving Layout Tips to Avoid Waste
- Unified equipment alignment: Keep all machine footbars facing the same direction to eliminate staggered dead space and standardize class flow
- Corner utilization: Place small equipment such as spine correctors and magic circles in wall corners to fill blank gaps without occupying core training space
- Concentrated storage design: Adopt wall-mounted storage racks for straps, jump boards and accessories, avoiding scattered accessory occupation of training floor space
- Reasonable aisle width: Maintain a 1m daily teaching aisle and 1.2m main fire passage, neither too narrow to affect movement nor too wide to waste area
- Avoid mirror and wall collision: Reserve standard distance between machines and mirror walls to prevent equipment impact and client injury during dynamic movements
4. Studio Space & Equipment Quantity Matching Reference
Accurate quantity matching prevents overcrowding or sparse layout, helping new studios rationally configure equipment:
- 80–100 sqm small studio: 4–6 reformers + 1 set of auxiliary equipment (ladder barrel + chair)
- 120–150 sqm medium studio: 6–8 reformers + 1 Cadillac table + full auxiliary equipment set
- 200 sqm+ large studio: Complete zoned layout with 10+ reformers and full rehabilitation equipment
Reserve 30–50 sqm independently for reception, changing rooms and rest areas to ensure complete studio functions and comfortable customer experience.
5. Common Layout Mistakes to Avoid
- Uneven spacing: Random placement leads to crowded local areas and wasted blank space, reducing overall class capacity
- Insufficient ceiling height: Placing Cadillac tables and high-position training equipment under low beams causes hidden safety hazards
- Mixed functional chaos: Disordered placement of group class equipment and rehabilitation equipment affects teaching efficiency
- Ignoring traffic flow: Blocked main aisles affect instructor movement and client evacuation
Final Conclusion
Maximizing Pilates studio floor space relies on standardized clearance data, scientific layout modes and reasonable functional zoning, rather than simply squeezing more equipment. Adopting parallel linear layout for narrow studios and perimeter zoning layout for square studios, while following industry-standard spacing rules, can effectively improve space utilization, increase single-class capacity, and enhance studio operating revenue.
Professional and orderly equipment layout also improves teaching safety, optimizes customer experience, and shapes a high-end standardized studio brand image. We provide global studio owners with free professional equipment layout planning, matching studio size and business positioning to create the most cost-effective space configuration solutions.