Beginner’s Guide to Using a Pilates Reformer at Home
Bringing a Pilates reformer home is often the first step toward "home fitness freedom" — but it's also the most common step toward "buy it and let it gather dust." The problem isn't the equipment; it's the lack of a systematic approach. A reformer is not an "automatic trainer" — it's a mirror that amplifies your movement habits. Good ones get better; poor ones become more obvious.
This guide is designed for first-time home reformer users — from setting up the equipment to developing a consistent practice — providing a complete beginner's roadmap.
I. Preparation: Environment Requirements for Home Practice
Floor levelness matters more than you think. The reformer relies on smooth carriage movement along rails. If the floor is uneven, the frame twists slightly, causing carriage misalignment, uneven wheel wear, and increased noise. Before purchasing, check floor level with a spirit level. After installation, ensure all four feet contact the floor — use adjustable feet or shims if necessary.
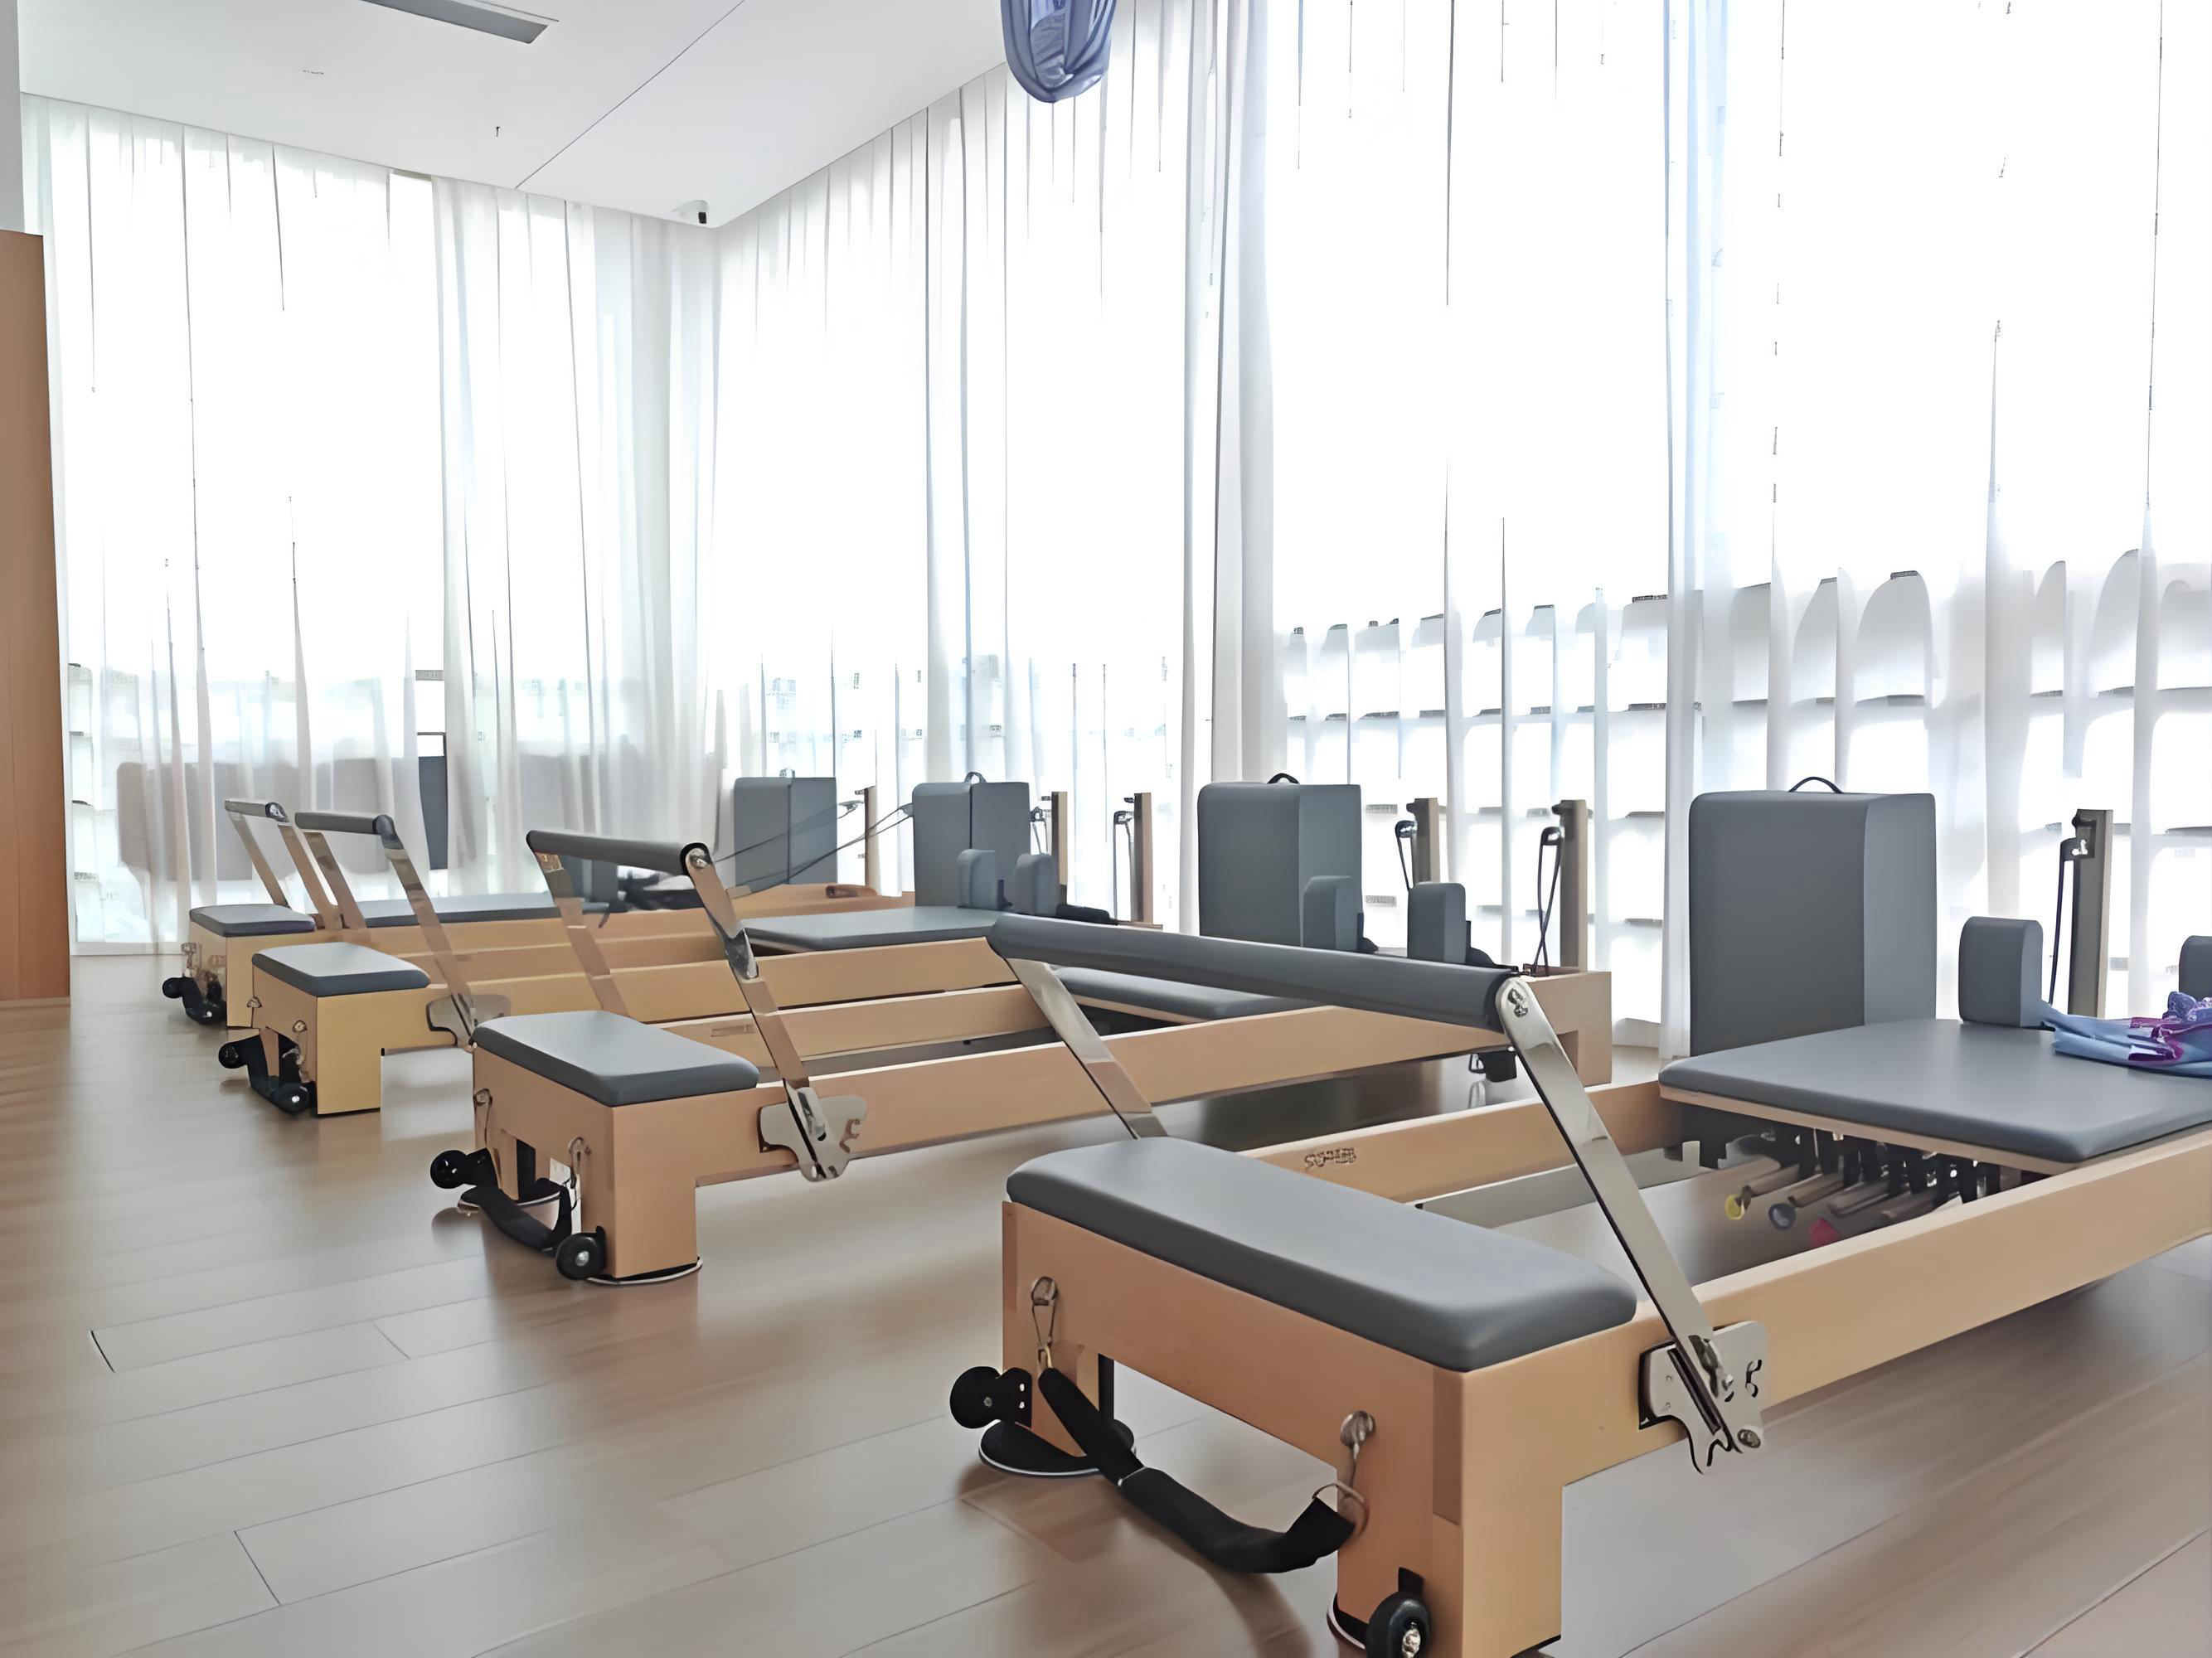
Adequate space is essential. Allow at least 1 meter of clearance at both ends for getting on/off the carriage. Allow at least 0.5 meters on each side for arm and leg abduction movements.
Bare feet or grip socks recommended. Shoes reduce foot awareness and may scratch the carriage surface. Bare feet or grip socks let you better sense foot arch activation and allow the footbar's non-slip texture to function.
II. Reformer Anatomy: Key Parts and Terms
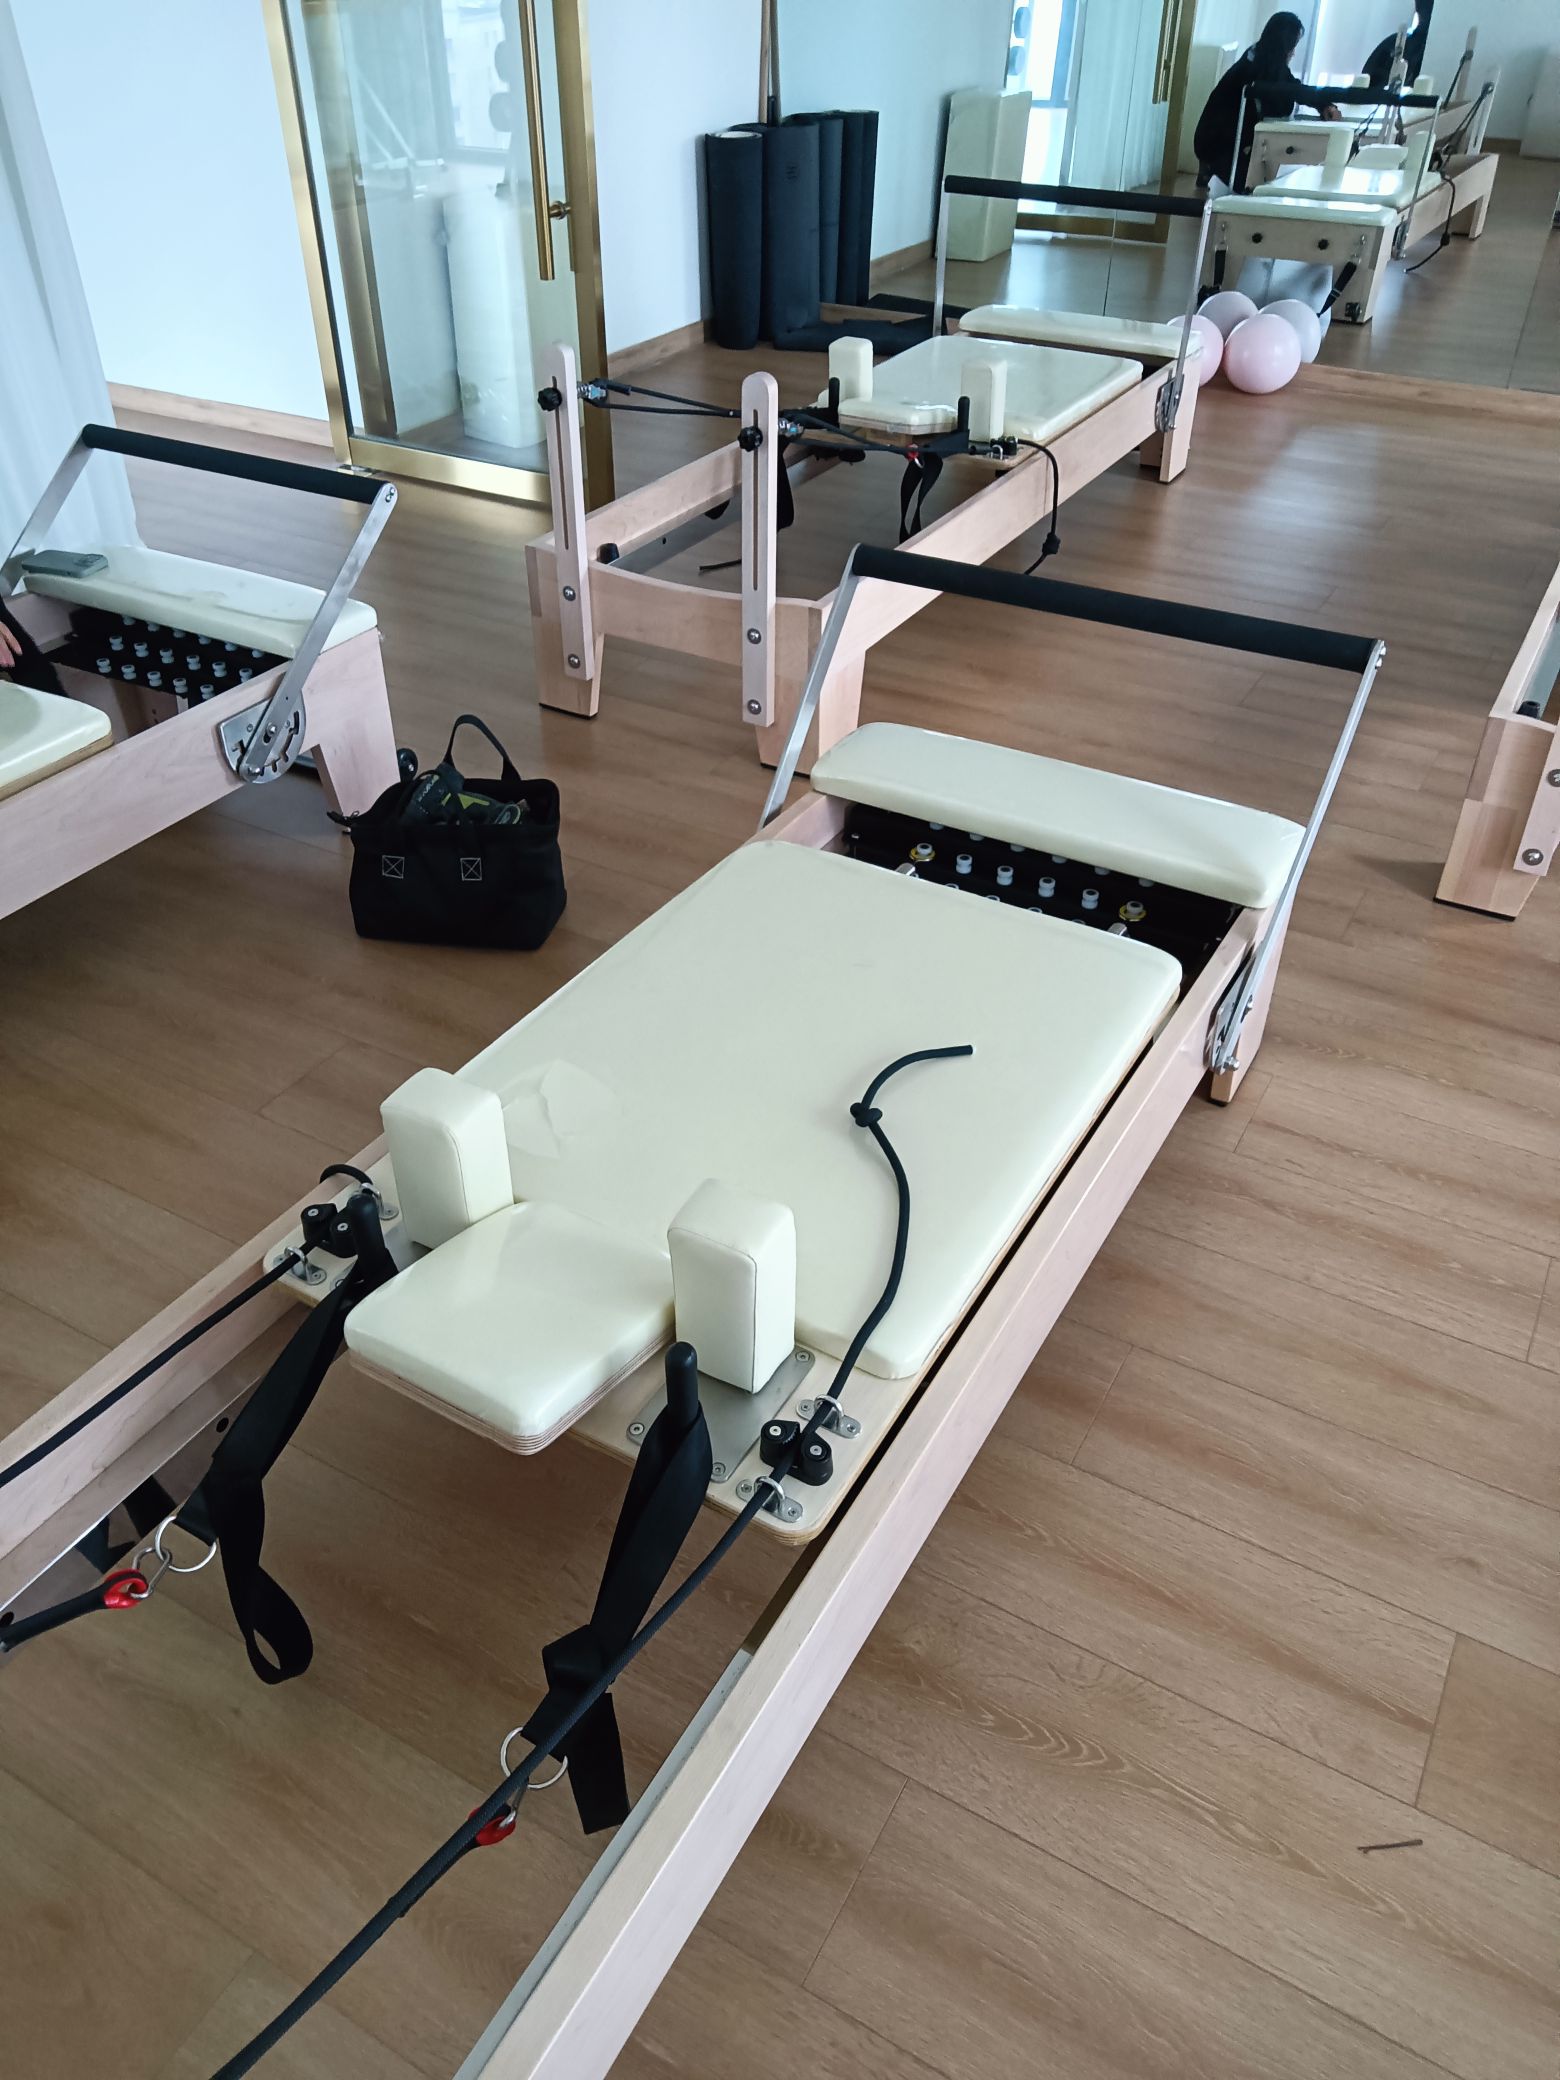
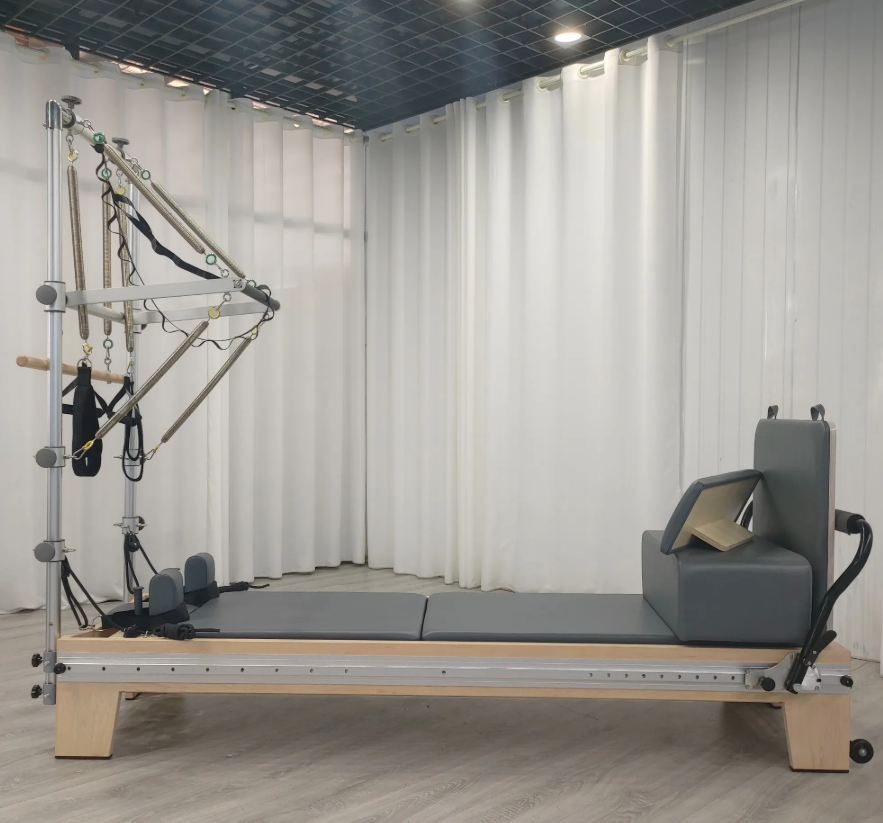
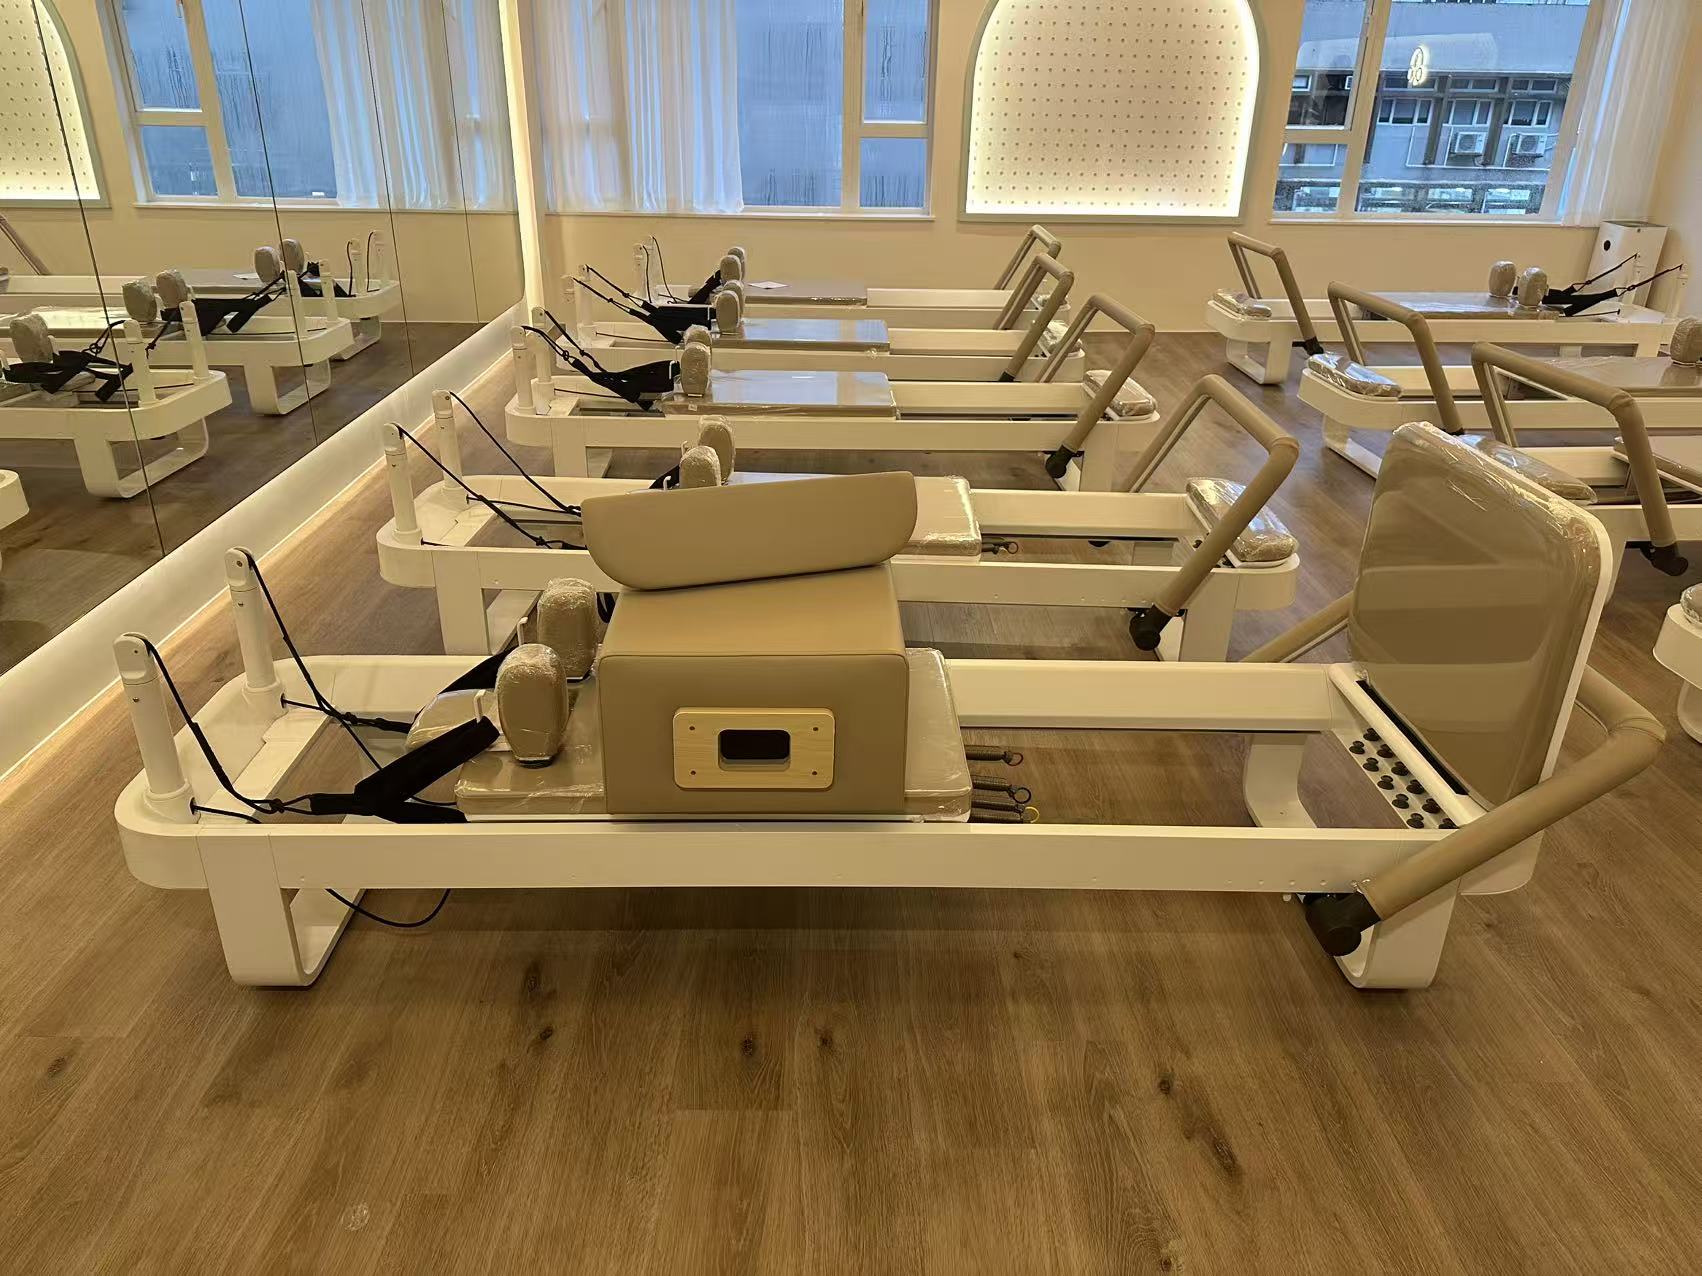
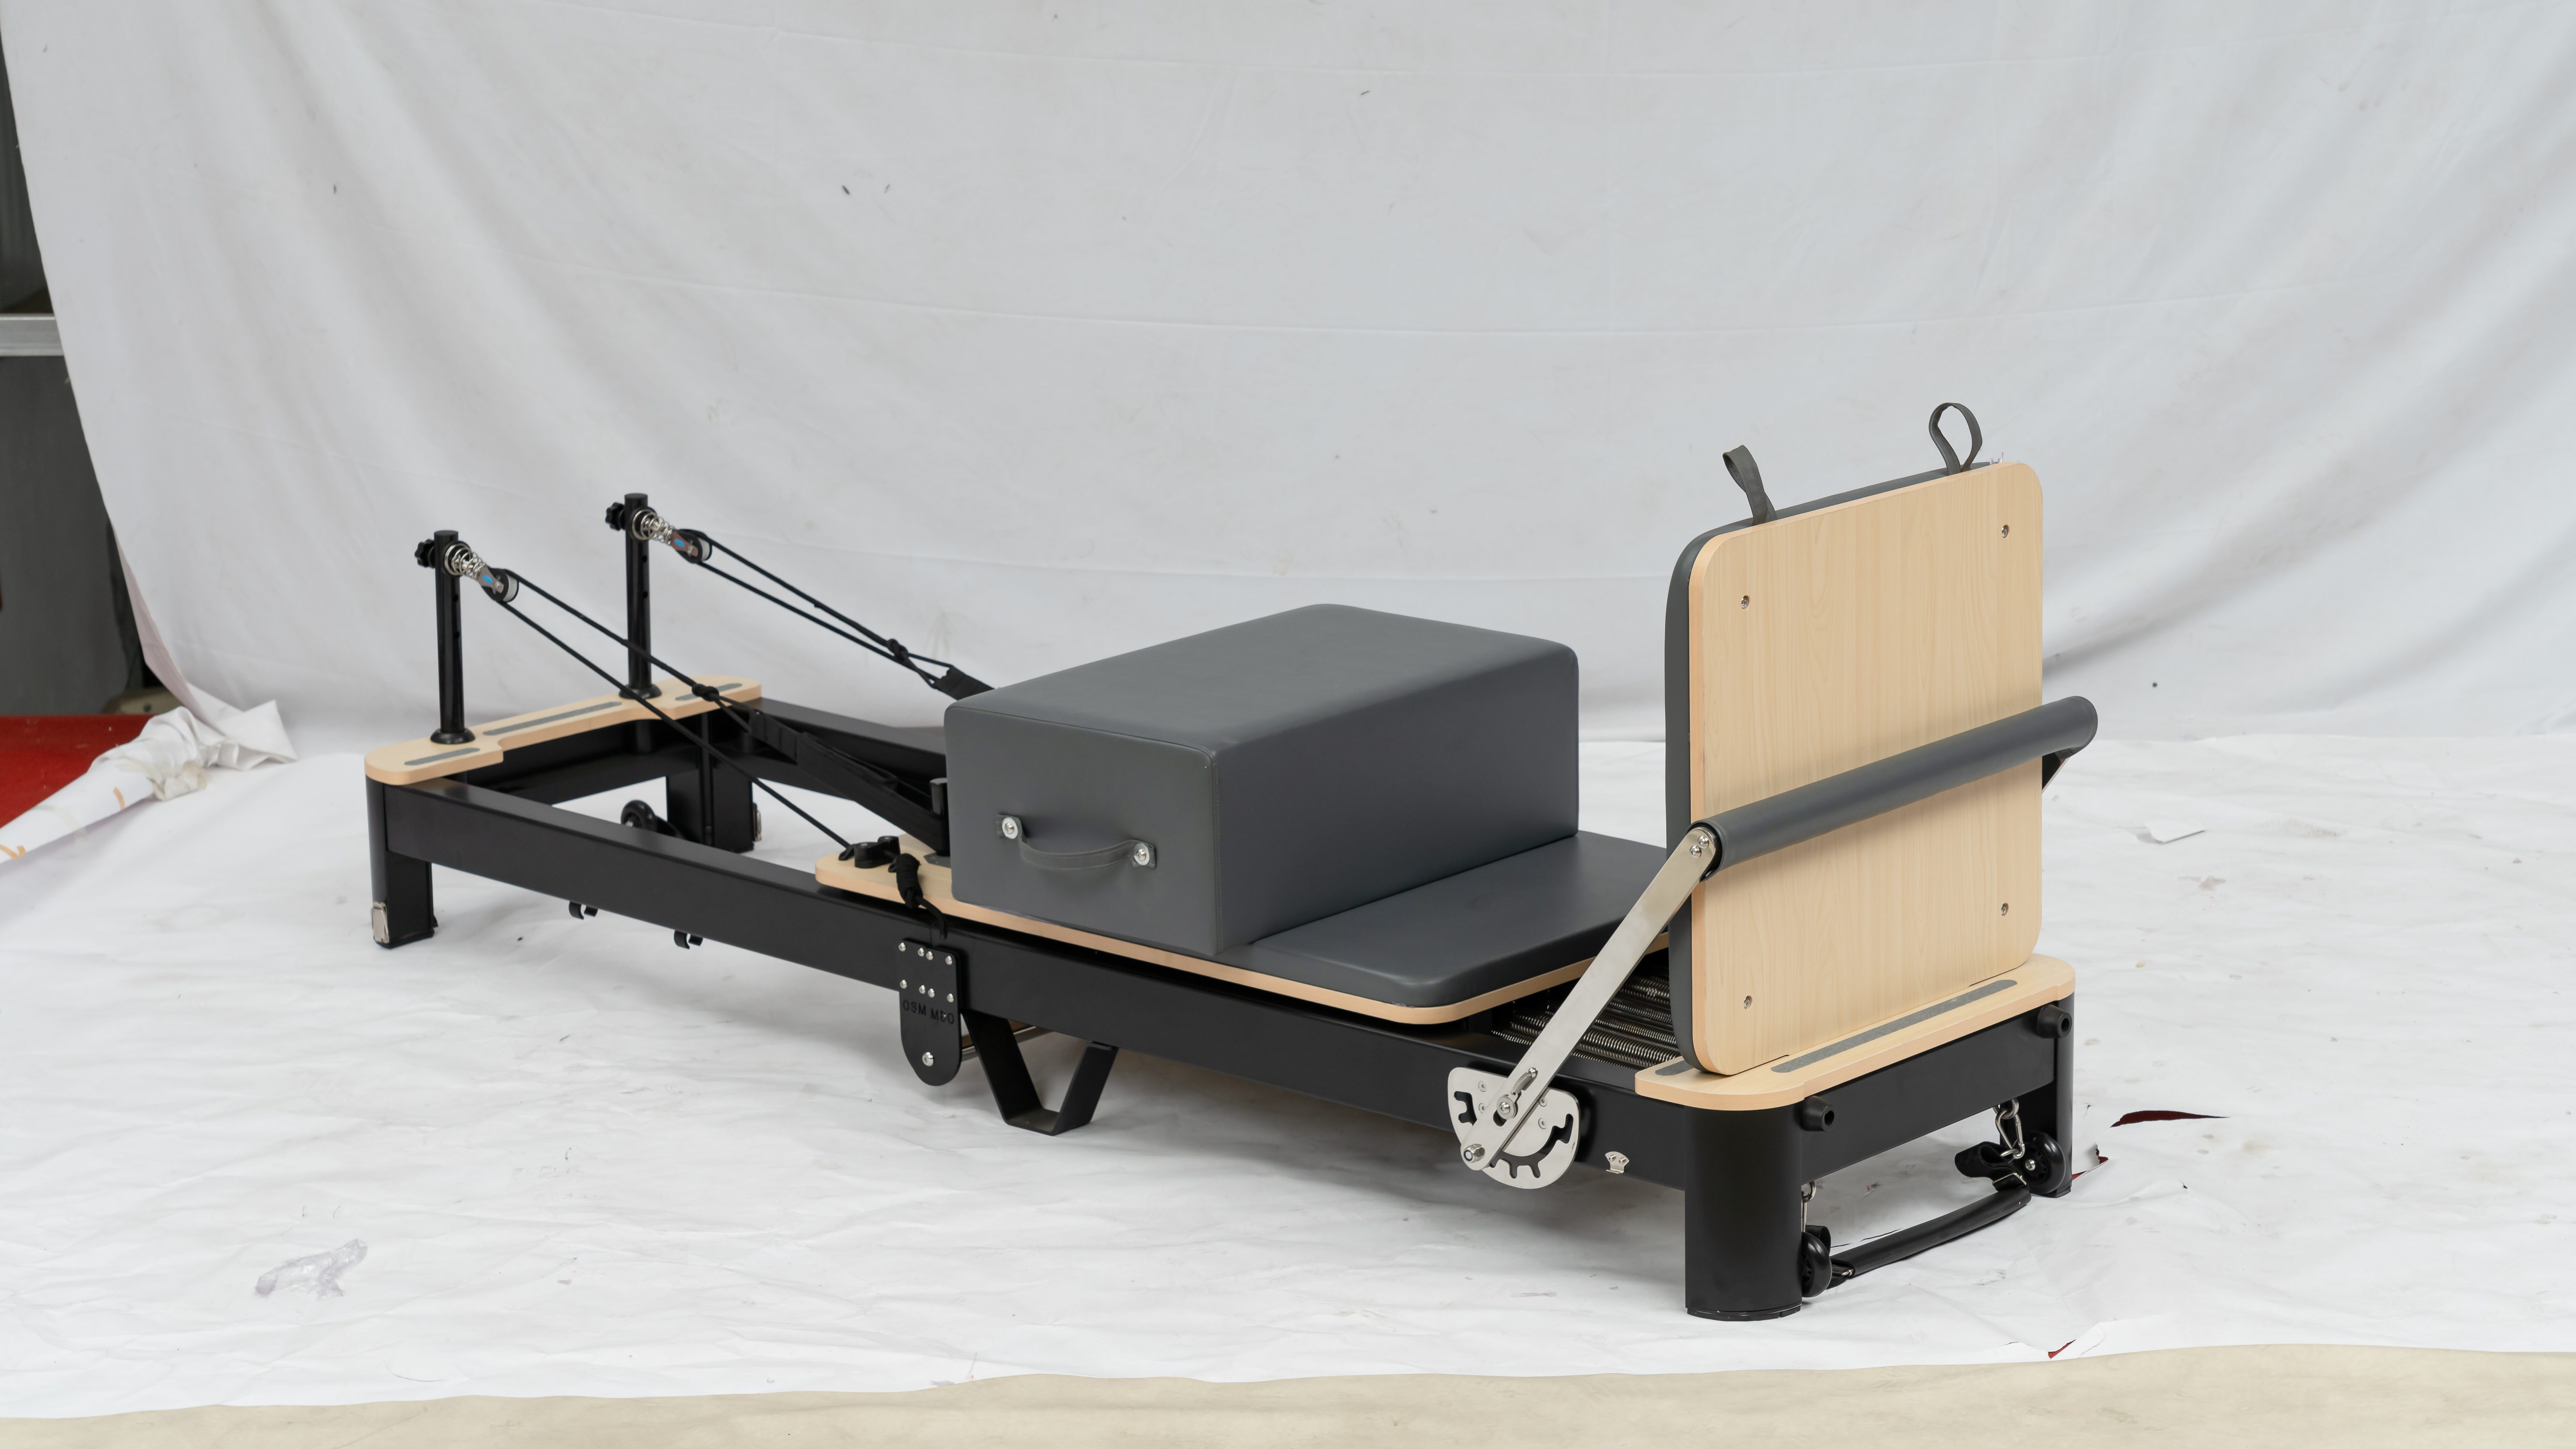
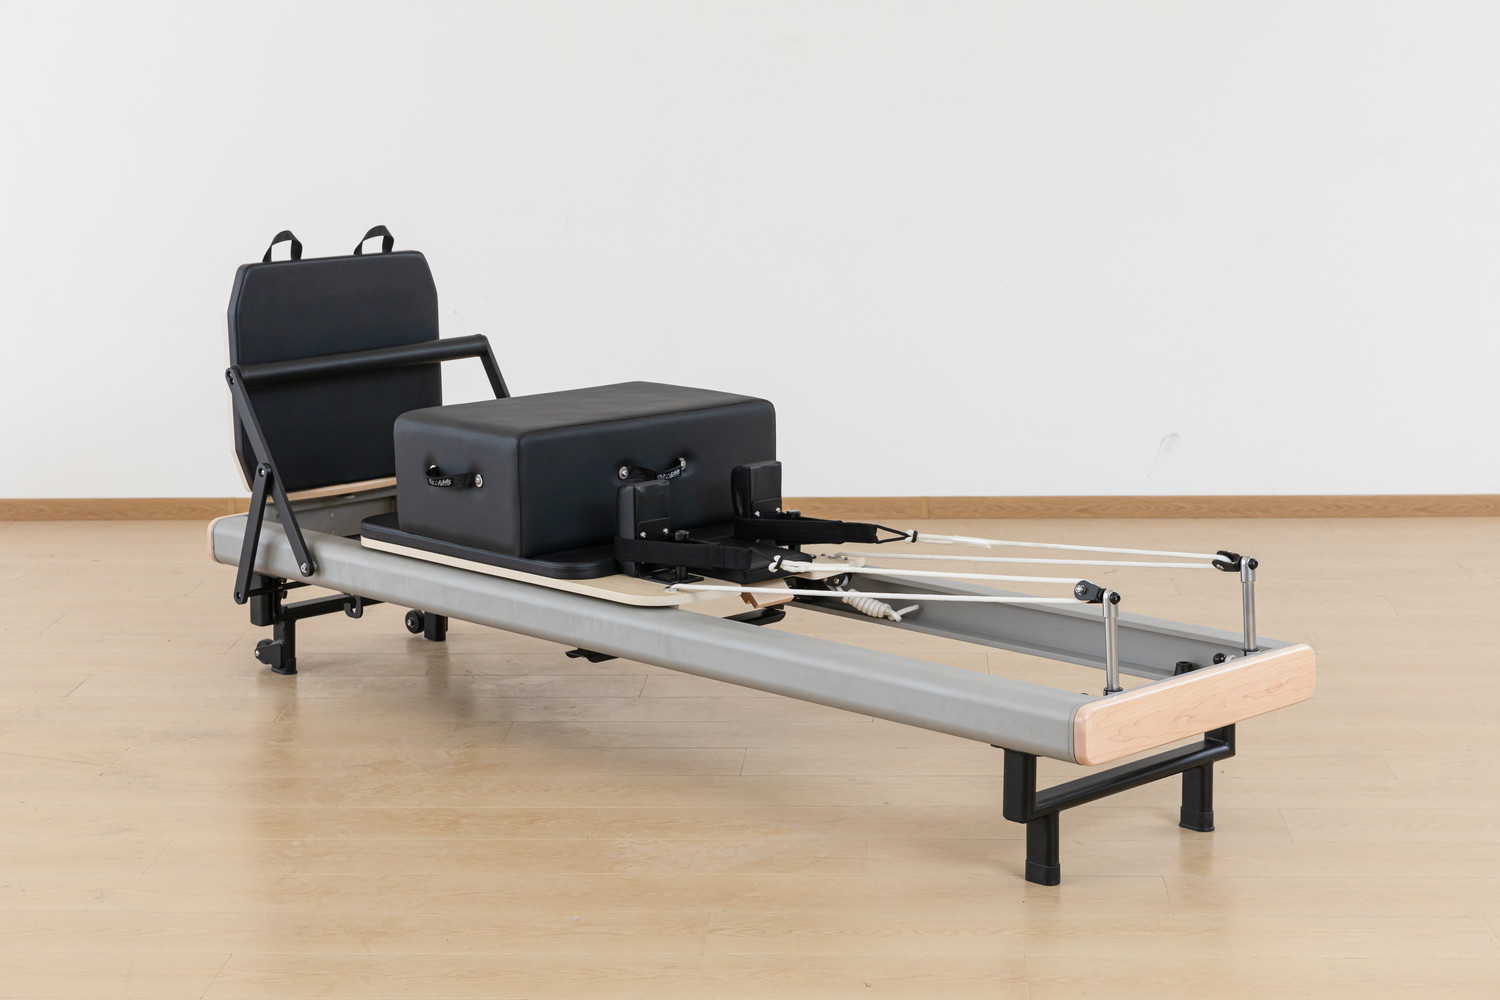
Before you start, familiarize yourself with these core components:
·Carriage: The movable platform you lie, sit, or kneel on — it slides along the rails.
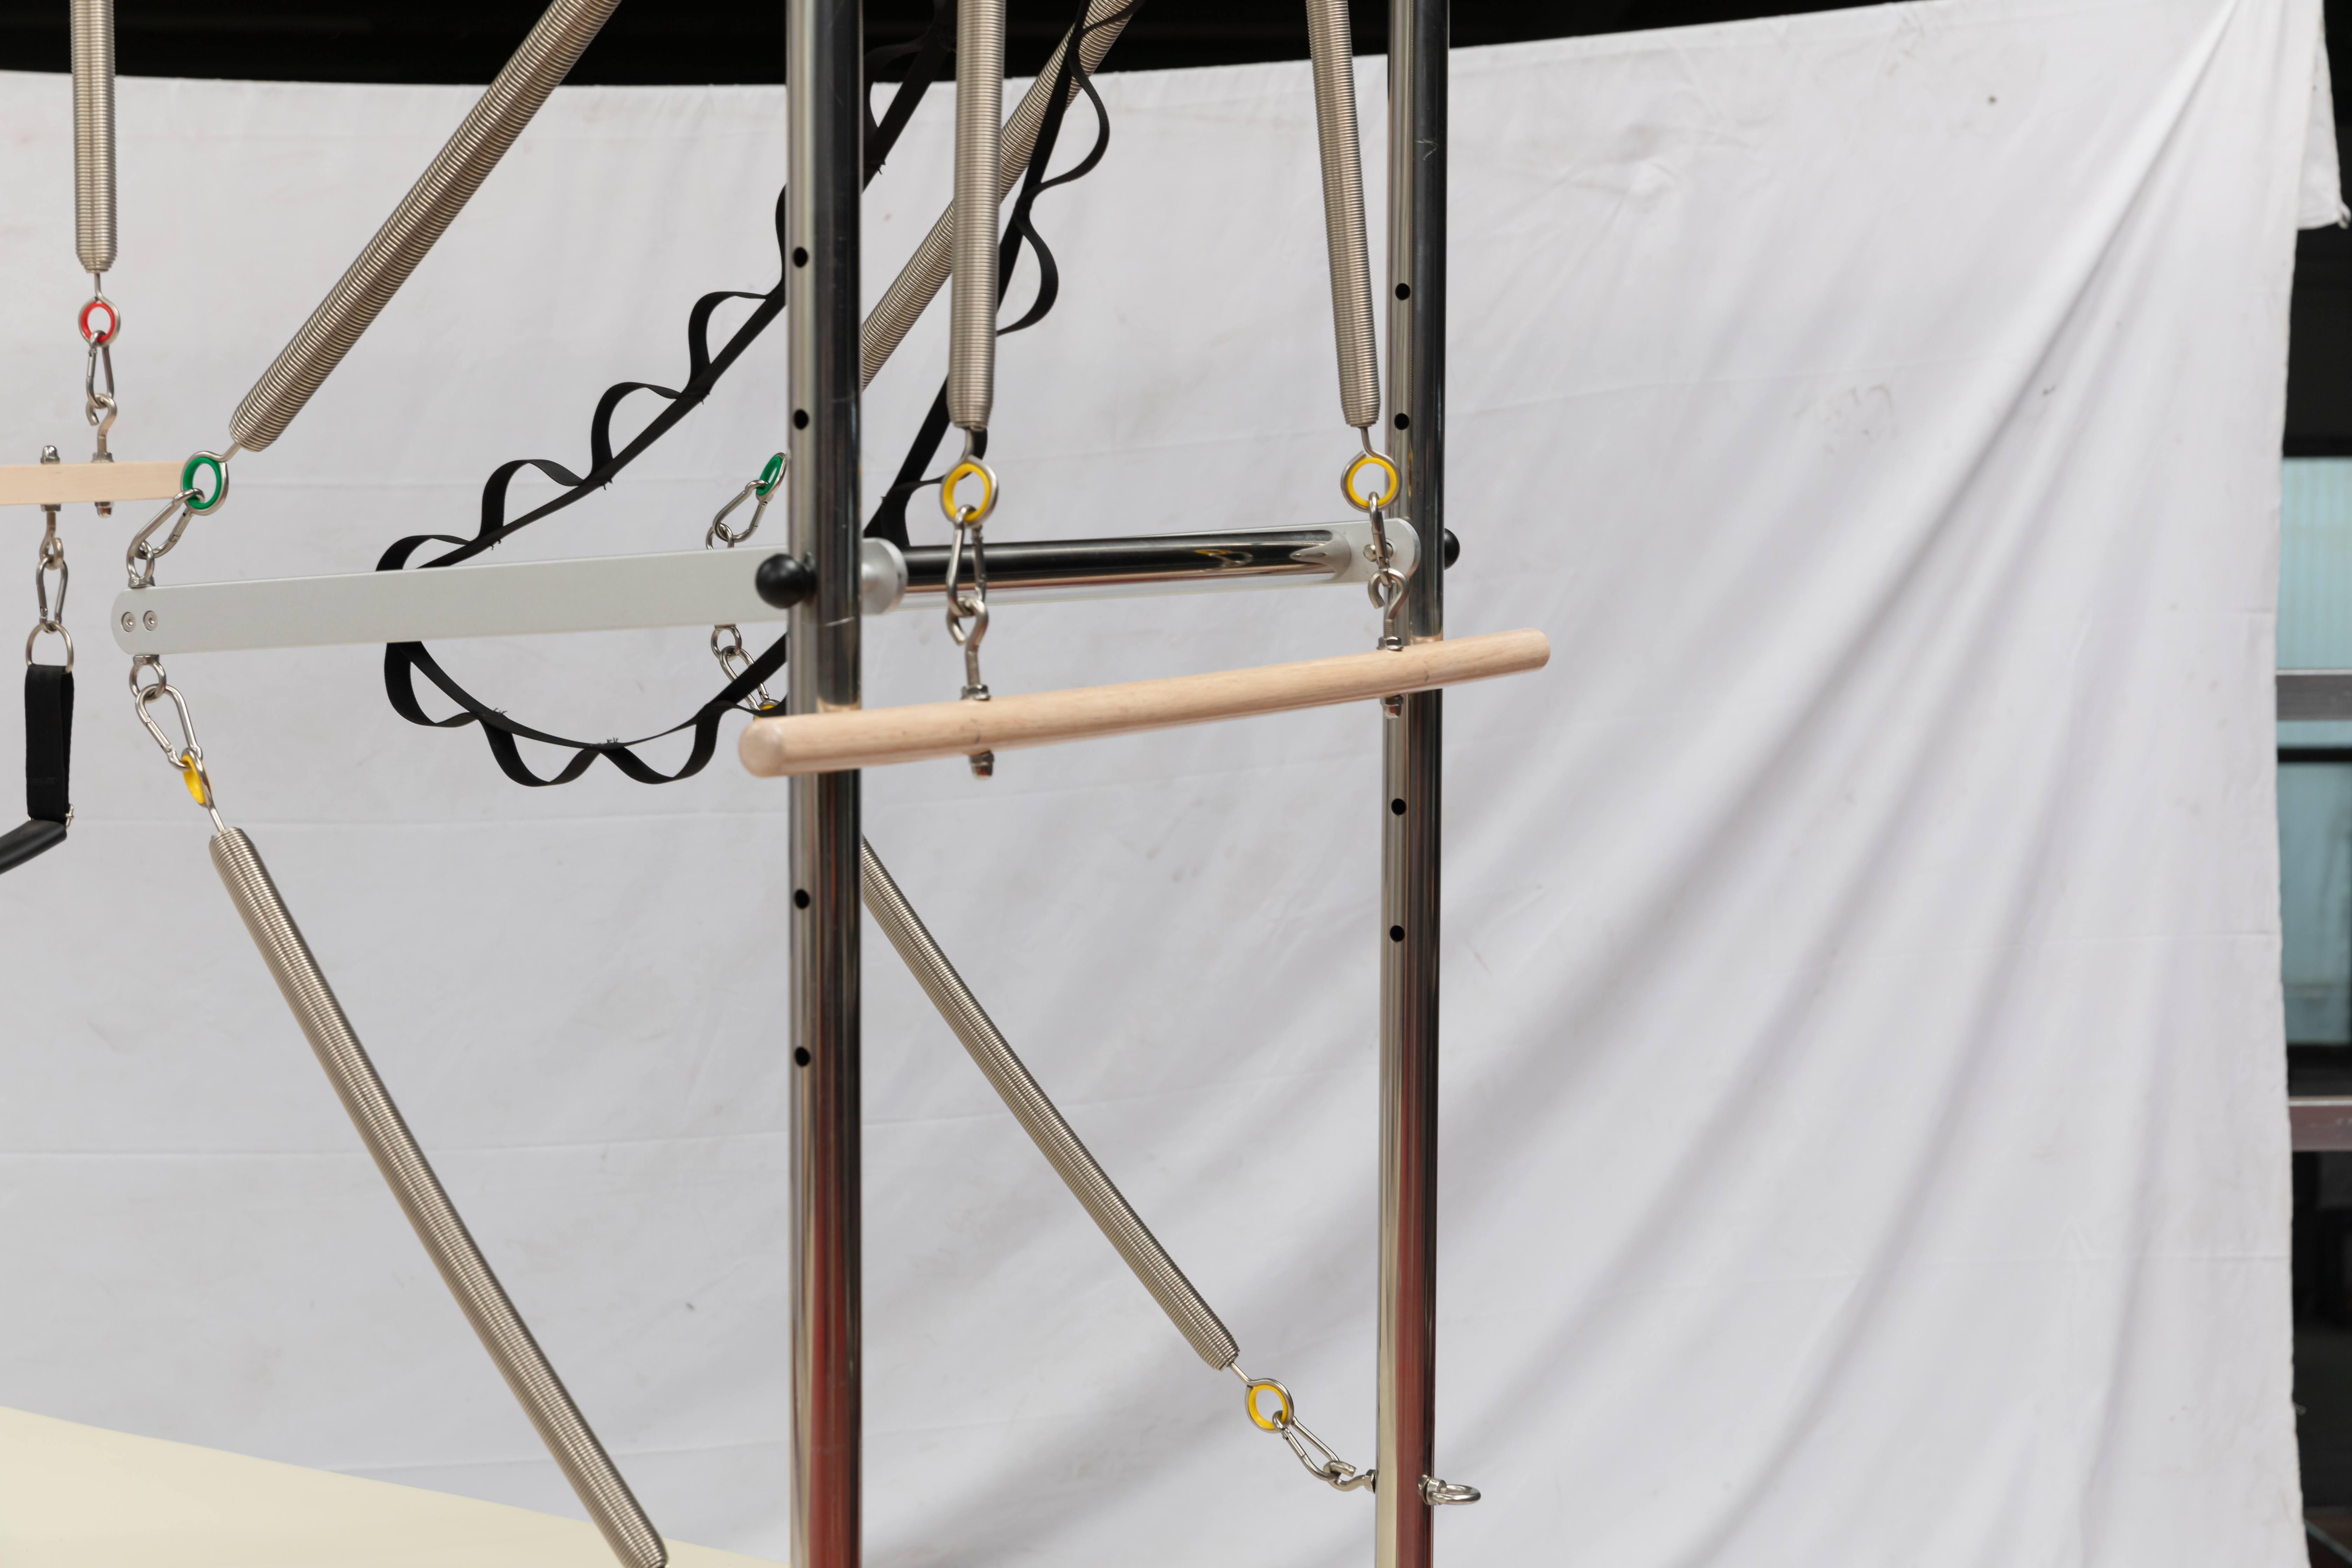
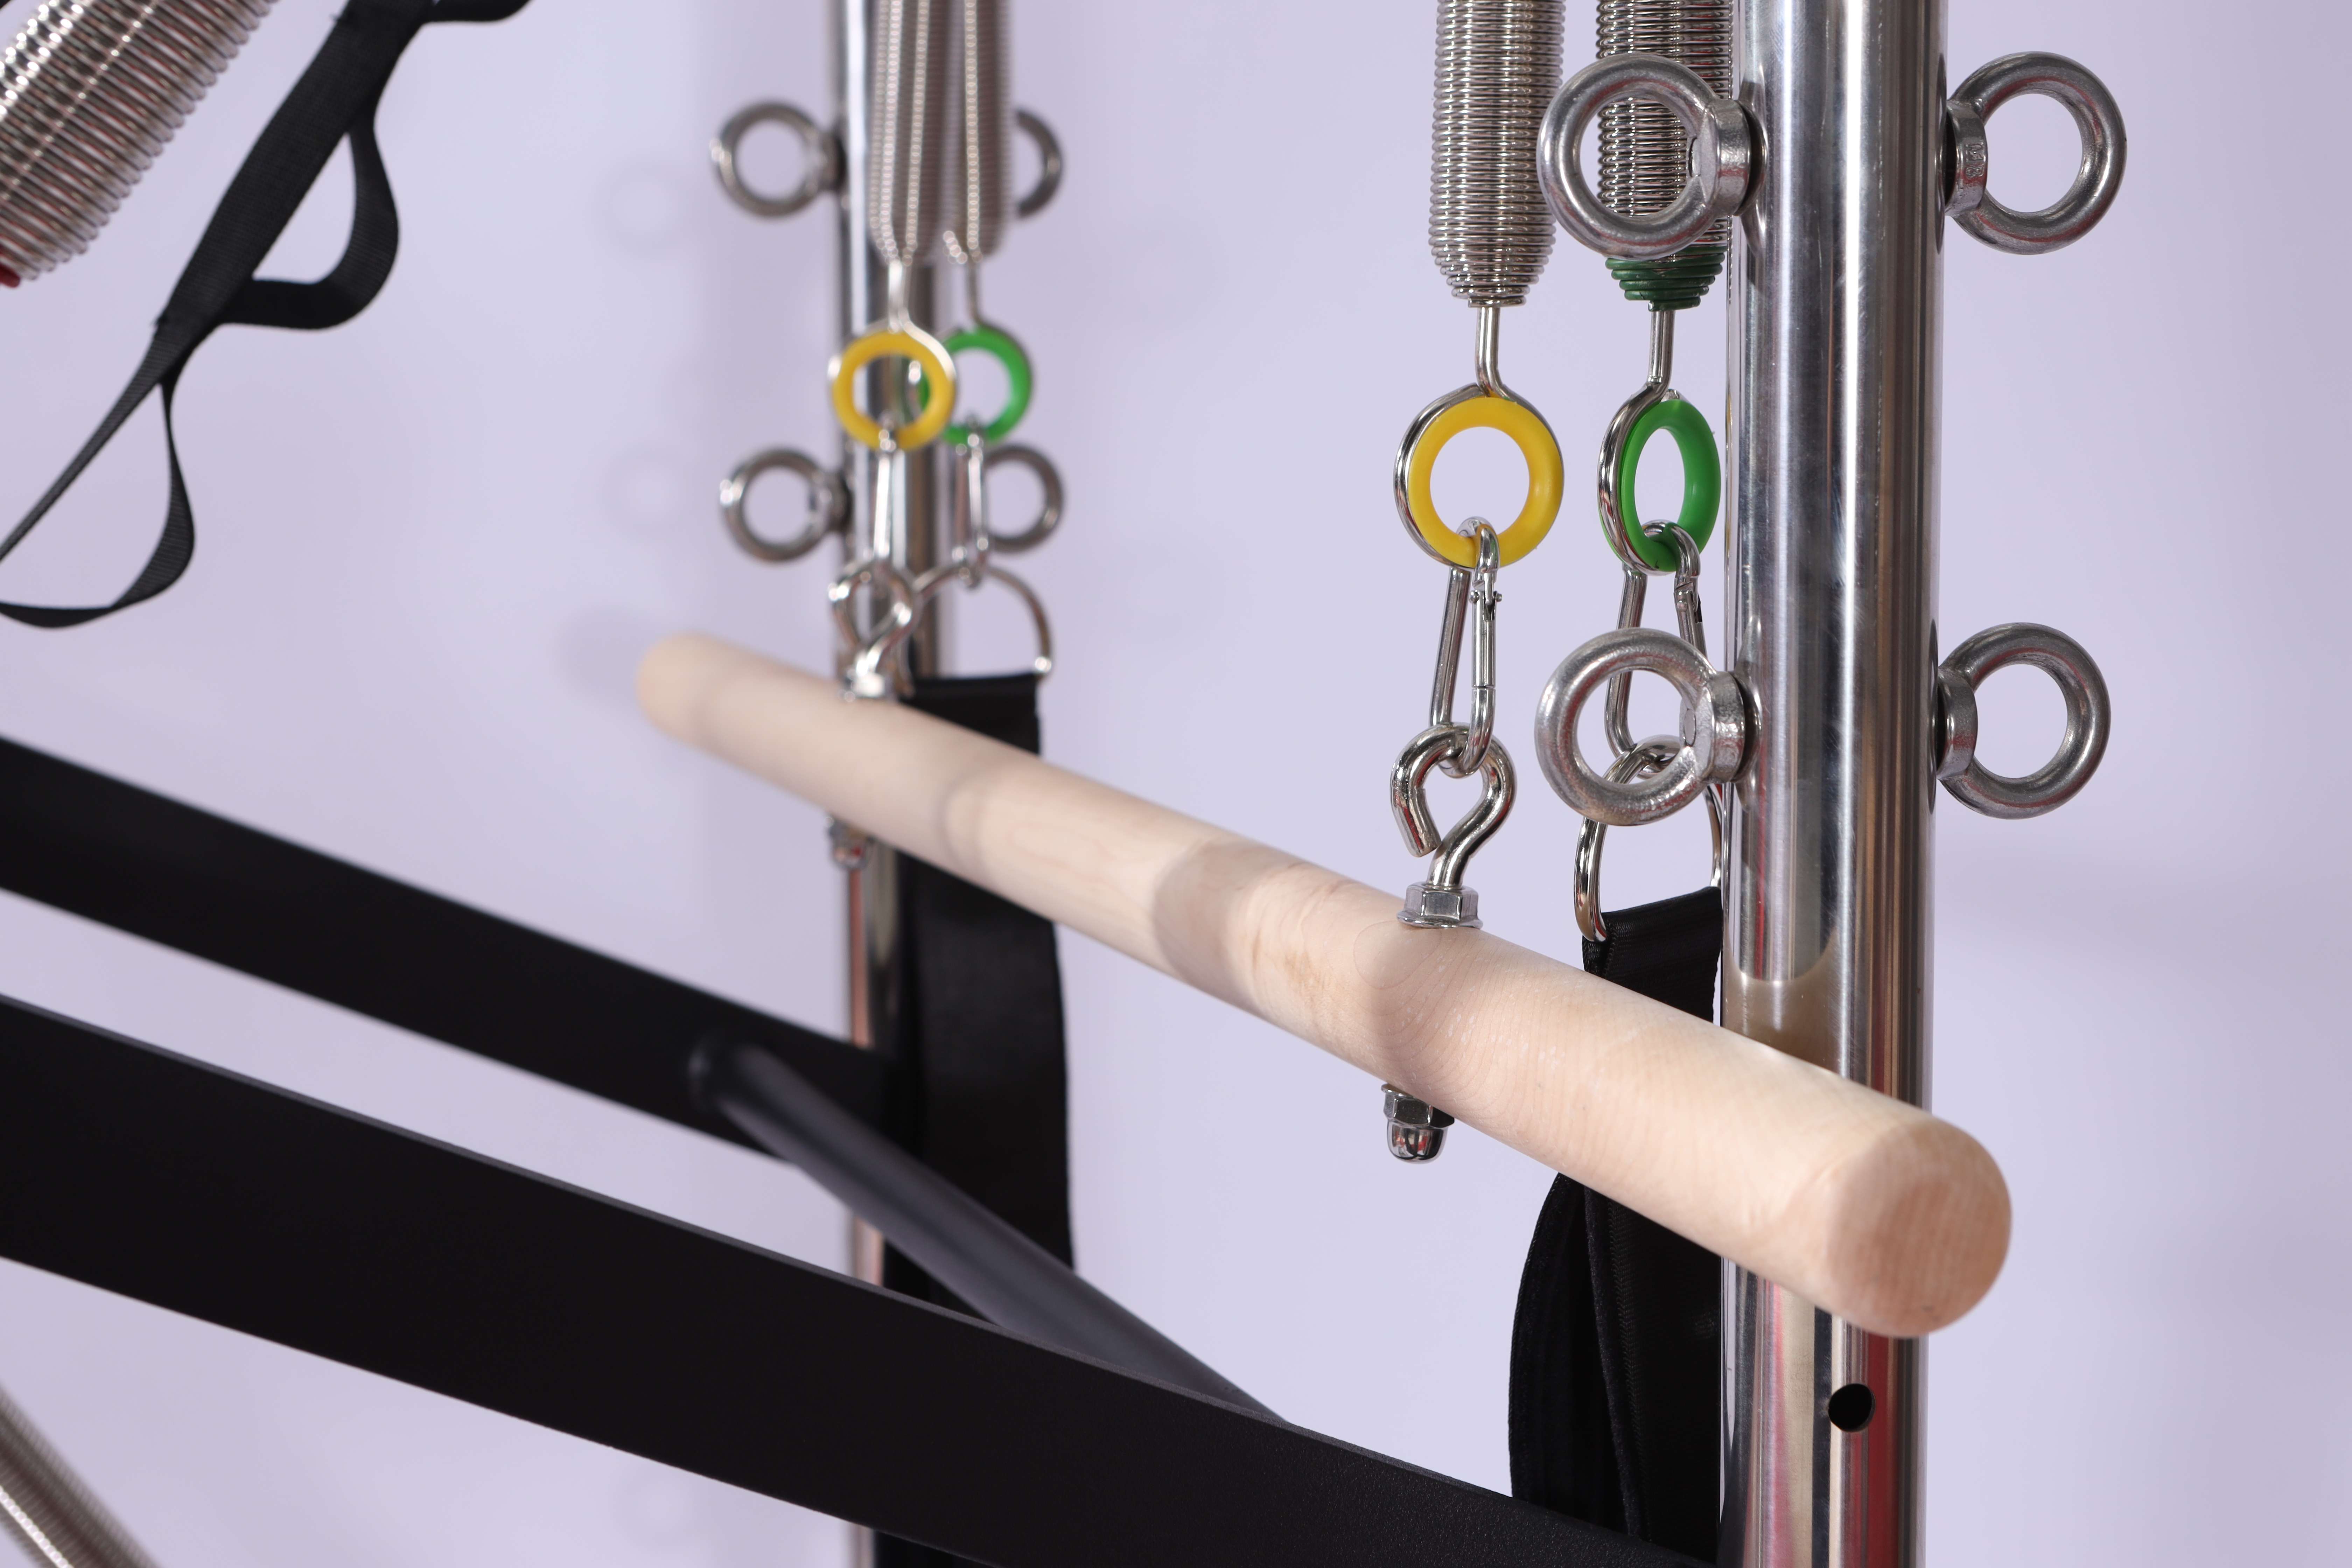
·Springs: Resistance elements connecting the carriage to the frame — different colors/numbers indicate different tension levels (light, medium, heavy).
·Footbar: A crossbar at one end for foot pressing — usually 2-3 height settings.
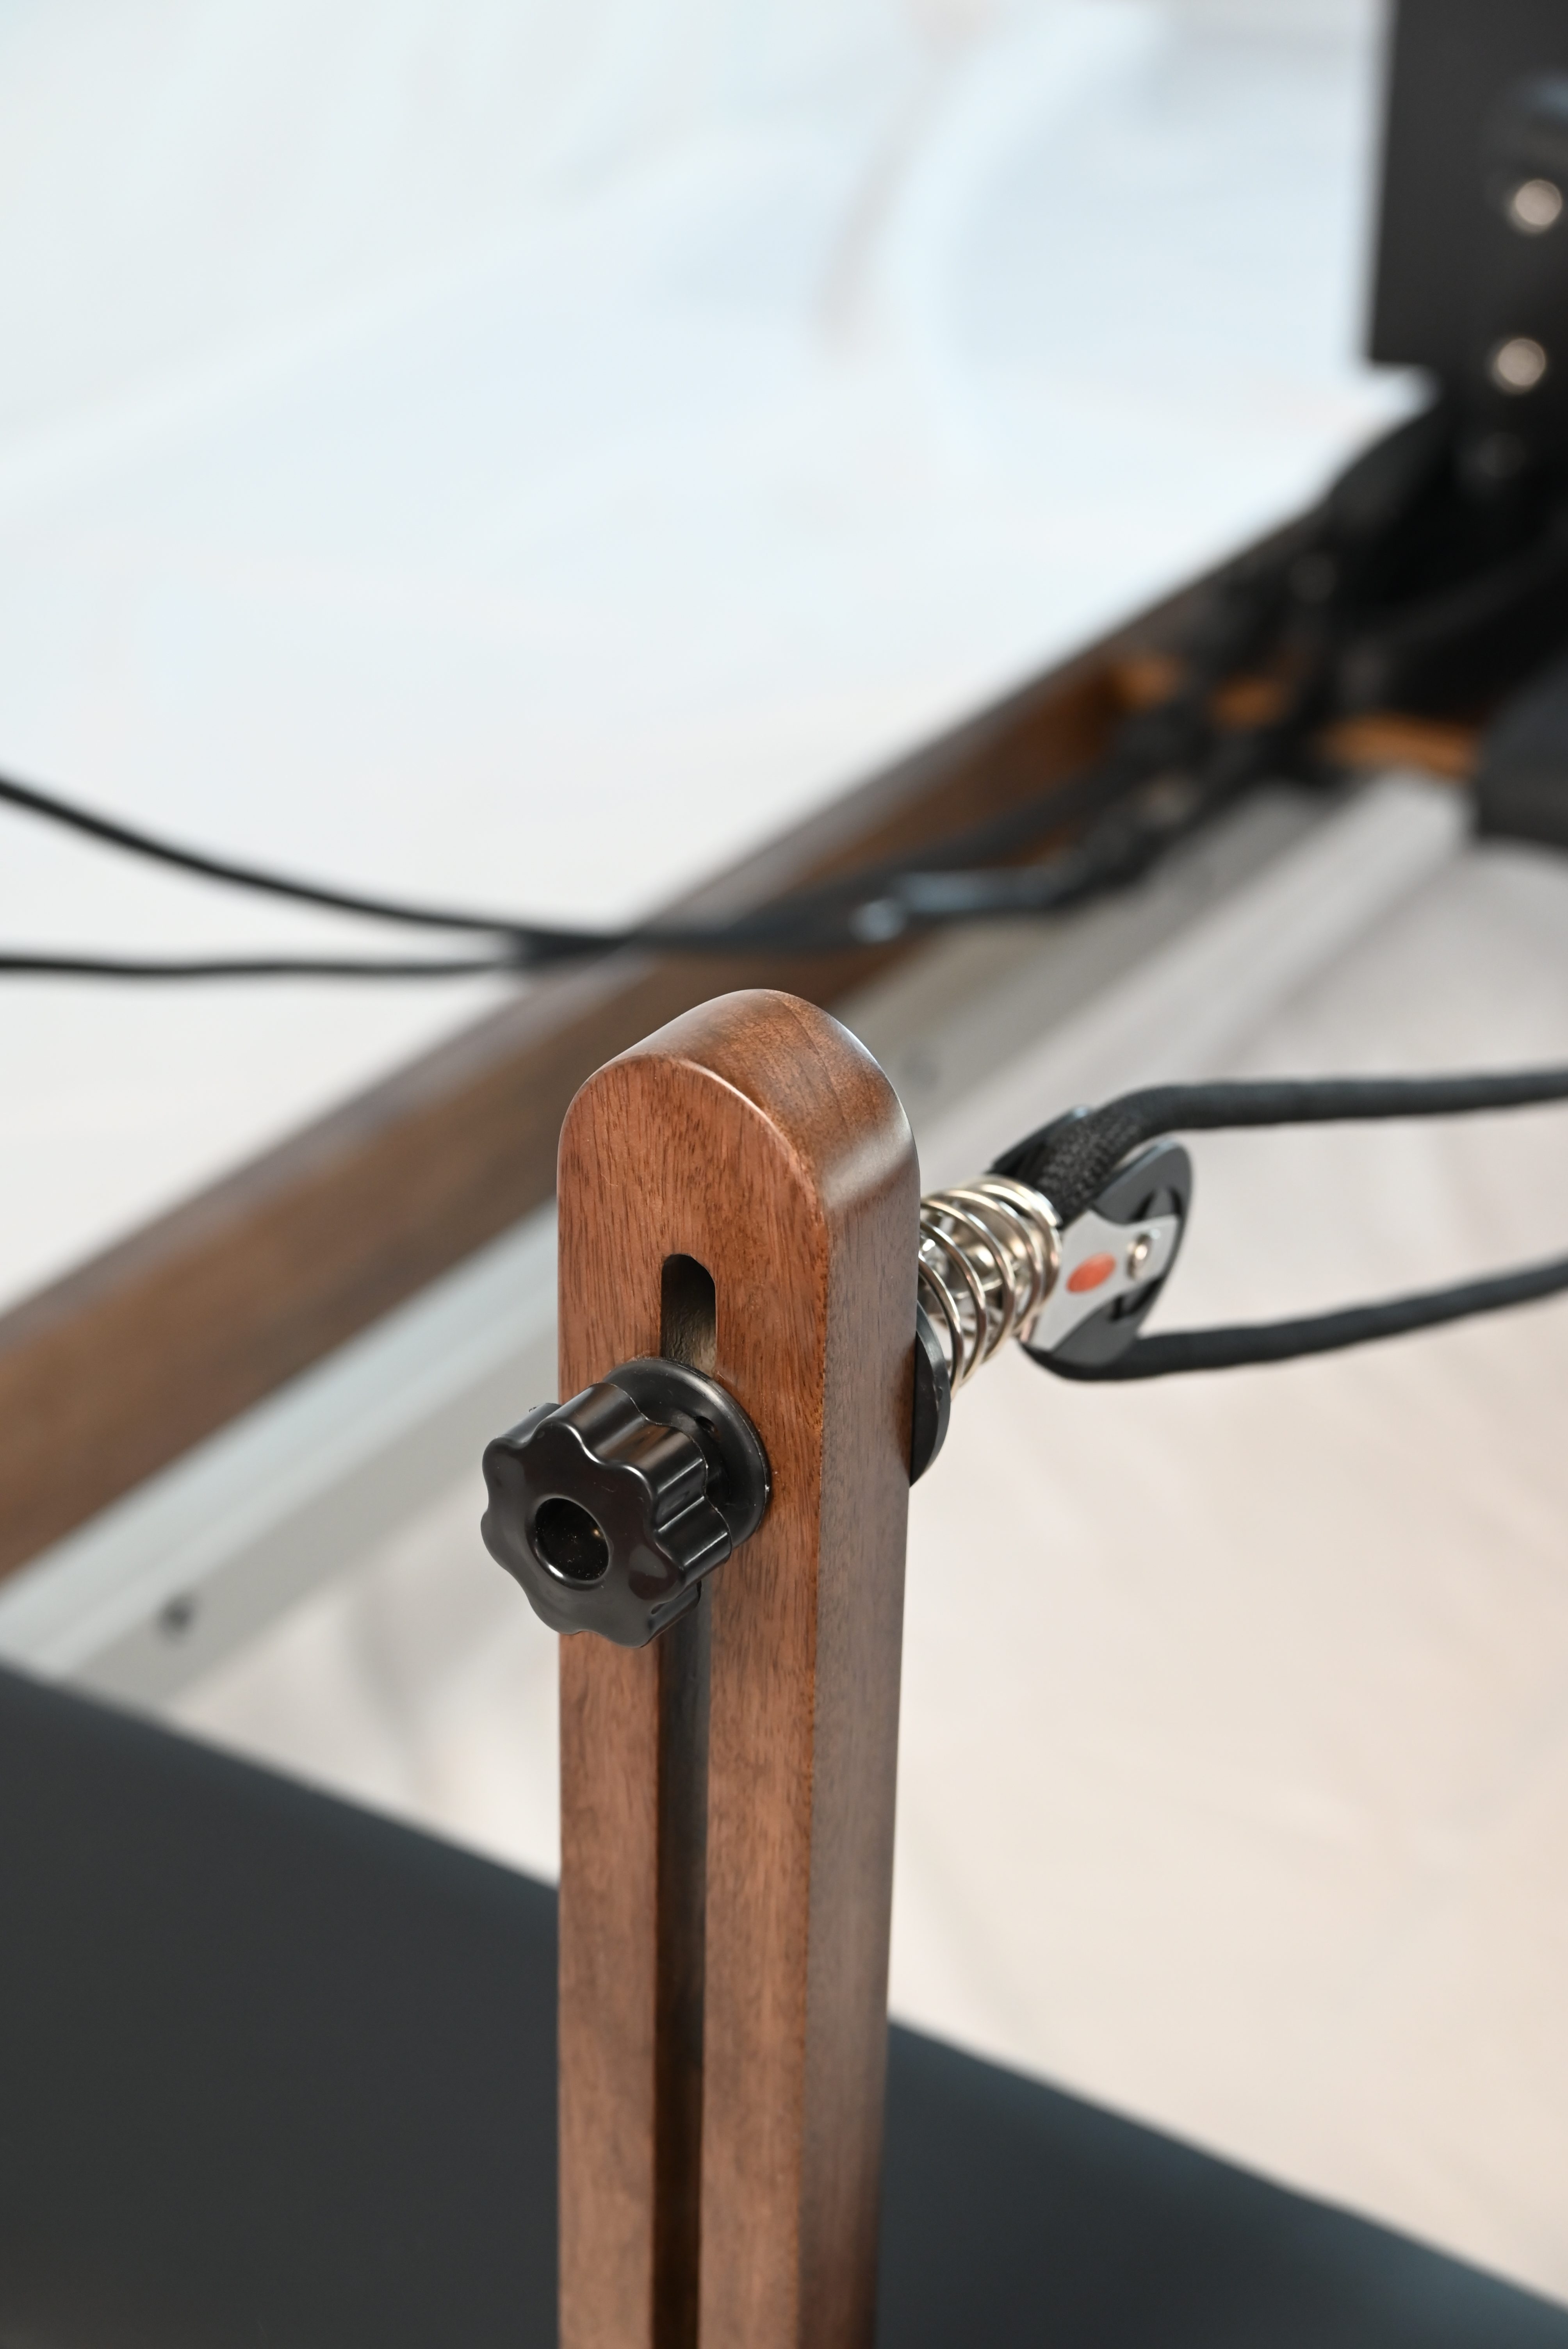
·Shoulder rests: Supports that stabilize your upper body against the carriage.
·Straps / Ropes: Soft straps and handles connected to the carriage or springs — used for upper body work.
·Headrest: Adjustable neck support — typically 2-3 angles.
III. First Steps: Three Things to Do Before Any Exercise
Step 1: Feel the carriage with the lightest spring. Remove all springs, attach only the lightest (usually yellow or marked "light"). Lie on the carriage, press your feet gently against the footbar, push the carriage out slowly and return — not chasing range, but feeling the glide, your core engagement, and whether your pelvis stays stable.
Step 2: Adjust shoulder rests and headrest. Lie down — shoulder rests should support the back of your shoulders, not your neck. Headrest angle should maintain a natural cervical curve — not over-extended or over-flexed.
Step 3: Establish breath rhythm. In Pilates, breath-movement coordination matters more than range. Inhale to prepare; exhale on effort (push carriage, pull straps); inhale on return. Making "exhale on effort" a habit prevents breath-holding and compensation.
IV. Five Beginner-Friendly Reformer Exercises
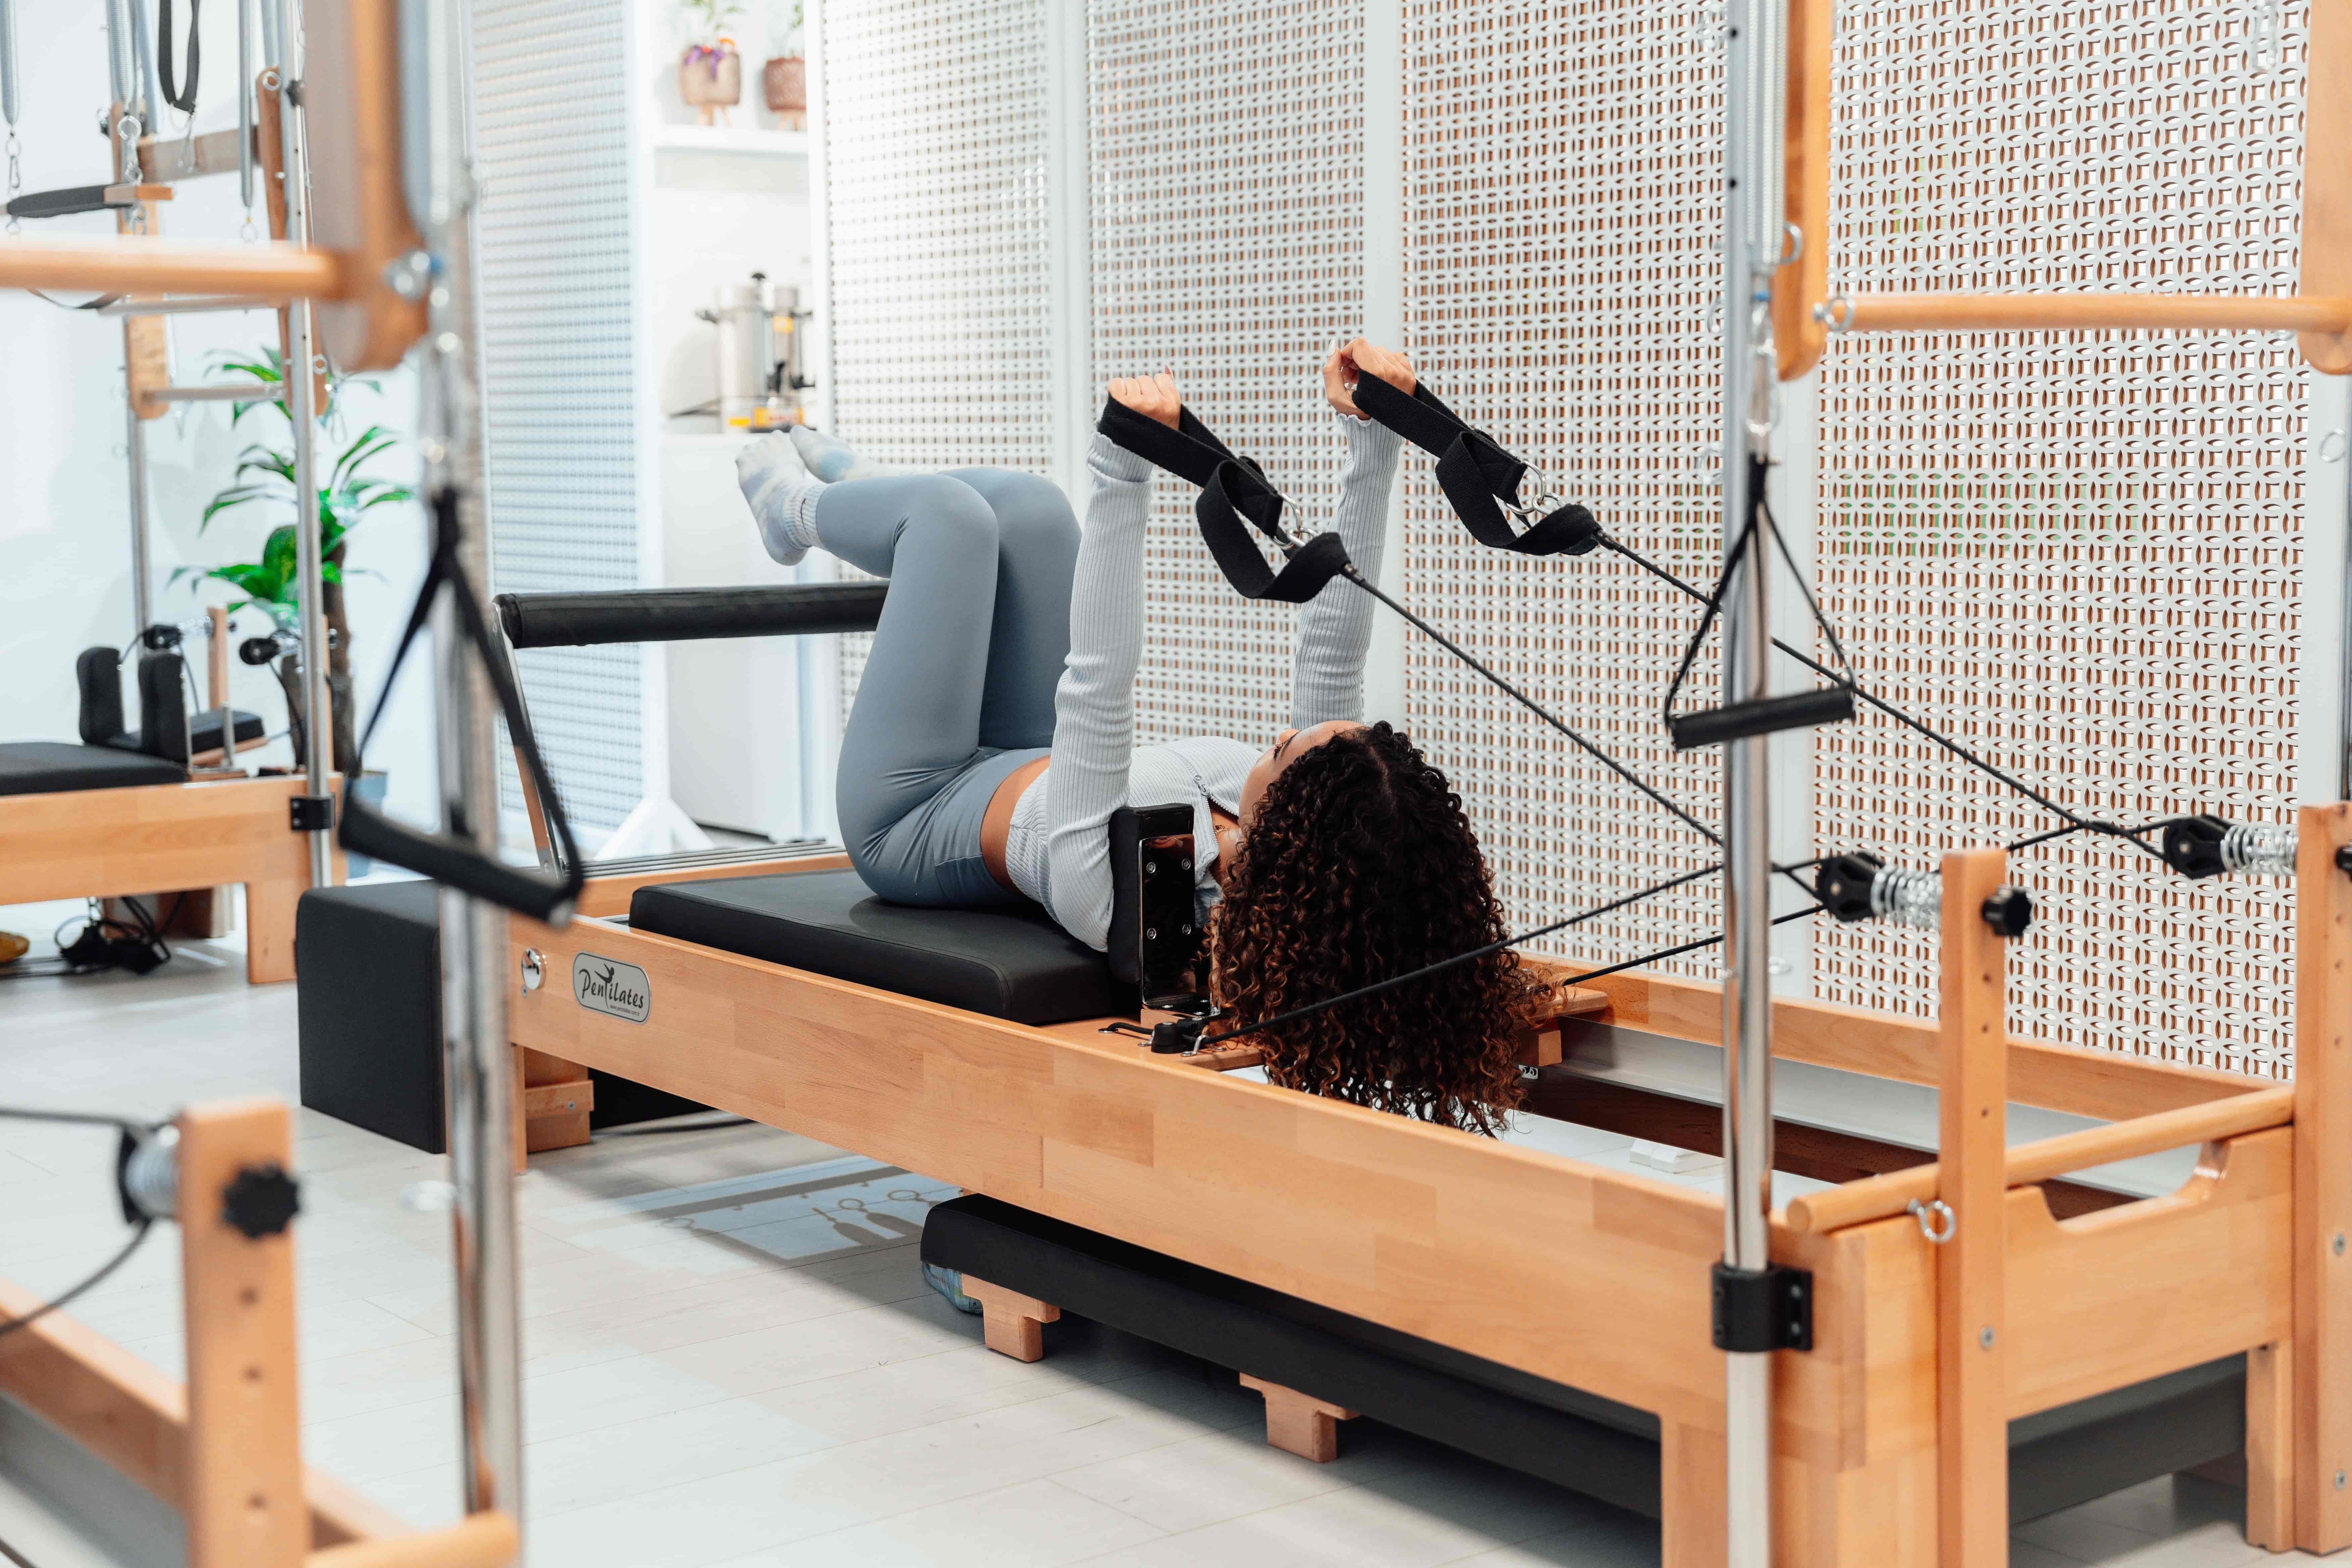
Pelvic Curl: Lie on carriage with feet on footbar, light spring. Exhale, articulate spine up from tailbone to lower shoulder blades; inhale pause; exhale roll down. Goal: spinal segmentation, not height.
Carriage Glide: Lie on carriage with feet on footbar, light spring. Exhale push carriage away with leg strength; inhale control it back. Focus on smooth push/return and body stability.
Seated Row: Sit at the carriage front, legs extended or slightly bent, feet against frame crossbar. Exhale pull carriage toward you using back muscles — shoulder blades retract and depress; inhale return. Avoid arm compensation — back should initiate, not arms.
Single Leg Stretch: Lie on carriage, one foot on footbar, other leg raised with strap around foot. Exhale pull raised leg toward chest — feel posterior chain and hamstring stretch. Keep pelvis stable without rocking.
Side-Lying Abduction: Lie on side on carriage, top foot on footbar or frame crossbar, bottom leg extended. Exhale open top leg upward — feel gluteus medius activation; inhale return.
V. Four Common Beginner Mistakes
Choosing the wrong spring — start light. "More resistance = better results" is the most common beginner misconception. Start with the lightest spring to learn the movement pattern, not to chase soreness. If a light spring feels too easy, your control has improved — then consider adding spring tension.
Shoulder and neck tension. The reformer's most common compensation is shoulder-shrugging and neck-craning. When movements get difficult, the body naturally recruits from the shoulders. The solution isn't "try harder" — it's "do the same thing with less effort."
Uncontrolled carriage return. Many beginners push hard and then release completely, letting the springs snap the carriage back with a crash. Both push and return should be fully controlled — the carriage should arrive at its end position "gently," not through impact.
Moving too fast. The reformer's linear resistance rewards slower movements — muscle engagement time increases with slower pace. Practice at "slow-motion movie" speed for better results.
VI. Sample Home Practice Rhythm
A complete home session should take 30-40 minutes:
·Warm-up (5 min) : Light spring carriage glides, pelvic curls, cat stretches.
·Main training (20-25 min) : 4-5 exercises, 8-12 reps each, 2-3 sets.
·Cool-down (5 min) : Seated side bends, supine single-leg stretches, child's pose.
Weekly frequency: Aim for 2-3 reformer sessions weekly, plus 2 mat sessions. Reformer builds movement awareness; mat reinforces it — they work best together.
Summary: The beginner phase with a home reformer isn't about "how many exercises you learn" — it's about "building a dialogue between your body and the equipment." Spring resistance, carriage feedback, and your own control — the rapport among these three is what home practice is truly about. Spend the first 1-2 months mastering these five foundational exercises until breath, rhythm, and control become second nature — then explore more advanced combinations.