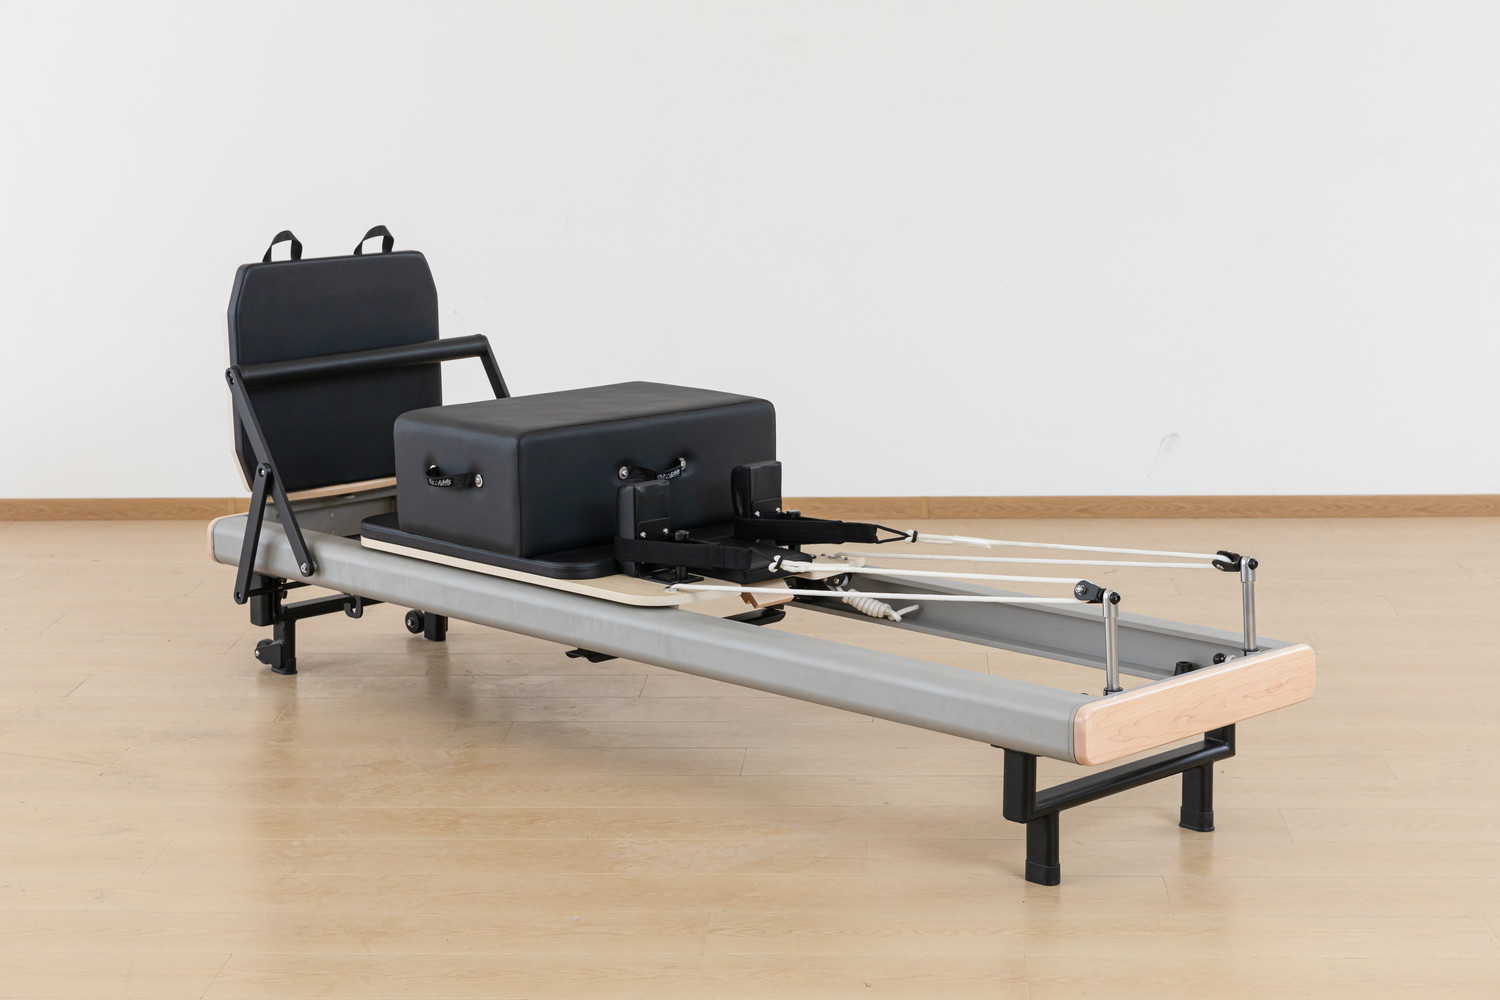
How to Assemble Your Foldable Pilates Machine Step by Step

When your foldable Pilates reformer arrives at your doorstep, it often comes in a large, heavy box. Faced with a pile of parts and an instruction manual, many people's first reaction is "should I hire someone to assemble this?" — but the truth is, if you follow the correct sequence and steps, most foldable reformers are not difficult to assemble. This guide, compiled from multiple product manuals and real installation experience, provides a complete, step-by-step assembly process.
Step 1: Preparation Before Unboxing
Before opening the carton, there are two easily overlooked but crucial tasks.
Check access dimensions: This is the biggest "hidden pitfall" for foldable bed delivery. Many users only measure the room placement space but forget to measure door widths, corridors, and elevator dimensions. A real case from a Taipei user is instructive: she lived in an old apartment and failed to measure the diagonal length of the stairwell turn, causing the cargo to get stuck between floors, ultimately requiring paid removal of part of the handrail to resolve. Measure these: elevator door width and cab depth (many older elevators are only 110cm deep, while standard cartons often exceed this), stairwell turn width (if using stairs), and clear width of your front door and all passages.
Prepare assembly space: Clear a flat floor area and lay down a mat to protect both the floor and equipment. Allow at least 50cm of clearance on all sides of the unfolded dimensions for maneuvering.
Two-person operation: Almost every product manual's first safety tip is "use two people when moving and assembling the equipment to avoid injury".
Step 2: Unboxing and Parts Inventory
Open carefully: Open along the top seam of the carton. Avoid driving the utility knife too deep, as this can scratch the vinyl padding inside.
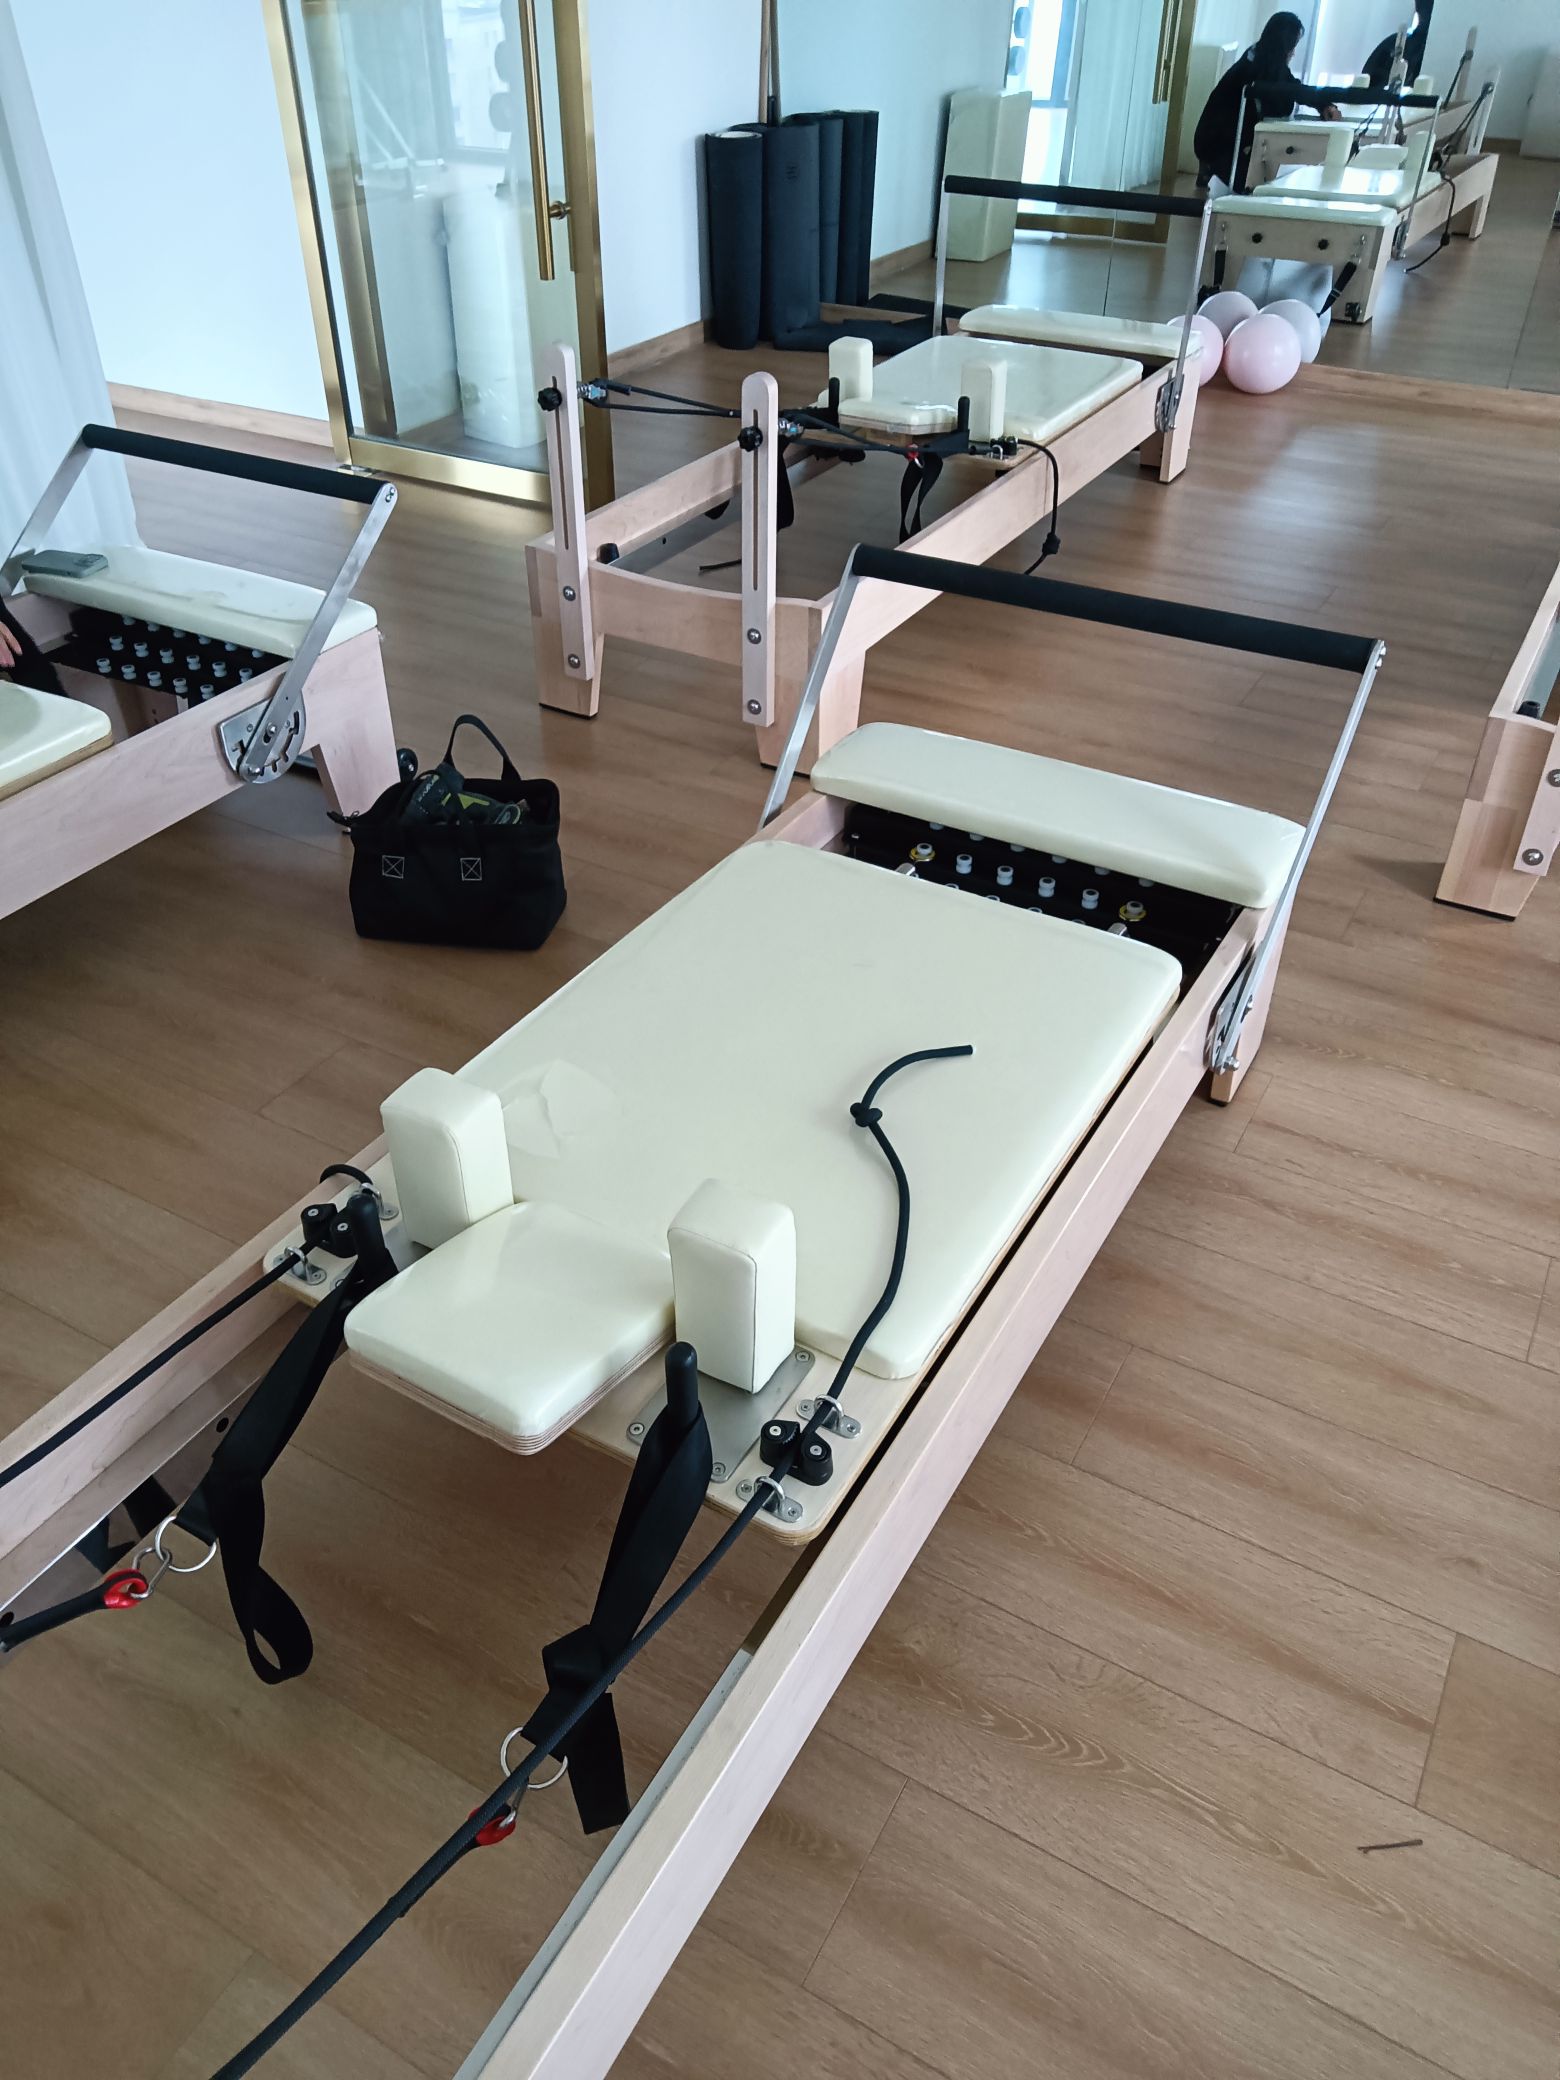
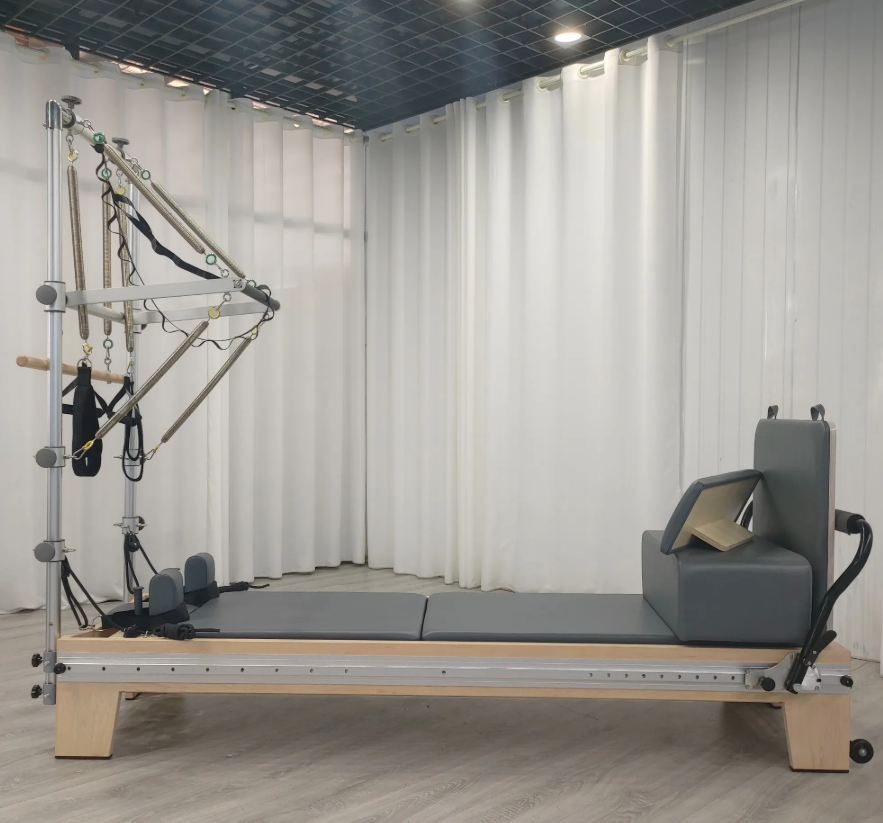
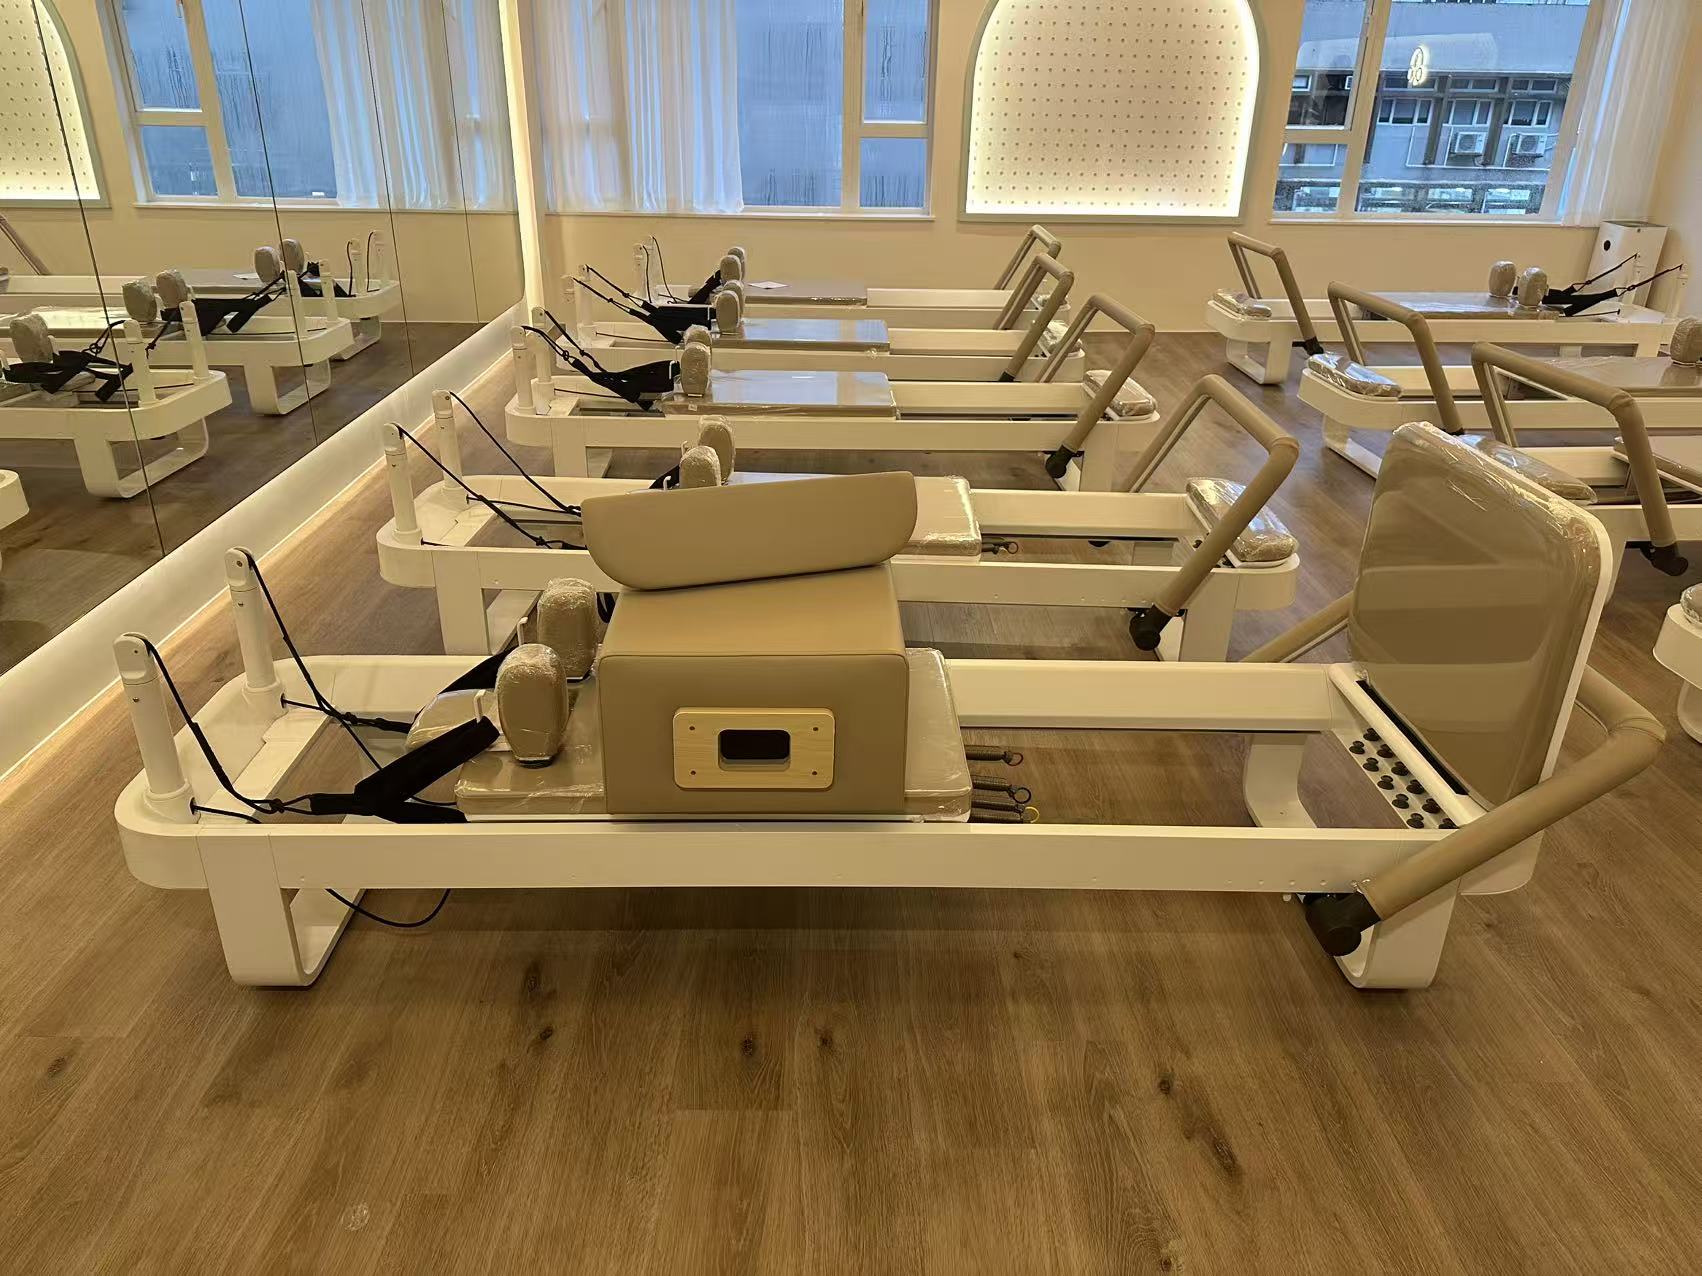
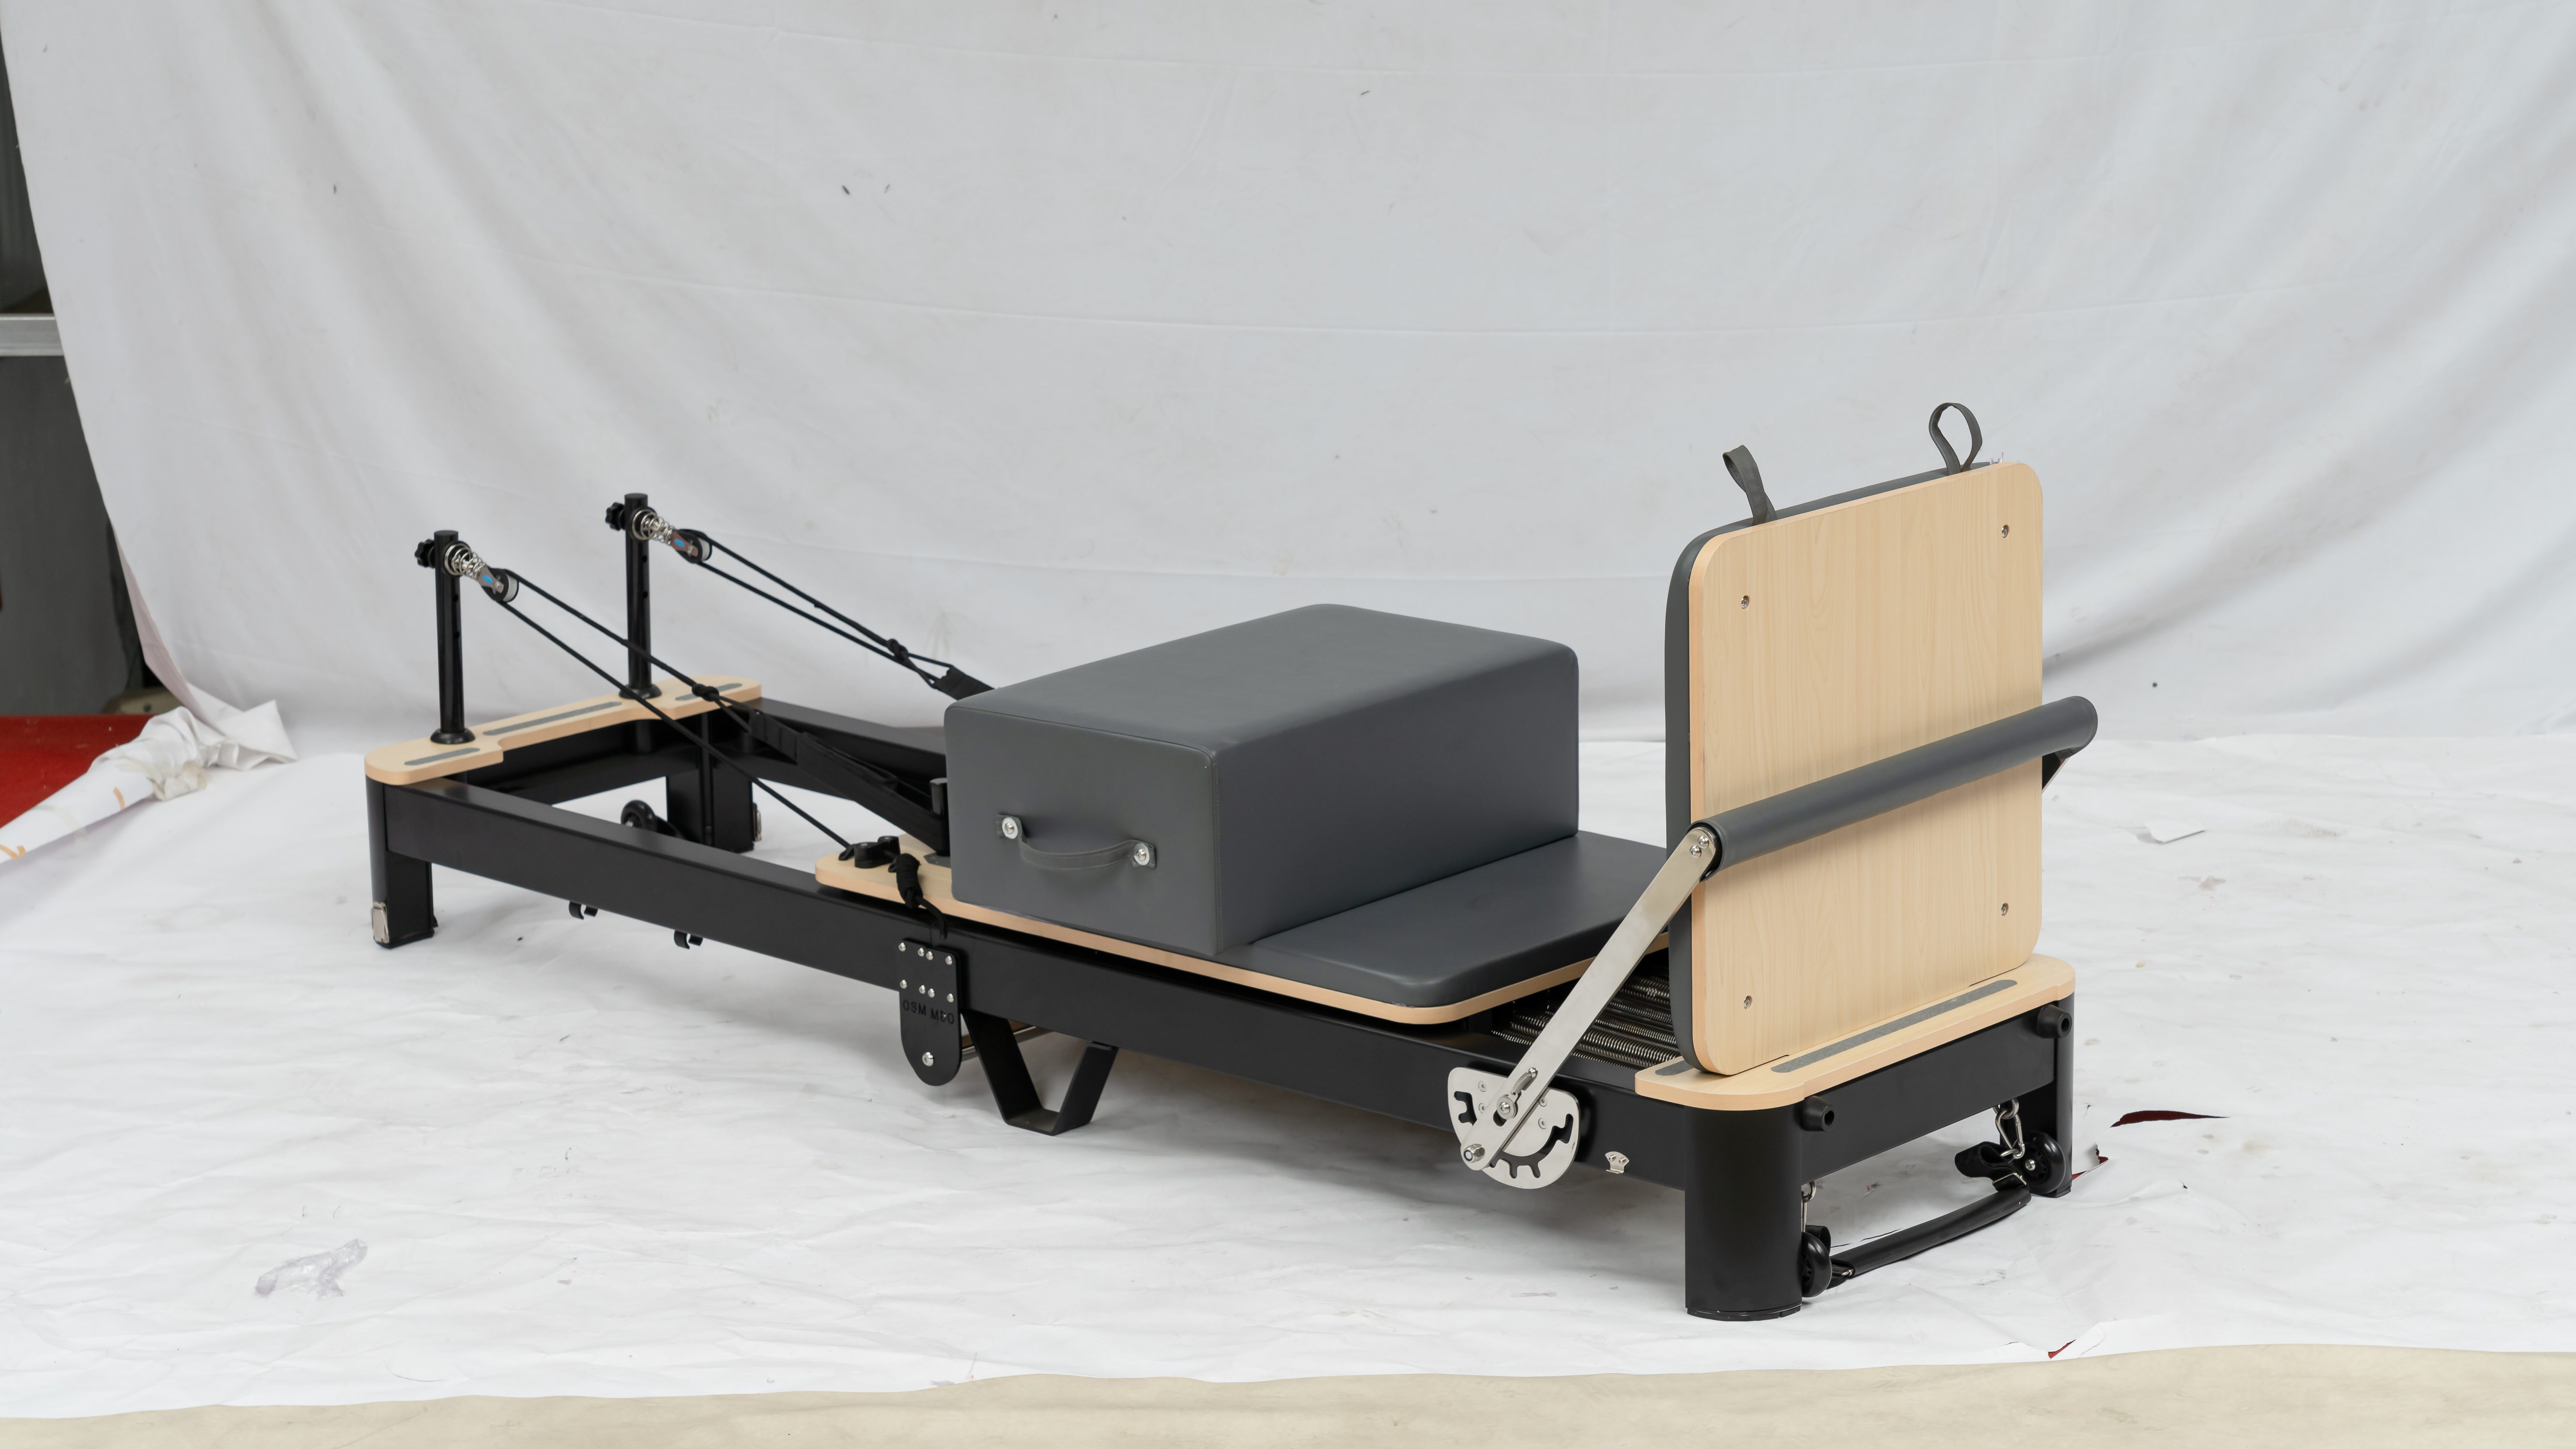
Inventory parts: Remove all components and check against the parts list in the manual. Common components include main frame (folded), carriage assembly, footbar, shoulder rests, ropes and straps, spring set (different colors for different resistance levels), pulley risers, tool kit (Allen wrenches, etc.), jump board, box.
Keep packaging materials: Until assembly is complete, keep parts bags and cushioning materials to prevent losing small parts. Keep small hardware in a tray or container for easy access.
Step 3: Unfolding the Main Frame
This is one of the most critical steps in assembly — pay attention to safety.
Release transport locks: Locate the locking pins or safety latches on both sides of the frame that hold the two halves together in folded position. Remove them.
Cut cable ties: Some products use cable ties to secure ropes and pulleys during transport — carefully cut these.
Unfold the frame: Grip the handle or crossbar in the middle of the frame and guide the upper half smoothly down toward the floor. Be careful not to pinch your hands — this is a safety point emphasized repeatedly in manuals. Two-person operation is safer.
Lock the frame: Once fully unfolded and flat, insert the safety locking pins into the central hinge mechanism. Never step onto the carriage until the frame lock is fully secured.
Step 4: Installing Footbar and Pulley Risers
Footbar installation: Insert the footbar into the mounting holes at the front of the frame and secure with locking pins at your preferred angle. Ensure pins on both sides are fully inserted and locked. You may need to wiggle slightly to align the holes.
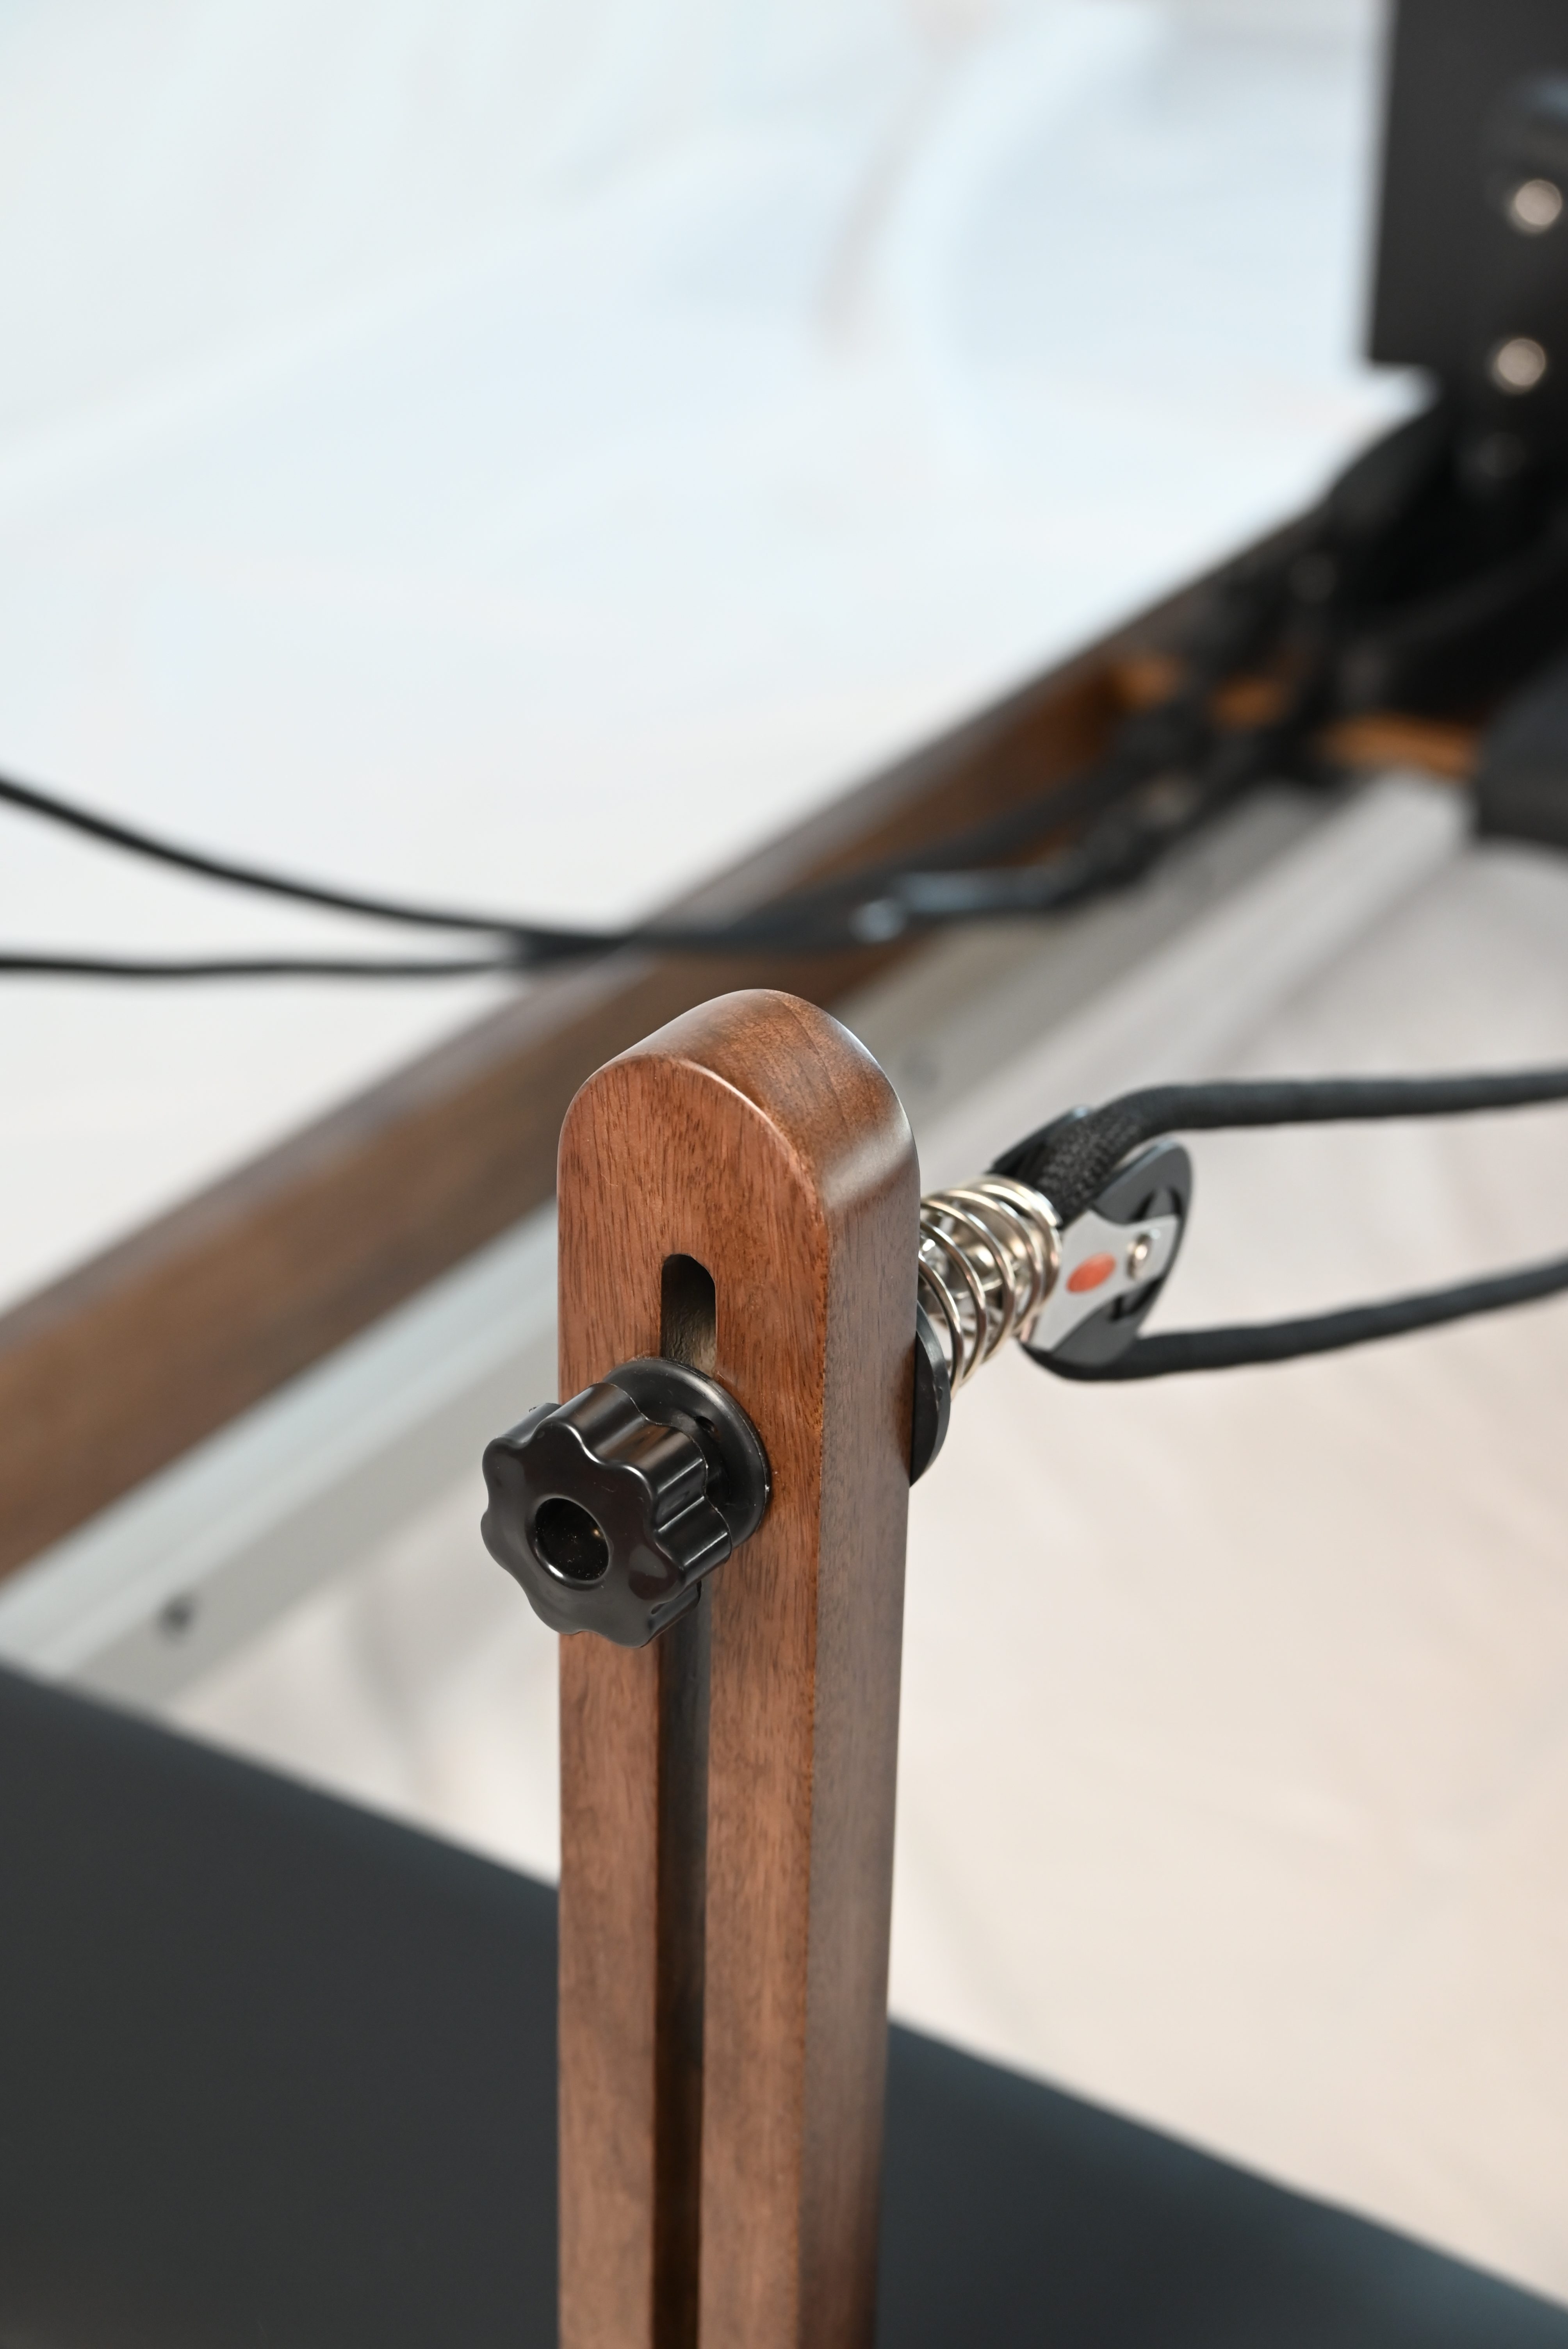
Pulley riser installation: Insert the two riser posts into the mounting slots at the rear of the frame and tighten with knob screws. Riser height is typically adjustable — loosen the rear knob, slide to desired height, and retighten. Ensure both sides are even.
Jumpboard installation (if applicable) : Move the footbar to horizontal position, remove the foot platform, slot the jumpboard into the same slot, then move the footbar back so it rests firmly behind the jumpboard.
Step 5: Installing Shoulder Rests and Headrest
Shoulder rests: Slide the padded shoulder rests into the quick-release receivers at the head of the carriage. Ensure the contoured surface faces the footbar for proper support.
Headrest: Insert the small headrest into the corresponding slot on the carriage frame and adjust to a comfortable angle.
Step 6: Threading Ropes and Attaching Straps
Thread ropes: Feed one end of each rope through the pulley on the riser, then insert the other end through the rope clamp or adjuster on the carriage. Rope length can be adjusted for different exercises — longer ropes create less tension, shorter ropes create more tension.
Attach straps: Connect the handle strap or foot strap to the looped end of the rope, forming a loop-to-loop knot.
Level ropes: Pull both straps forward to the footbar and check that both ropes are the same length to maintain balanced movement.
Step 7: Installing Springs
The order and quantity of springs affect the training experience.
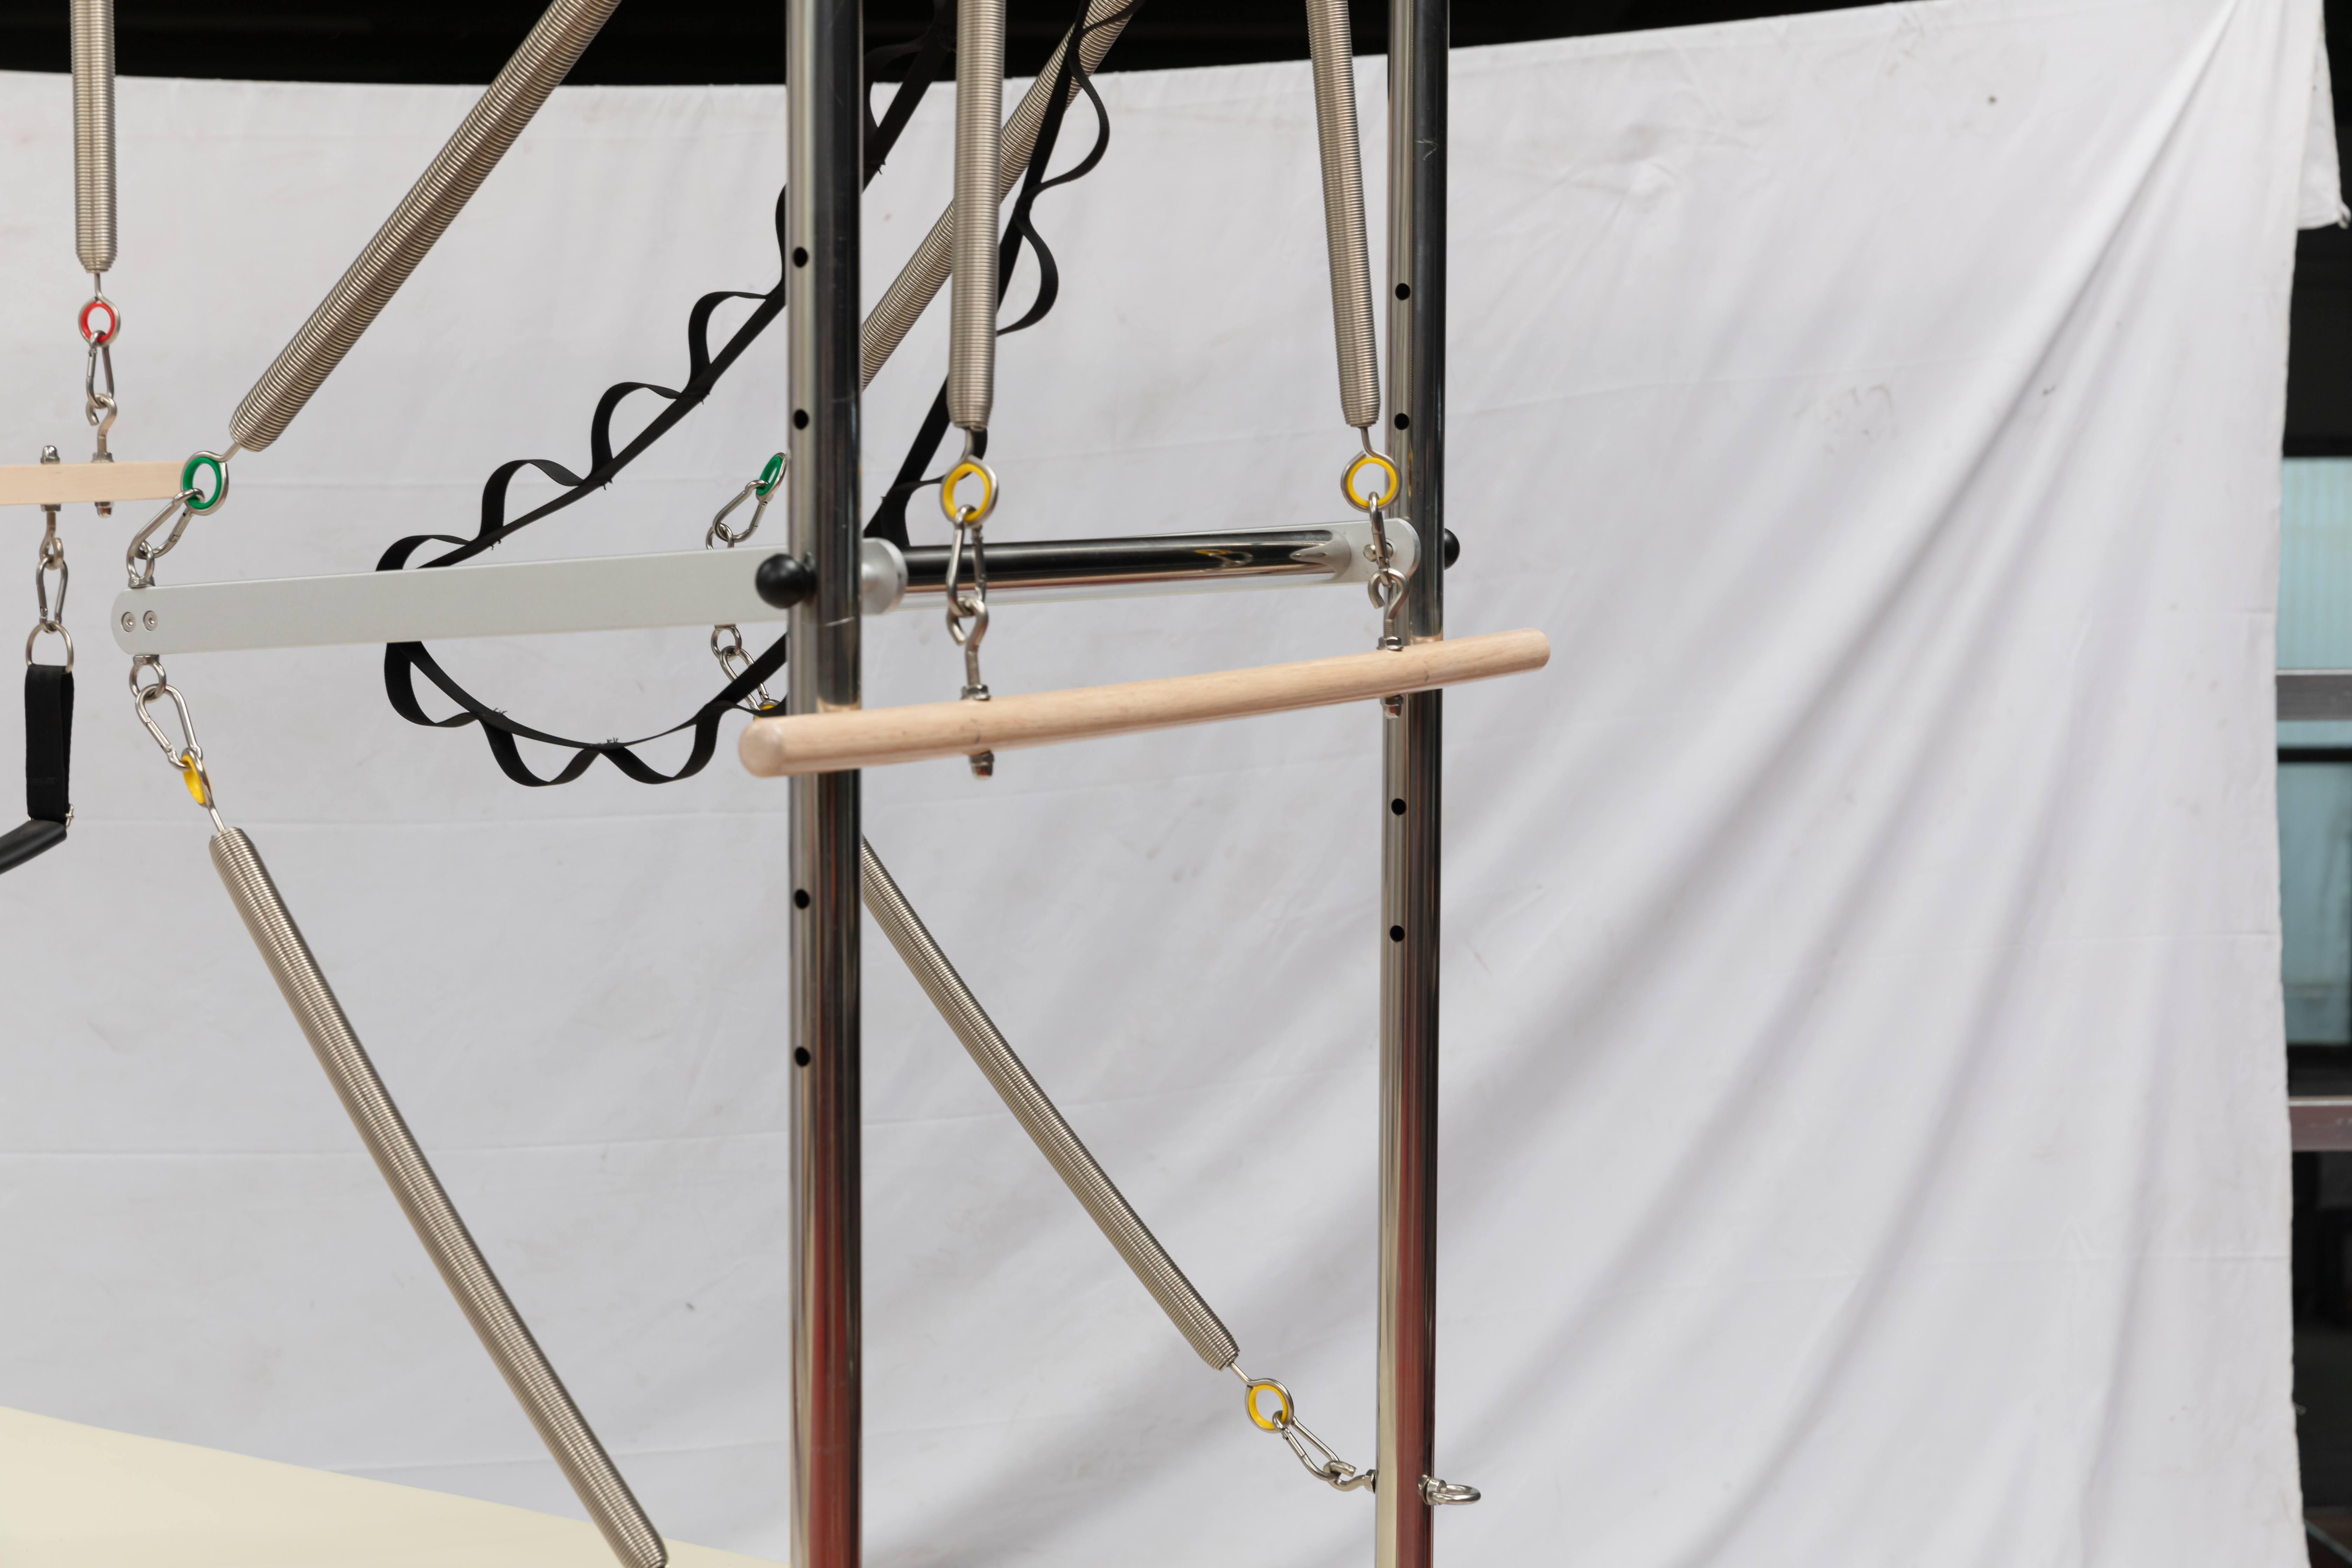
Hooking method: Hook one end of each spring under the carriage and the other end onto the gear selector.
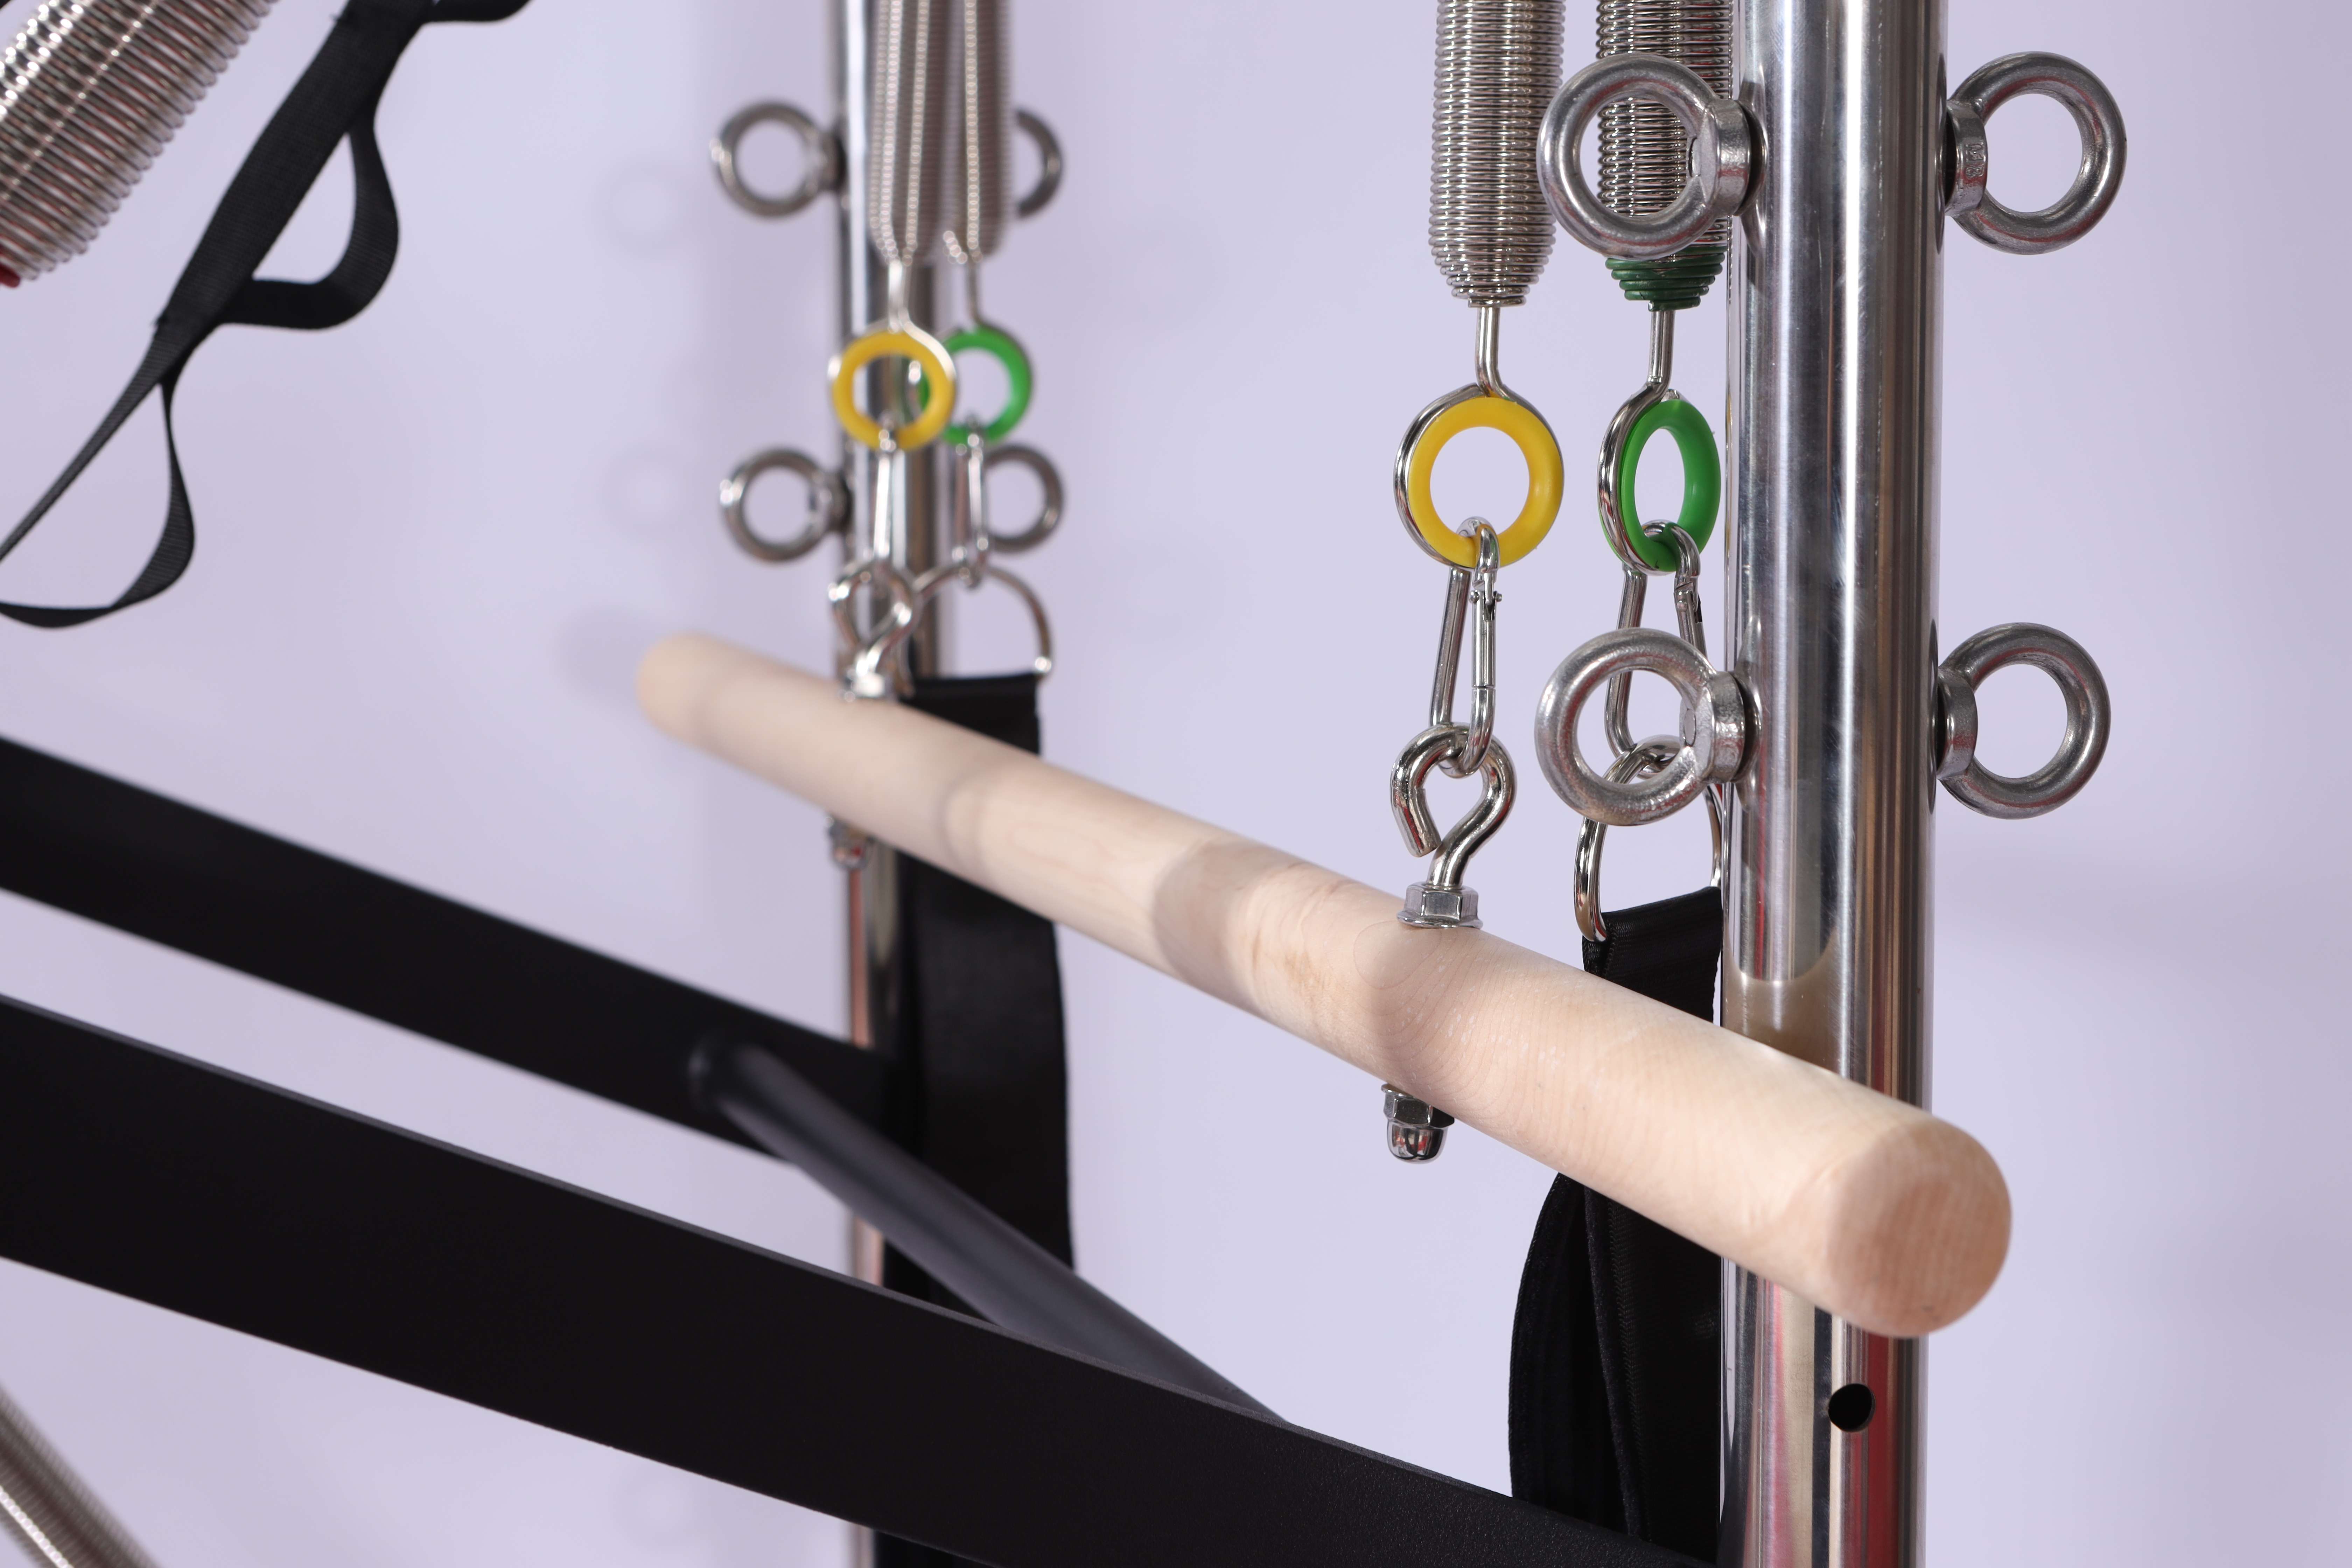
Spring configuration reference: Different colors indicate different resistance levels — red typically heavy, yellow medium, green/blue light. Combine as needed for desired resistance.
Important safety reminder: Always keep at least 1 spring attached to the gear bar at all times to prevent the carriage from rolling unexpectedly.
Step 8: Installing Carriage Stopper and Floor Mat
Carriage stopper: Insert the stopper into the slot on the inside of the frame, choosing the position based on your height. Taller users may need the stopper further from the footbar. Note: do not insert the stopper into the two holes closest to the gear bar — these are screw holes, not stopper holes.
Floor mat: Place the non-slip mat under the frame legs to prevent slipping and protect your floor.
Step 9: Functional Testing
After assembly is complete, perform a safety check before first use.
Carriage glide test: Attach 2 medium springs and gently push the carriage along the tracks. Check for smooth, quiet movement without obstruction.
Footbar lock test: Confirm that the footbar support rod is fully engaged in both positioning slots on left and right sides — it should not shift during exercise.
Rope length check: Pull both straps forward to confirm equal length.
Fastener check: Confirm all bolts, knobs, and pins are securely tightened.
Folding and Storage Method
When not in use, fold as follows:
1.Move the carriage to the spring side and keep at least 1 spring attached to the gear bar to prevent rolling
2.Remove risers and footbar (if your model supports quick removal)
3.Fold the footbar toward the headrest
4.Remove the locking pins from the center hinge
5.With two people, grip the center handle and lift the frame to fold
6.Fold both leg supports inward
7.Insert transport locking pins to secure the folded frame