How to Stop Your Pilates Reformer From Shifting During Exercise

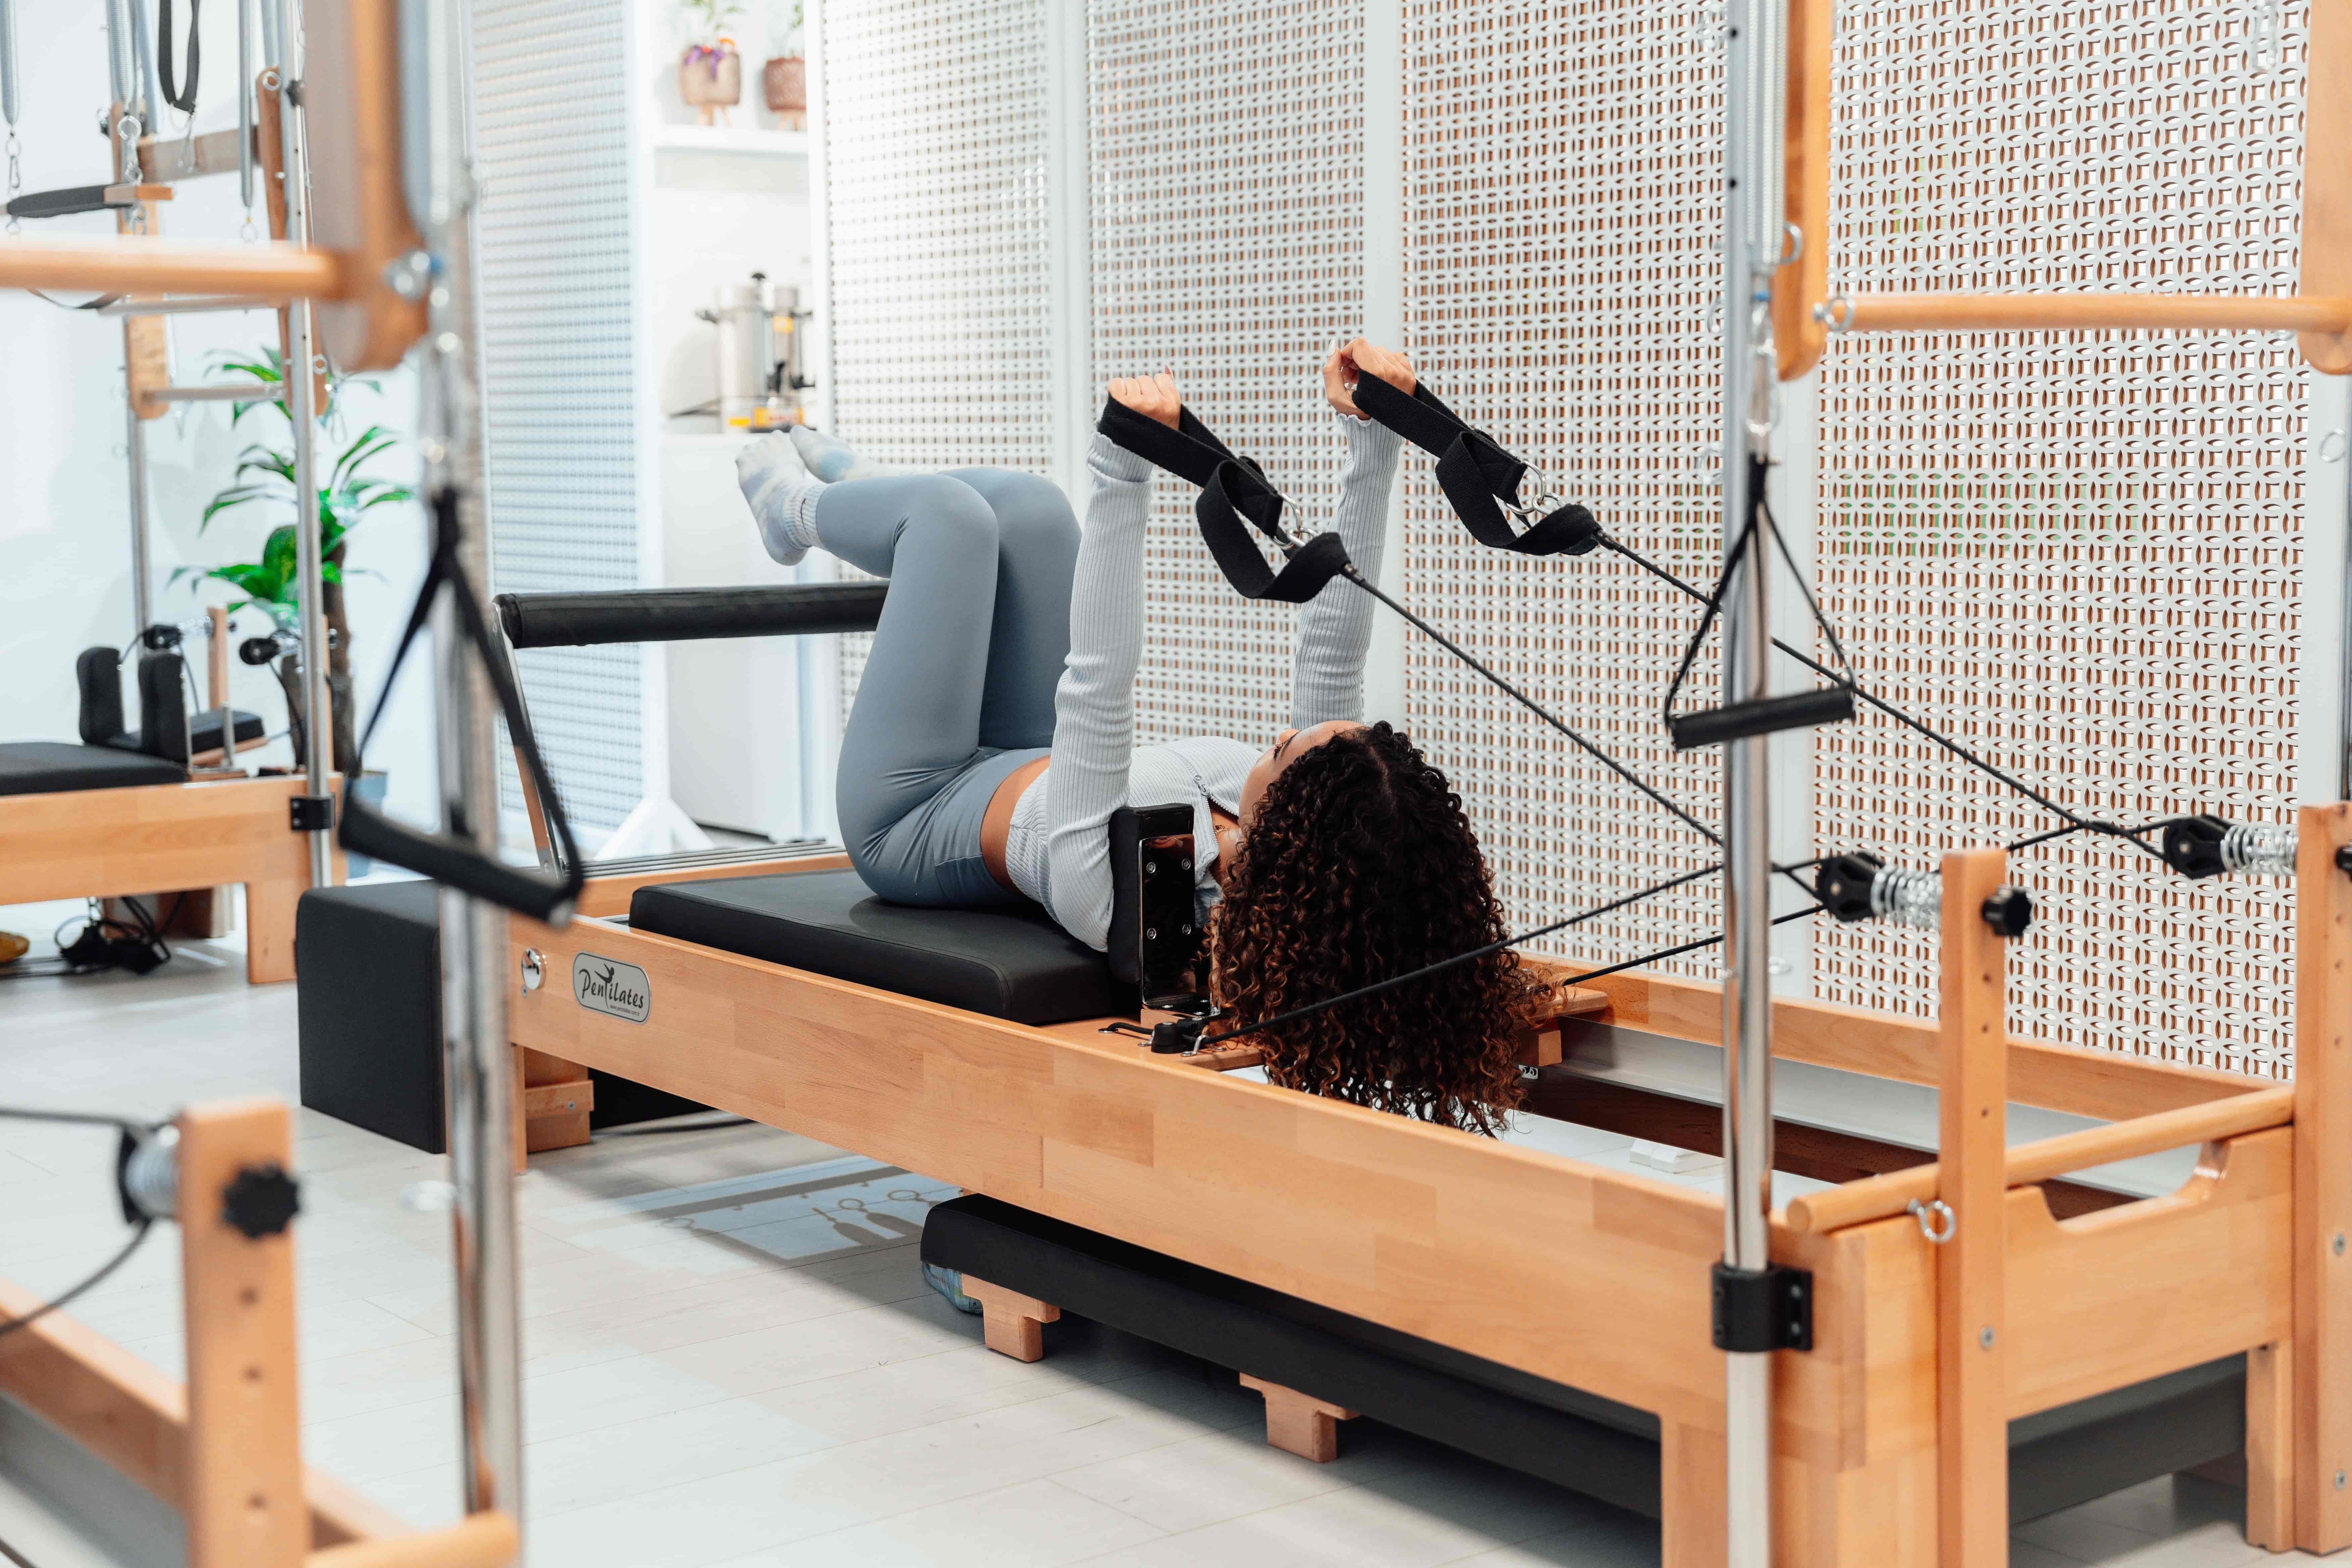
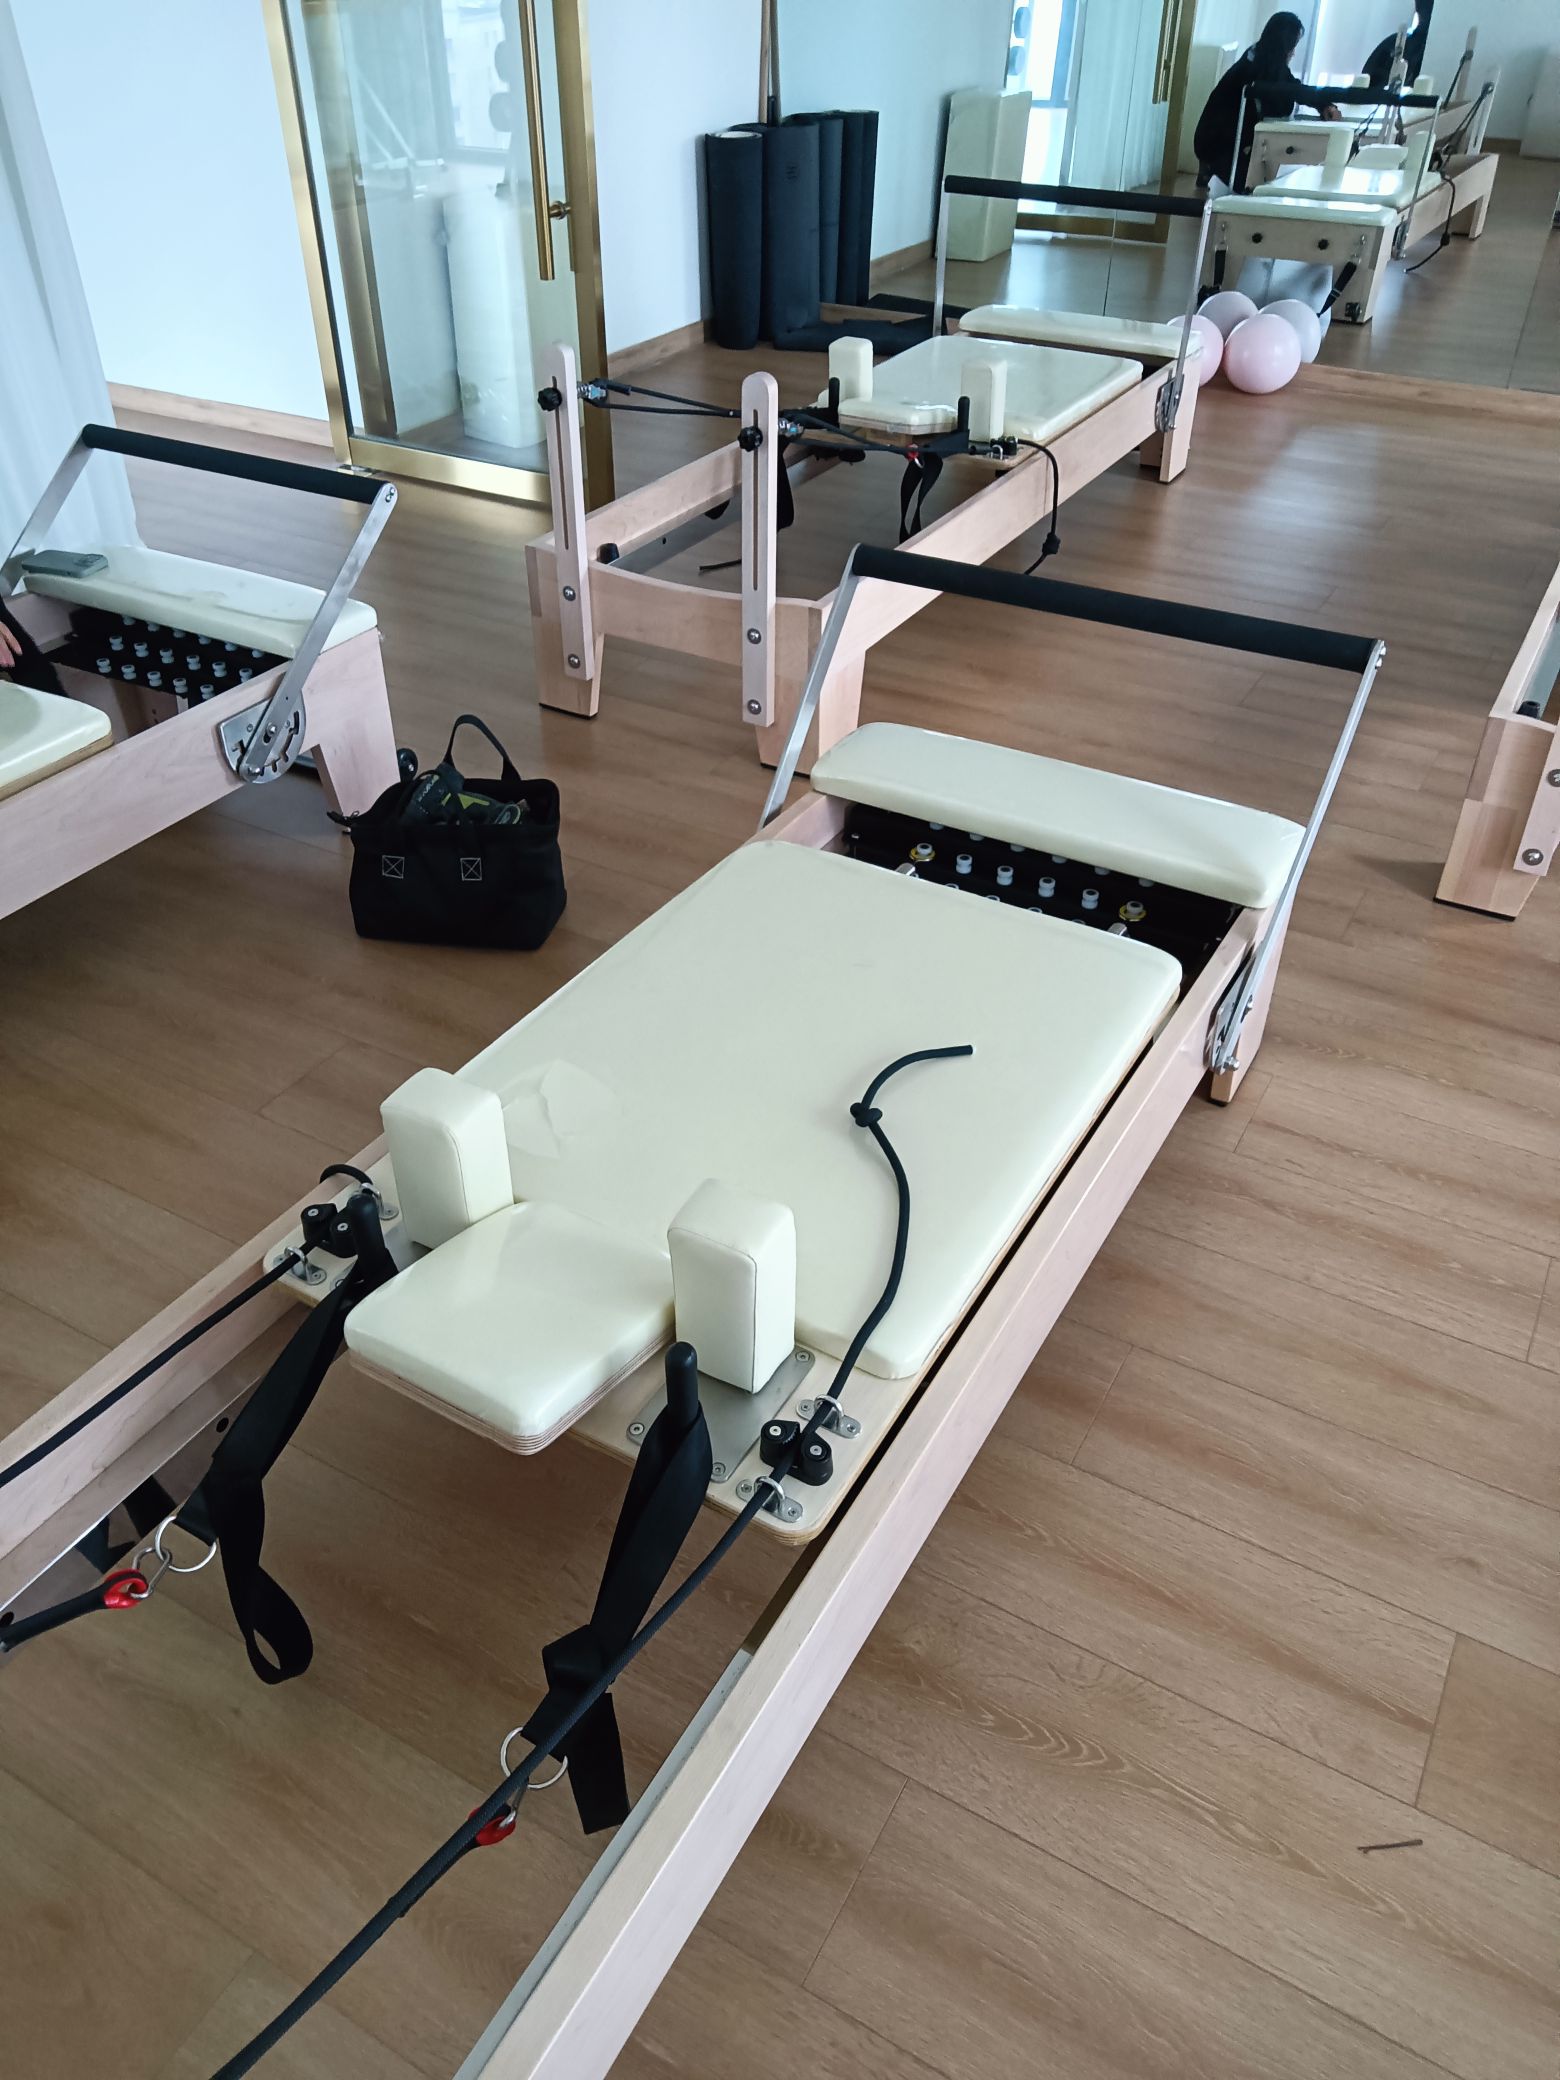
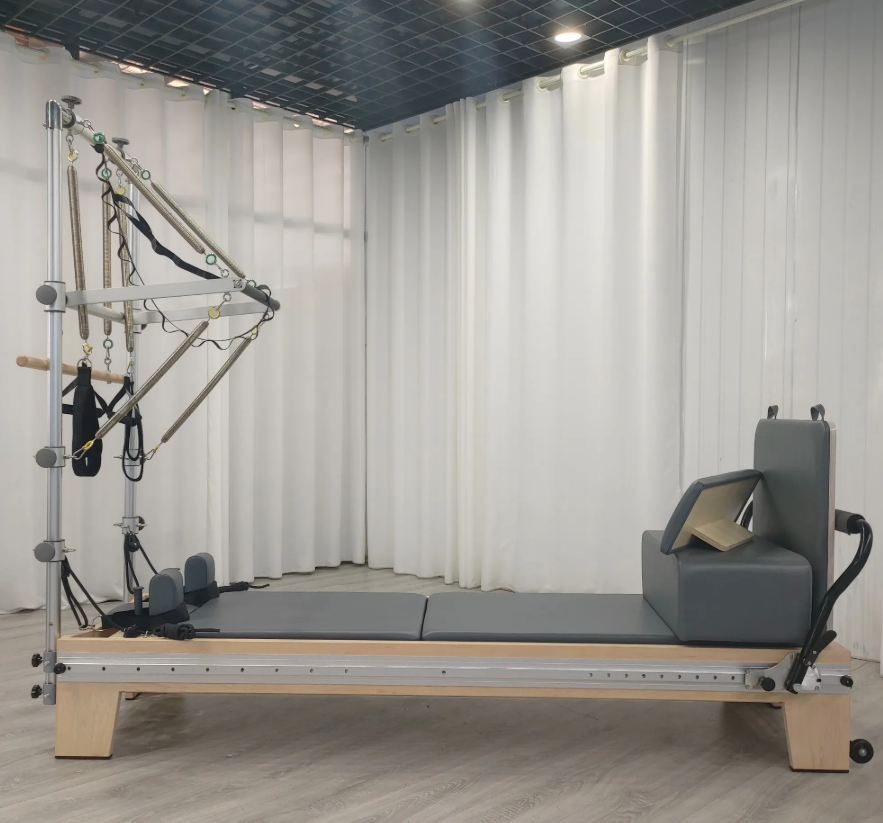
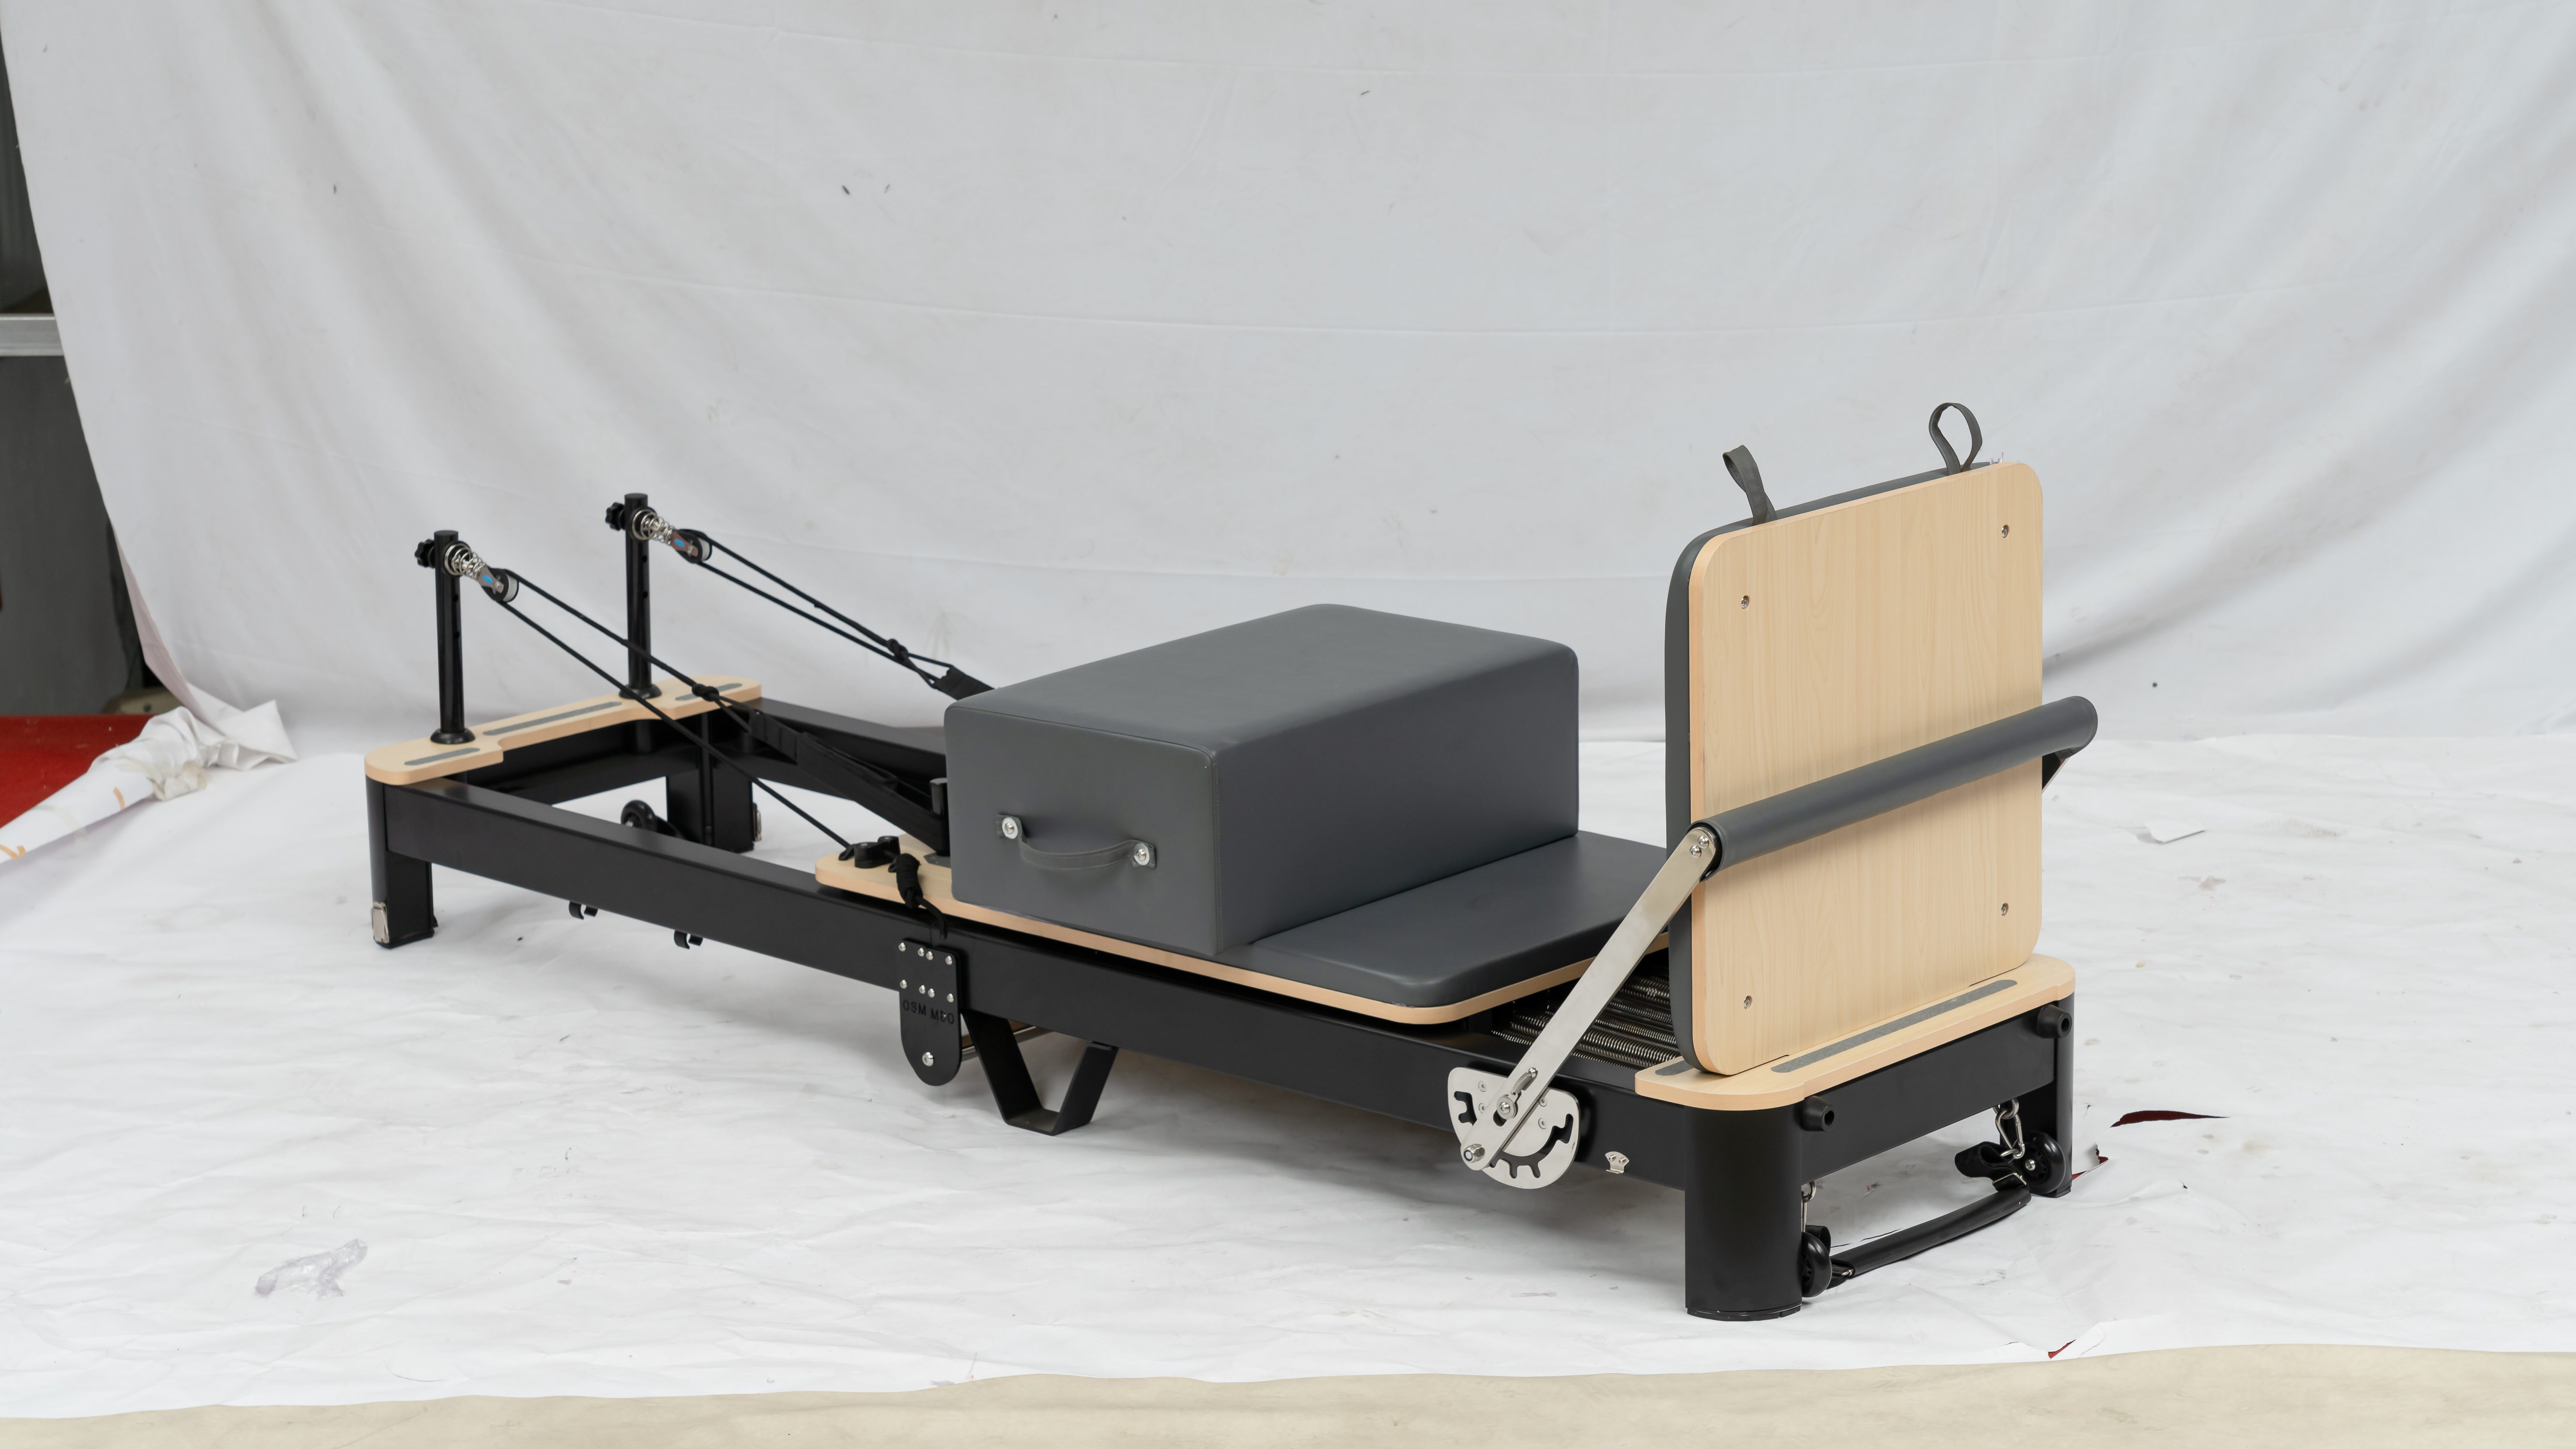
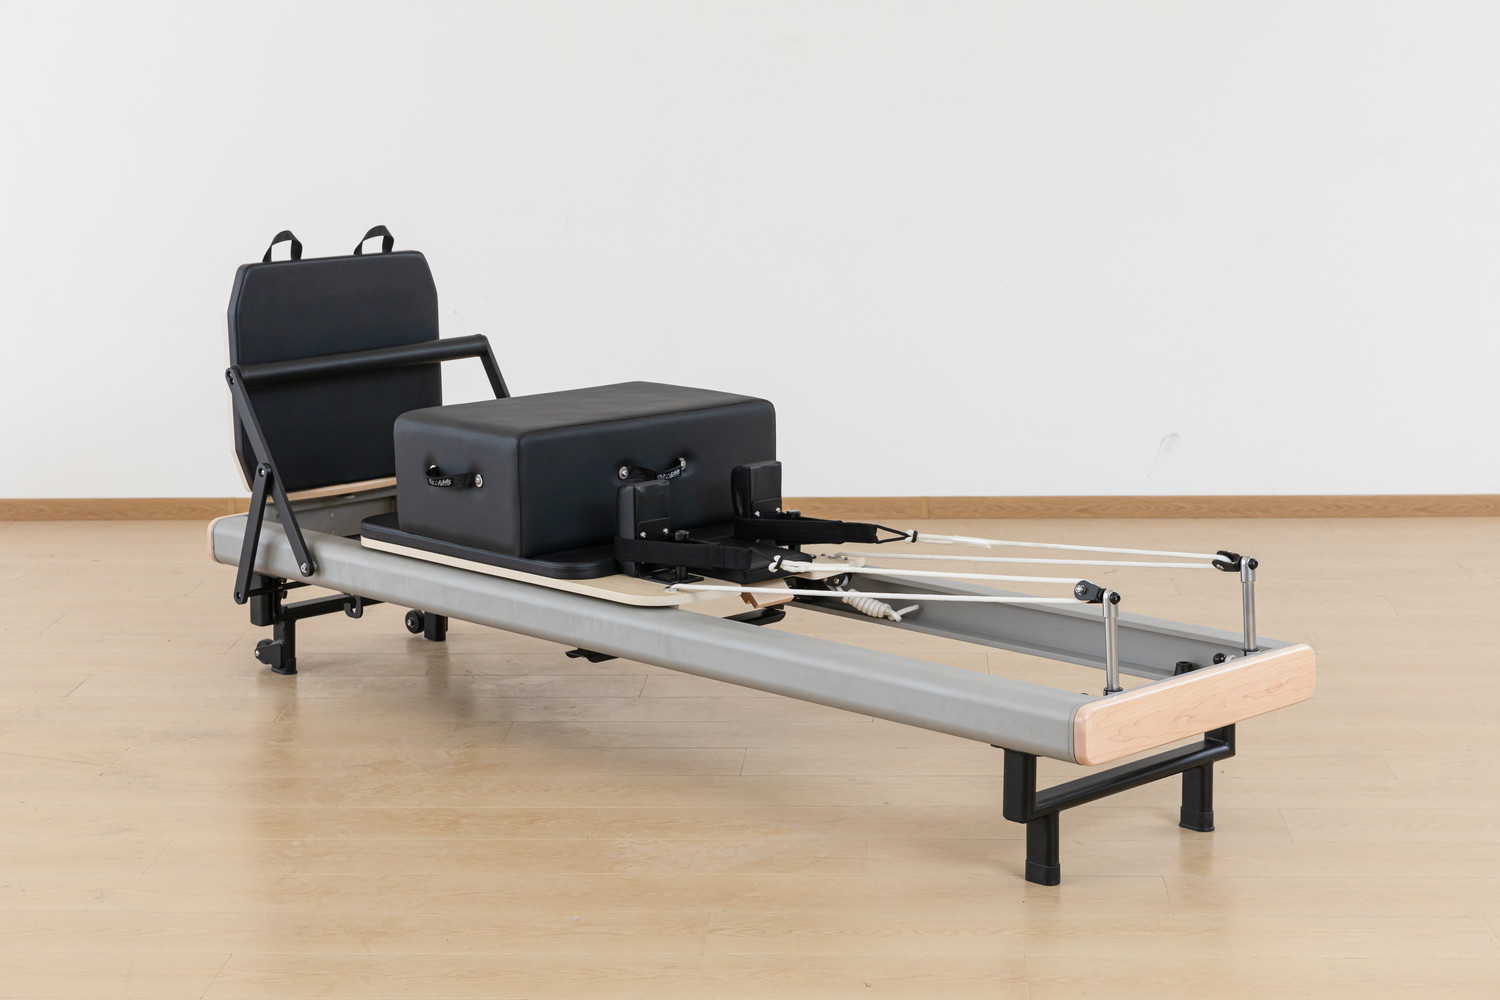
Pilates reformers shifting during exercise is a common issue for both home users and studio operators. When the carriage pushes out and the bed moves with it, it compromises stability, disrupts movement quality, and can even create safety concerns. Fixing this problem usually requires simple, low-cost adjustments — in most cases, the issue comes down to the floor surface, the feet pads, or how you're using the machine.
I. First, Identify the Root Cause
Before making any adjustments, spend a few minutes diagnosing the problem. Different causes require different solutions:
Is the entire bed sliding, or is one corner lifting? If the whole bed moves in one direction during every glide, the floor lacks sufficient friction or the feet pads have failed. If only one corner lifts or wobbles during exertion, the feet pads may be uneven or the frame slightly distorted.
Does it happen on all exercises, or only specific ones? If the bed shifts mainly during powerful leg presses, the horizontal component of spring force may be exceeding the pads' friction. If it shifts even during gentle movements, the floor friction coefficient is likely insufficient overall.
What is your floor surface? Wood, tile, carpet, or rubber matting? Different materials have very different friction coefficients, and the solution varies accordingly.
II. Floor Preparation: The Contact Surface Matters
Most Pilates reformers use rubber or silicone feet pads designed to provide adequate friction on smooth floors. However, these conditions can reduce effectiveness:
Dust or oil on the floor. Even invisible fine dust creates a "lubrication layer" between the pads and the floor. Regularly clean the floor with a neutral cleaner to remove oil and dust. For wooden floors, keeping them dry is especially important.
Moisture on the floor. Water significantly reduces rubber's friction coefficient. Keep the floor dry — avoid practicing right after mopping or in humid environments.
Floor is too smooth. For very smooth surfaces (e.g., high-gloss tiles or waxed floors), even clean feet pads may not provide enough friction. In this case, place a non-slip mat (2-3mm thick exercise mat or industrial anti-slip mat) under the machine.
III. Feet Pad Inspection and Maintenance
The condition of the feet pads directly affects anti-slip performance:
Are the pads aged or hardened? Rubber pads lose elasticity and friction after a few years. Press the pads — if they feel hard or have surface cracks, they need replacing.
Are the pads intact? The tread pattern is designed to increase friction. If the tread has worn smooth or the pad is partially detached, replace them.
Are the pads evenly adjusted? Some reformers have height-adjustable feet for uneven floors. If one pad is adjusted too high, it reduces contact area for others, lowering overall friction. Check that all pads make even contact with the floor.
Quick temporary fix: Place a piece of anti-slip rubber mat or kitchen drawer liner under each foot pad to increase friction.
IV. Spring Resistance and Usage Habits
Sometimes the issue isn't the bed itself — it's how you're using it:
Uneven spring tension applies asymmetric horizontal forces that rotate the bed during gliding. Check that both sides use identical spring combinations. If spring tension on one side feels noticeably different from the other, they may be fatigued and need replacement.
Incorrect force direction introduces lateral forces that move the bed. Keep your push/pull direction aligned with the carriage track, avoiding diagonal force.
Excessive carriage rebound speed creates impact forces that can momentarily shift the bed. Control the carriage return speed — avoid letting it slam back into the end-stops.
V. Uneven Floor Solutions
If the floor itself is uneven, the bed may "rock" rather than "slide" under load:
Adjustable feet: Adjust the height so all feet pads make firm contact. If your equipment doesn't have adjustable feet, place thin, rigid shims (cardboard or metal sheets) under the lower pads.
Note: Shims should be firm and rigid — soft materials create additional wobble.
VI. Heavy-Duty Solutions: Adding Ballast or Anchoring
If the above methods still don't resolve the problem:
Add ballast to the machine: Place sandbags or weight plates in the frame's hollow sections, increasing overall mass and floor friction.
Use an anti-slip mat under the bed: A full exercise mat or rubber mat under the equipment increases contact area and friction while also protecting the floor. The mat should be slightly larger than the equipment's footprint (5-10cm extra on each side).
Anchor to wall or floor: As a last resort, use brackets to secure the equipment to the wall or floor. This is more common in commercial studios and requires drilling. For home users, try the anti-slip mat and ballast options first.
VII. Regular Maintenance Checklist
Establish a simple routine to prevent shifting issues:
Weekly: Clean dust and oil from feet pads and floor; check for even pad contact.
Monthly: Check pads for aging or deformation; check for balanced spring tension; check all fasteners.
Quarterly: Check floor friction effectiveness; clean the underside of the equipment to prevent dust buildup that can interfere with pad contact.
Summary: In most cases, reformer shifting is caused by insufficient floor friction, worn feet pads, or usage habits. The solution path should be: clean the floor and pads first, then check pad condition, then adjust usage habits and spring configuration. If the problem persists, adding a non-slip mat or ballast is an effective remedy. Start with the simplest solution — in most cases, you don't need to replace your equipment, just adjust your environment and habits.