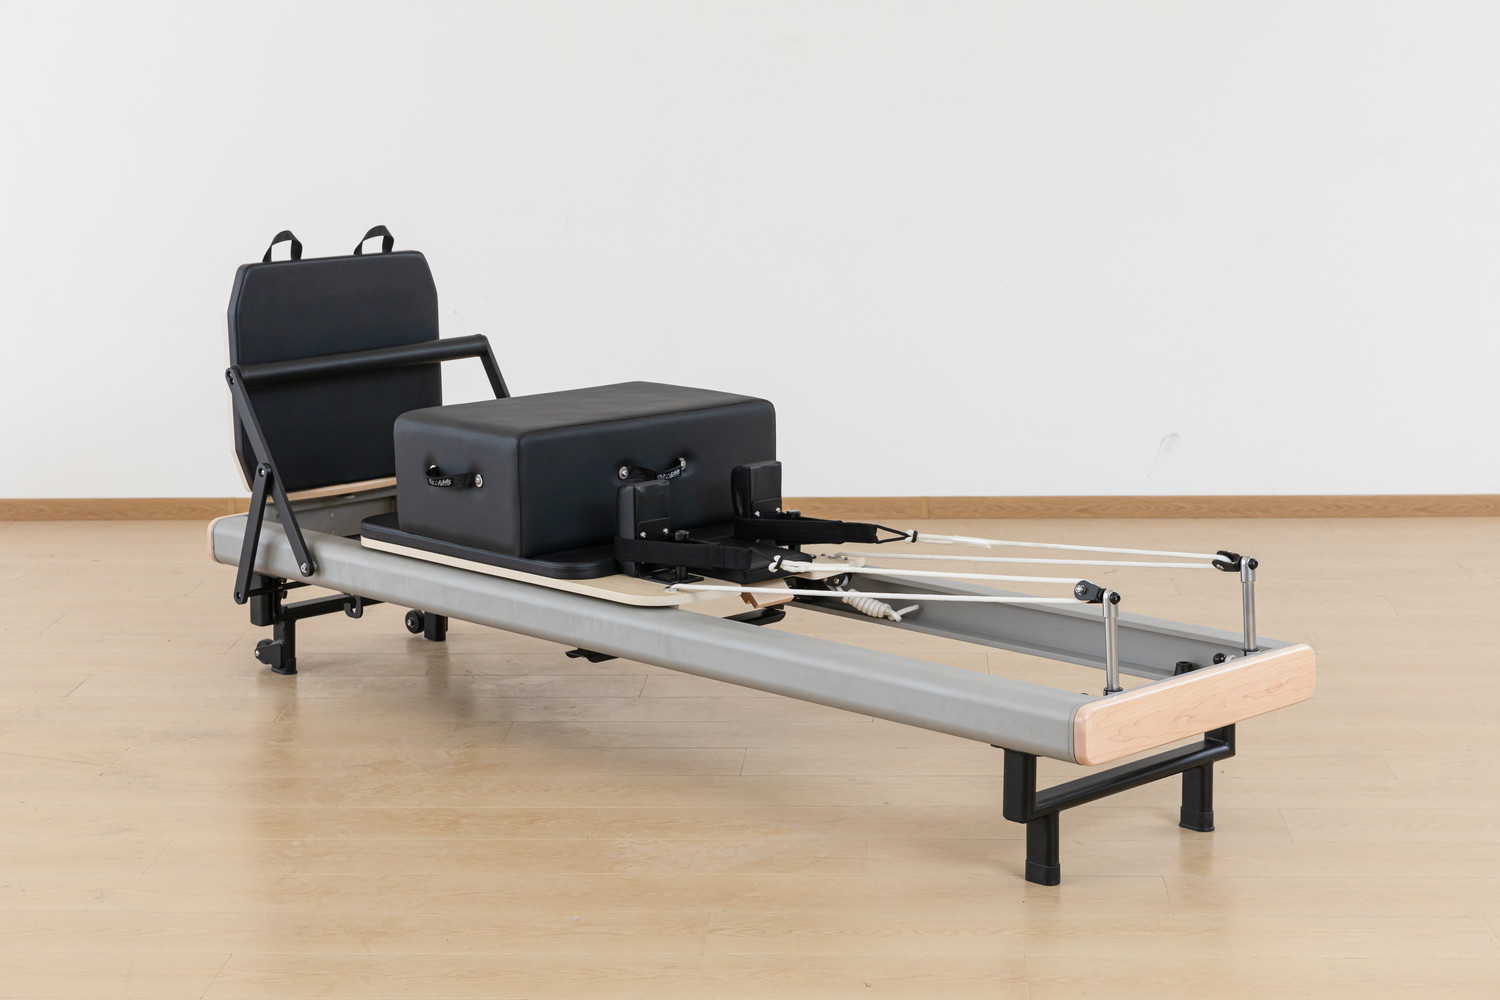
Everything You Need To Know Before Buying Pilates Gear Online
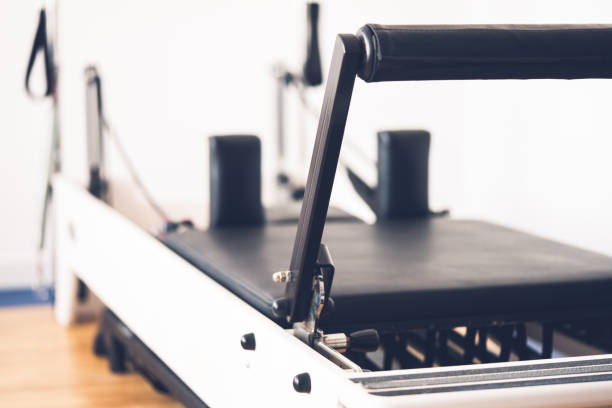
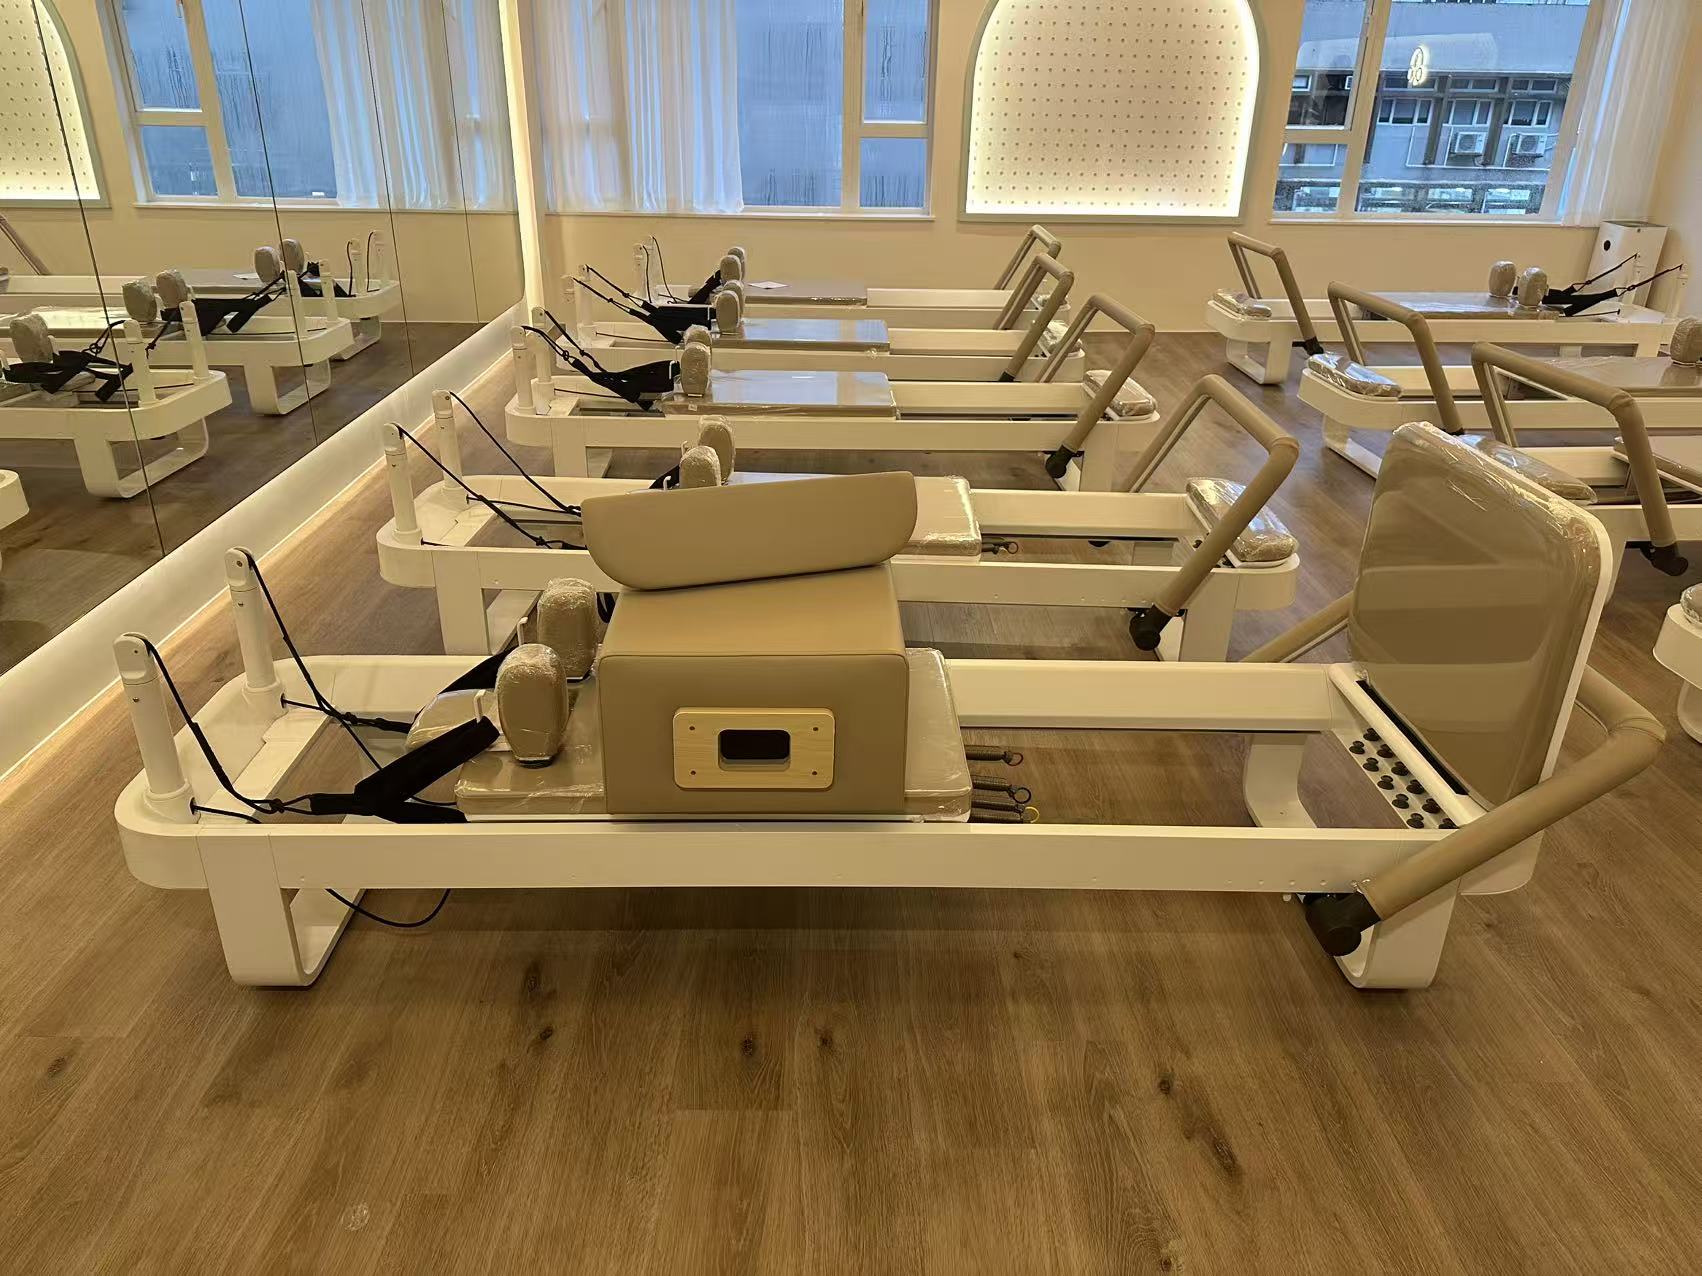
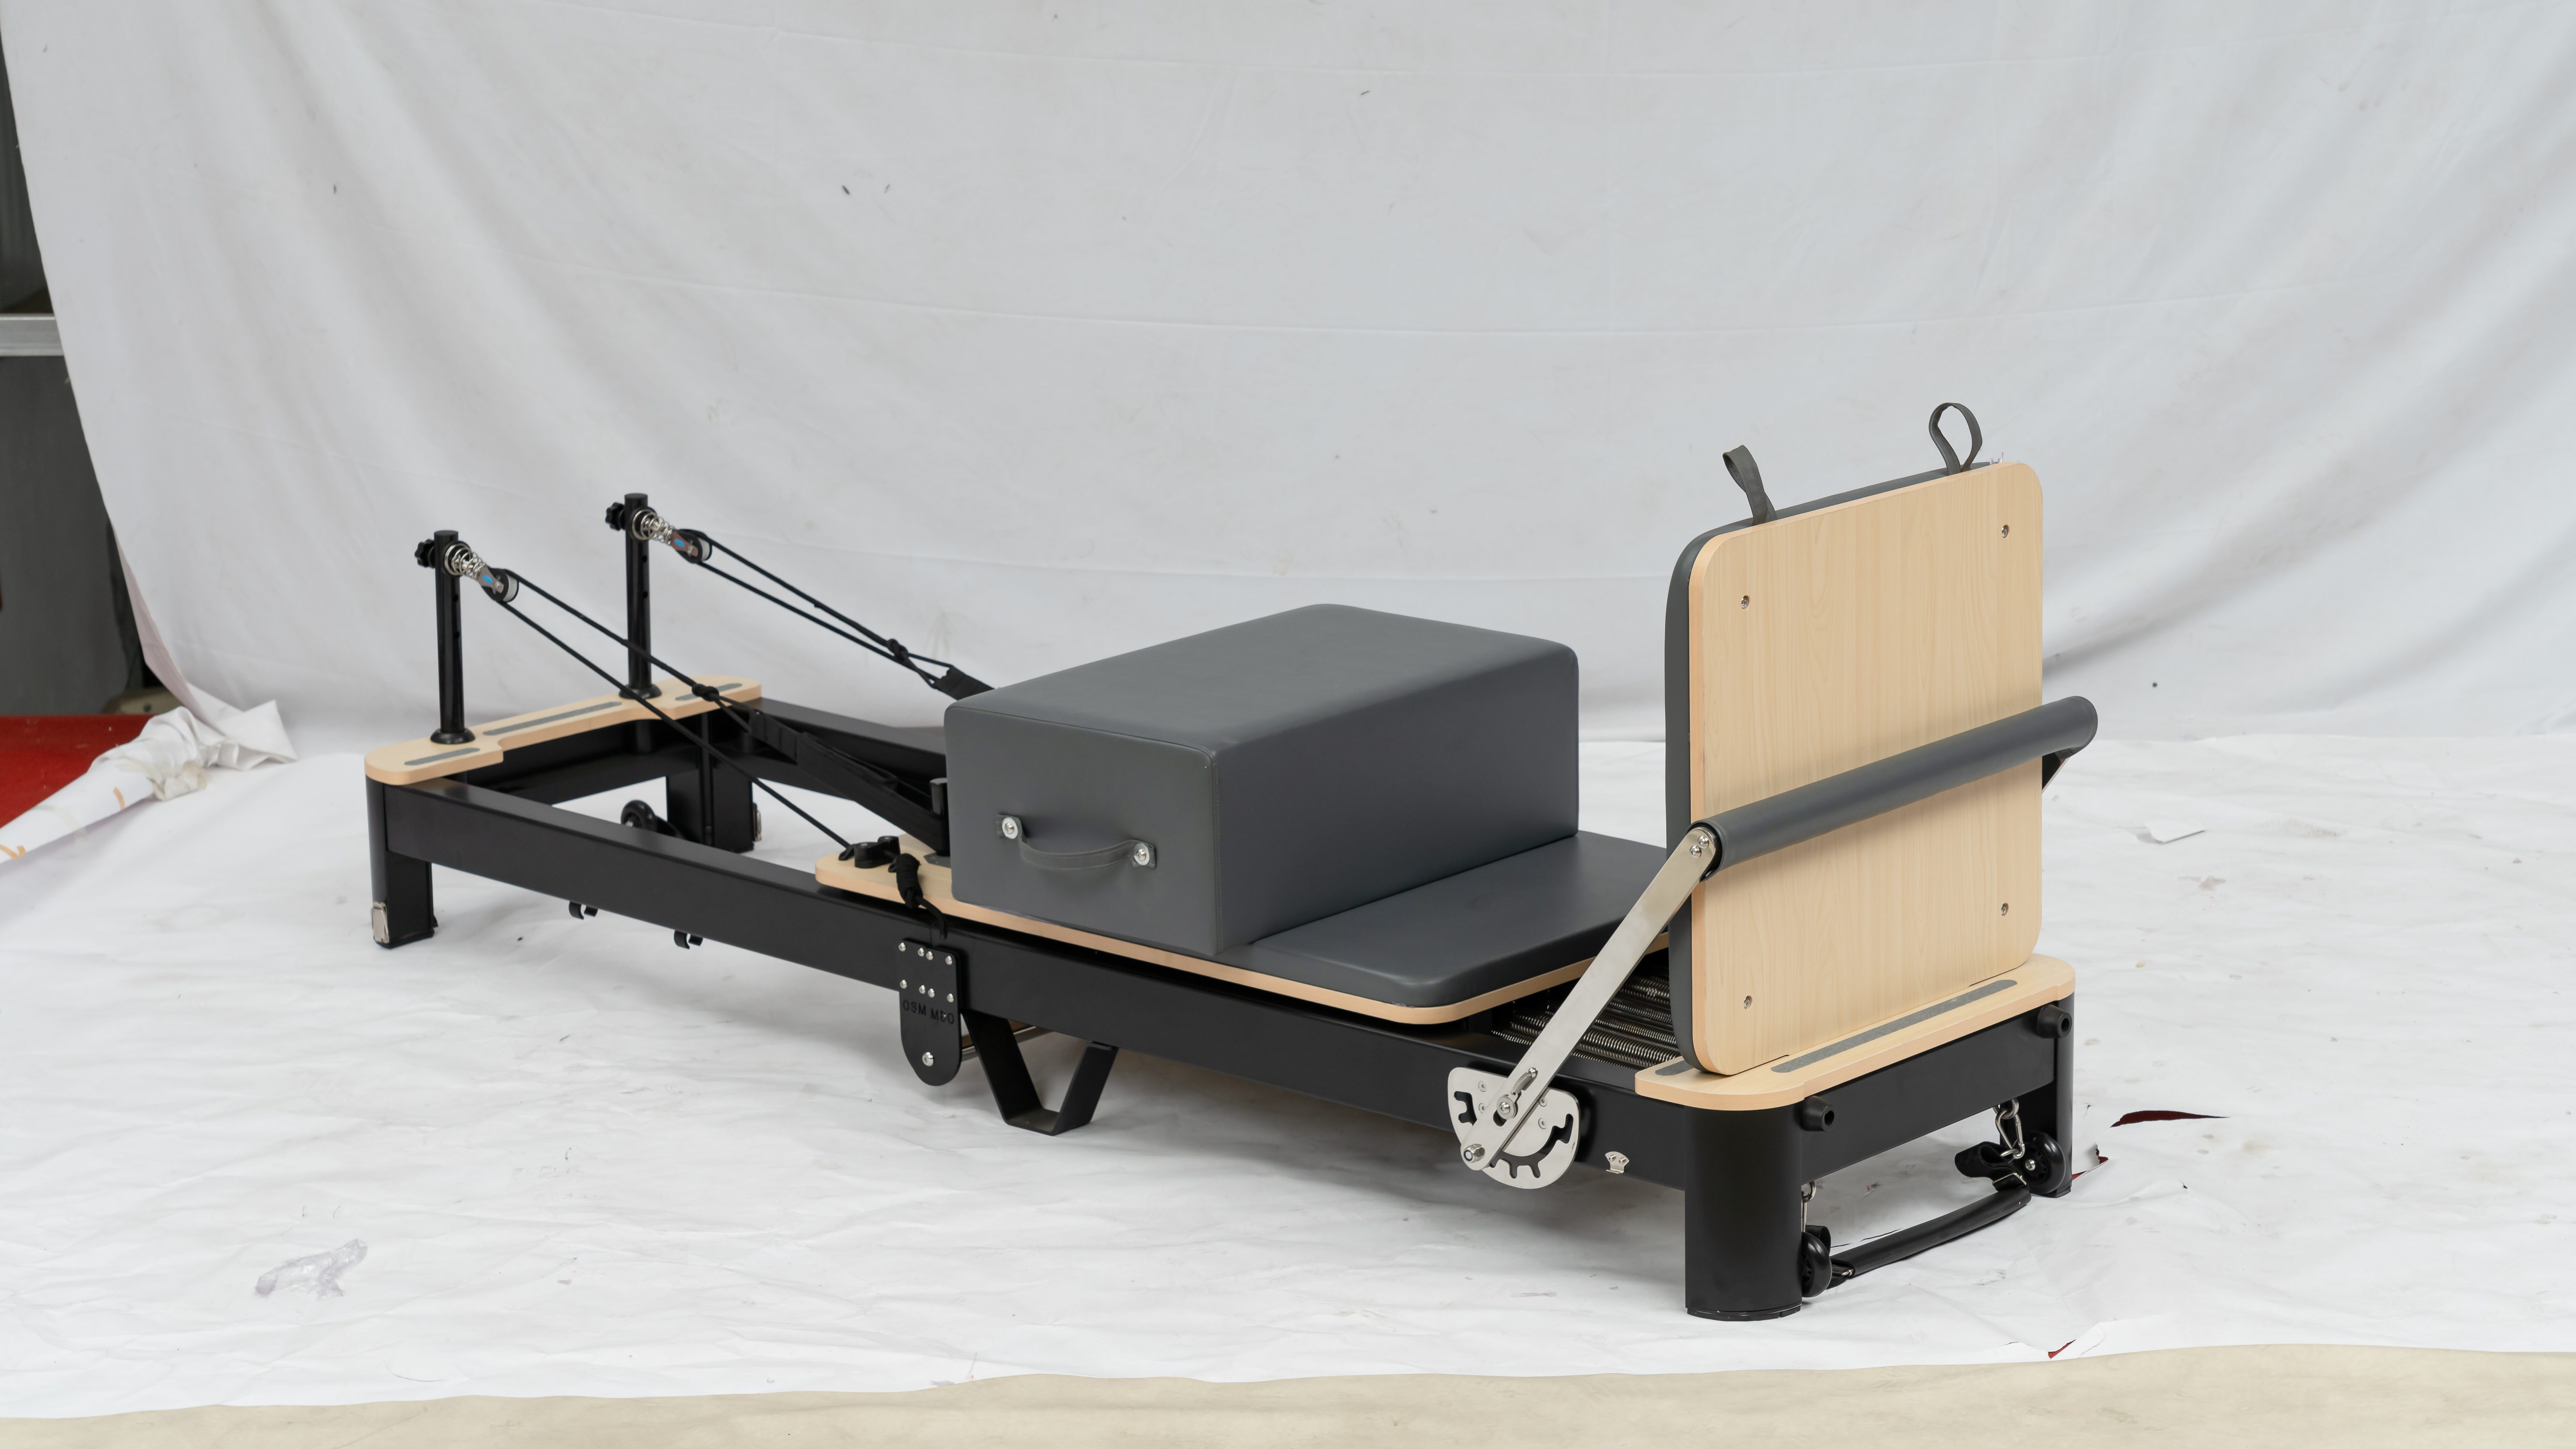
Buying Pilates equipment online has become the norm — convenient, with abundant choices and transparent pricing. But "see it but can't touch it" also means risks: wrong dimensions, mismatched quality, and questionable after-sales support. This practical guide covers everything from receiving and assembly to first-use checks and maintenance, helping you navigate the entire process from order to first workout.
I. Upon Delivery: The Unboxing Checklist
The 24 hours after delivery are your golden window for identifying issues and filing claims. Don't wait a week to unbox.
Outer packaging inspection:
·Is the carton or wooden crate significantly damaged, water-stained, or crushed?
·If severely damaged, take photos immediately and contact the courier and seller — note any damage on the delivery receipt.
Unboxing verification:
·Check that model and color match your order.
·Confirm all components against the packing list — spring count, ropes, straps, tools, manuals.
·Inspect all parts for scratches, dents, weld cracks, or coating peeling.
·If you spot obvious cosmetic defects, take photos and note them at the time of receipt.
Key note: If the packaging has "This Way Up" or "Fragile" labels but appears to have been stored upside-down or crushed, take photos. These details are valuable when communicating with the courier.
II. During Assembly: Correct Setup and Initial Checks
Proper assembly affects not only use experience but also safety.
Follow the manual — don't assemble by "feel." Manual sequences are tested for optimal assembly. Particularly important for spring and strap installation — wrong order can cause unnecessary strain or premature wear.
Ensure tools are provided — most equipment comes with assembly tools (e.g., hex wrenches). If missing, never use mismatched tools that can damage threads.
Check fasteners — after assembly, hand-check that all visible screws and bolts are securely tightened. Pre-installed parts can loosen during shipping.
Level check — place the equipment in its intended position and check that all four feet contact the floor evenly. If rocking, adjust adjustable feet or add shims for stability.
III. First Use: No-Load Testing
Before your first actual workout, perform a comprehensive no-load test.
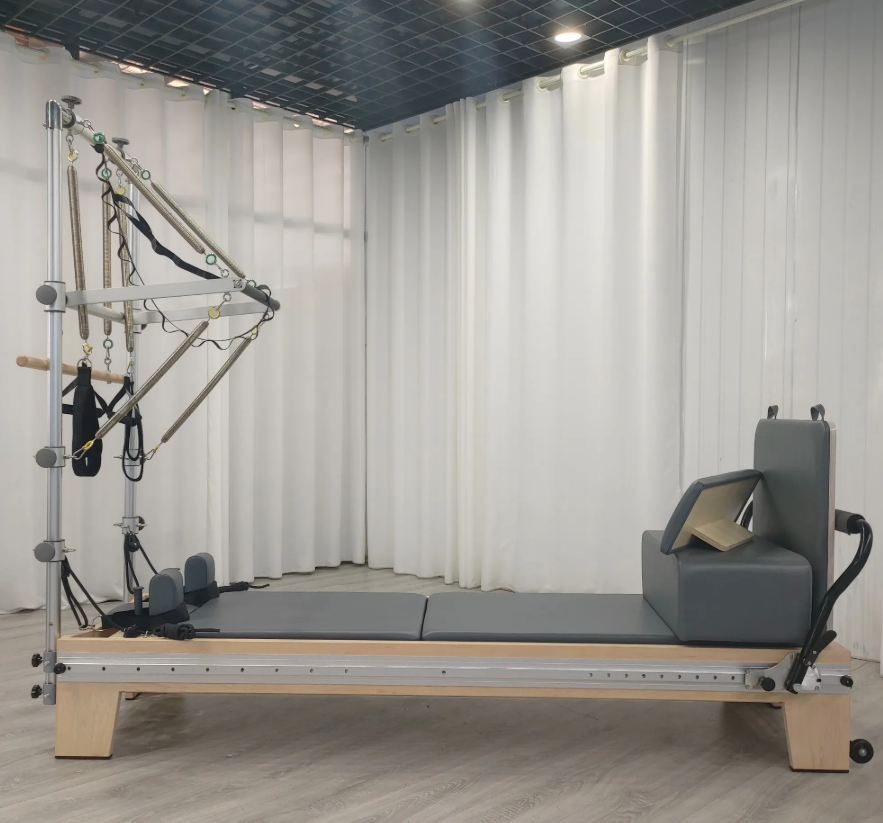
Spring system check:
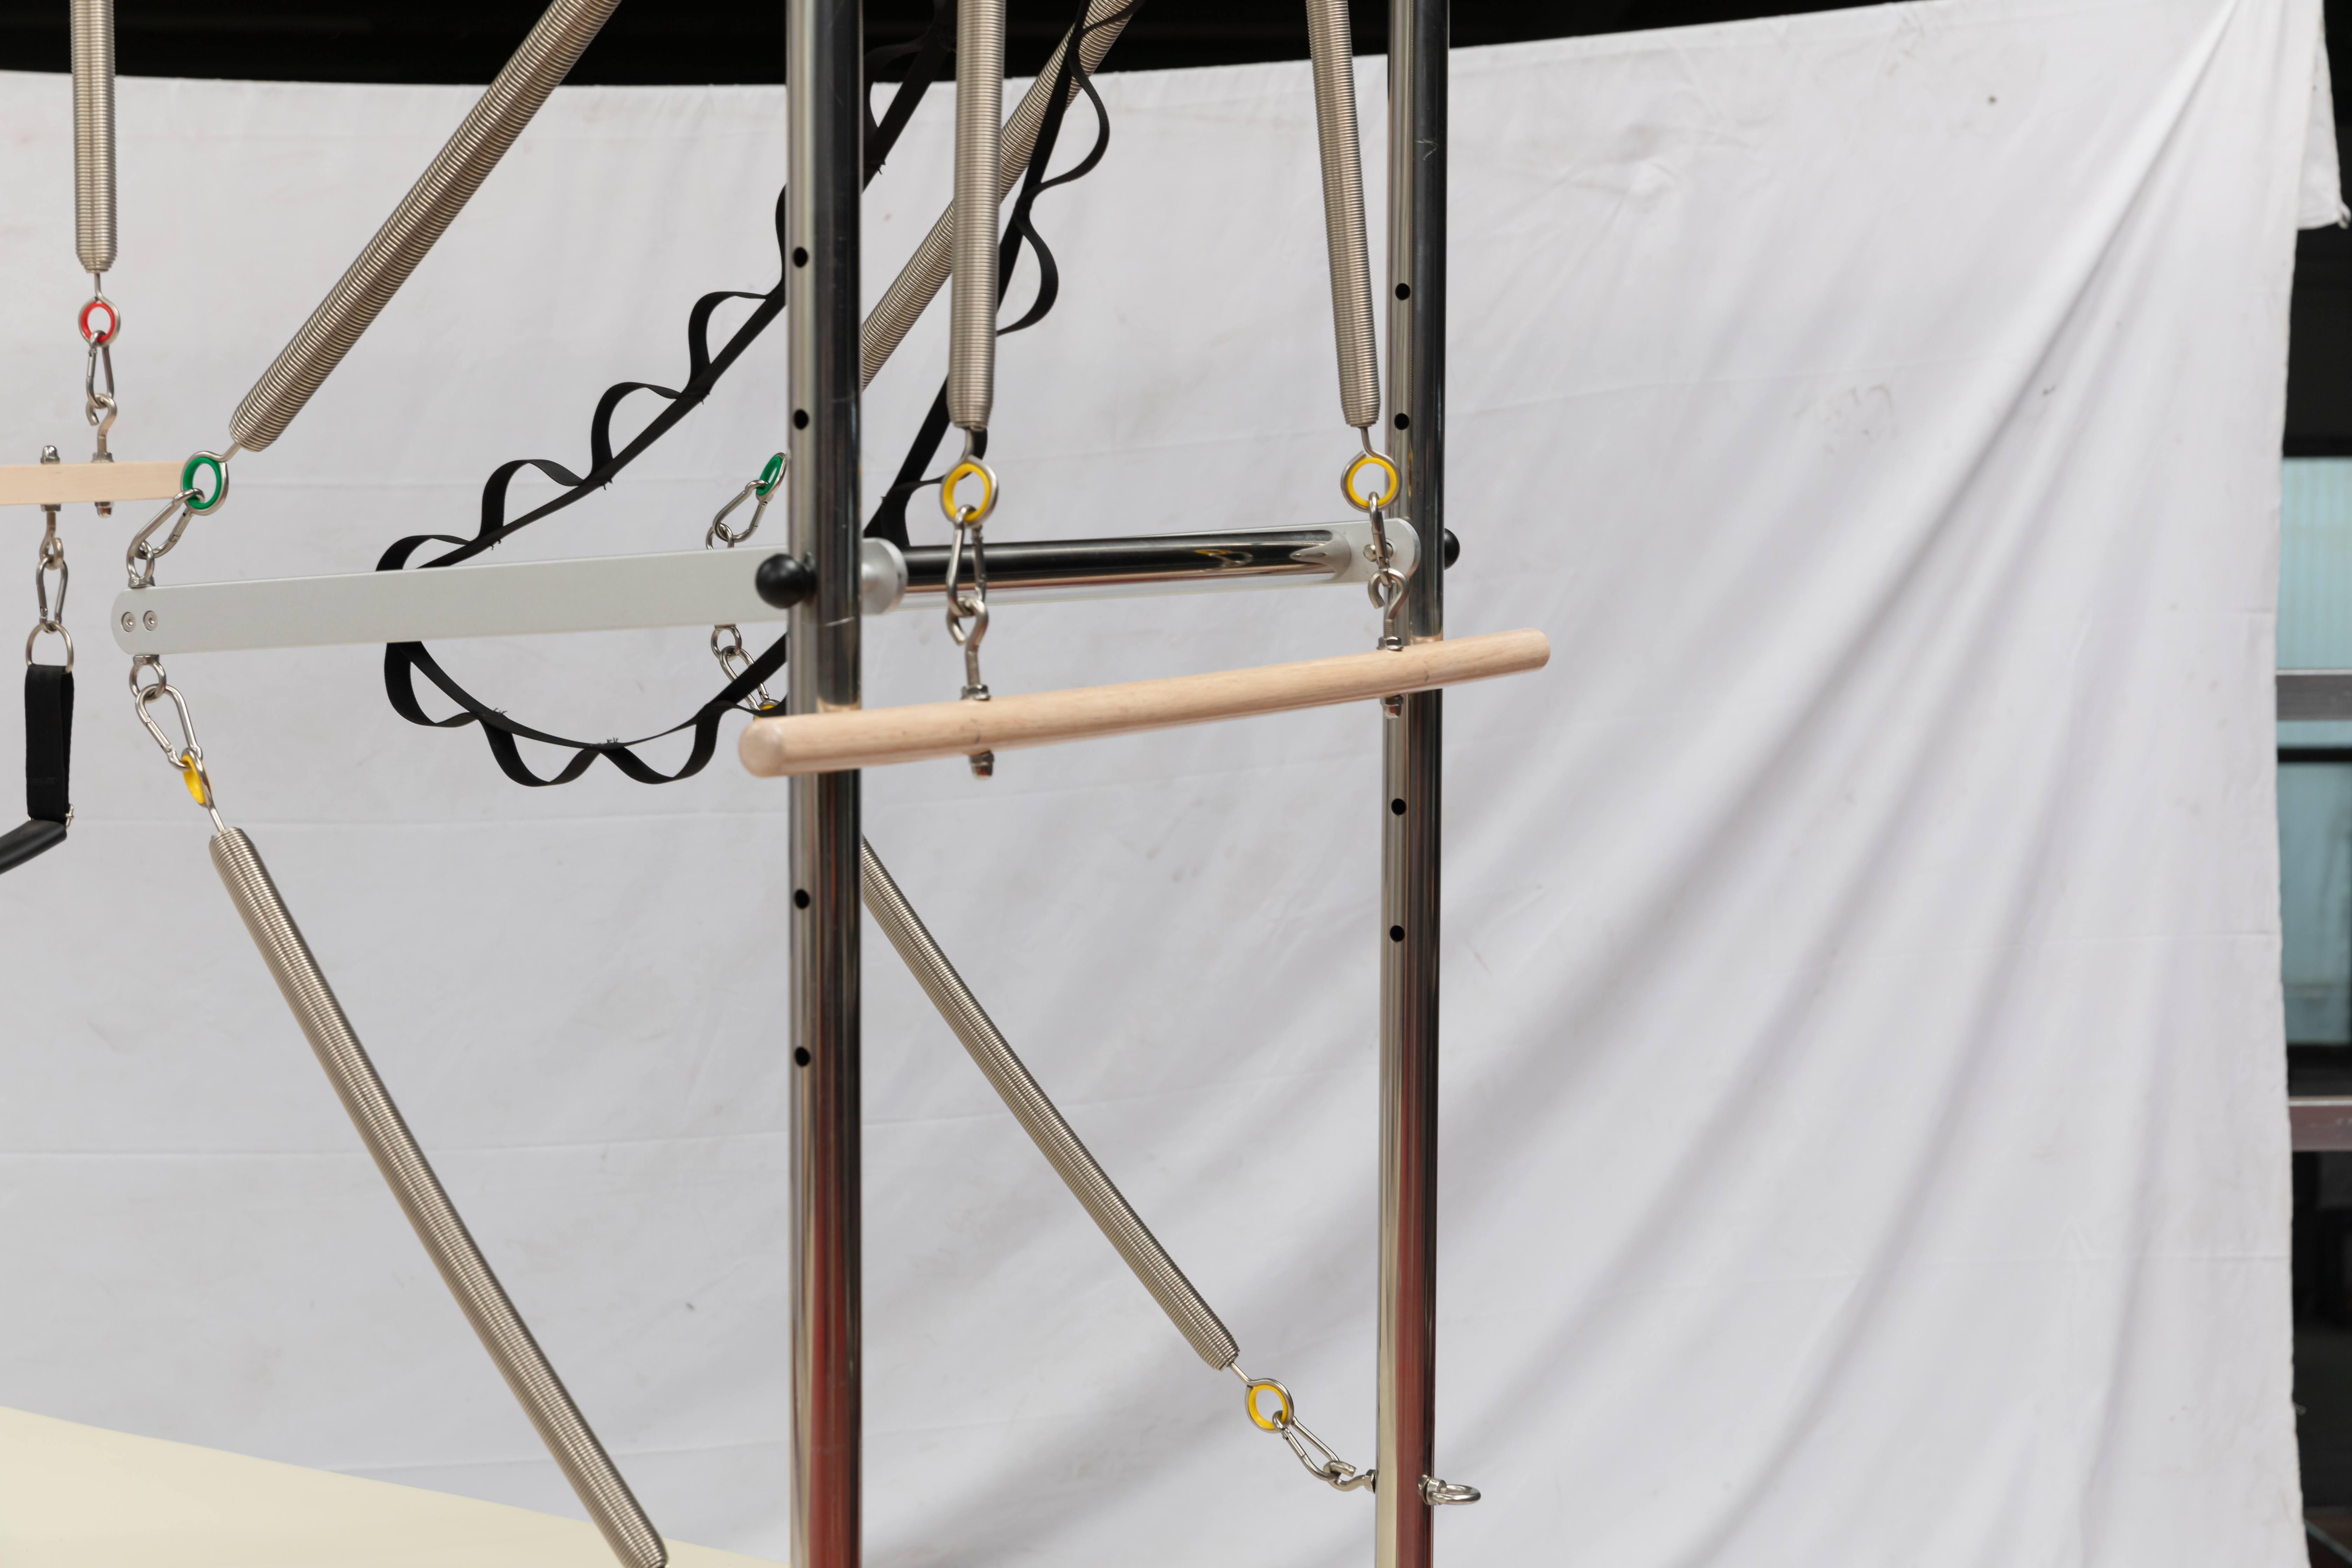
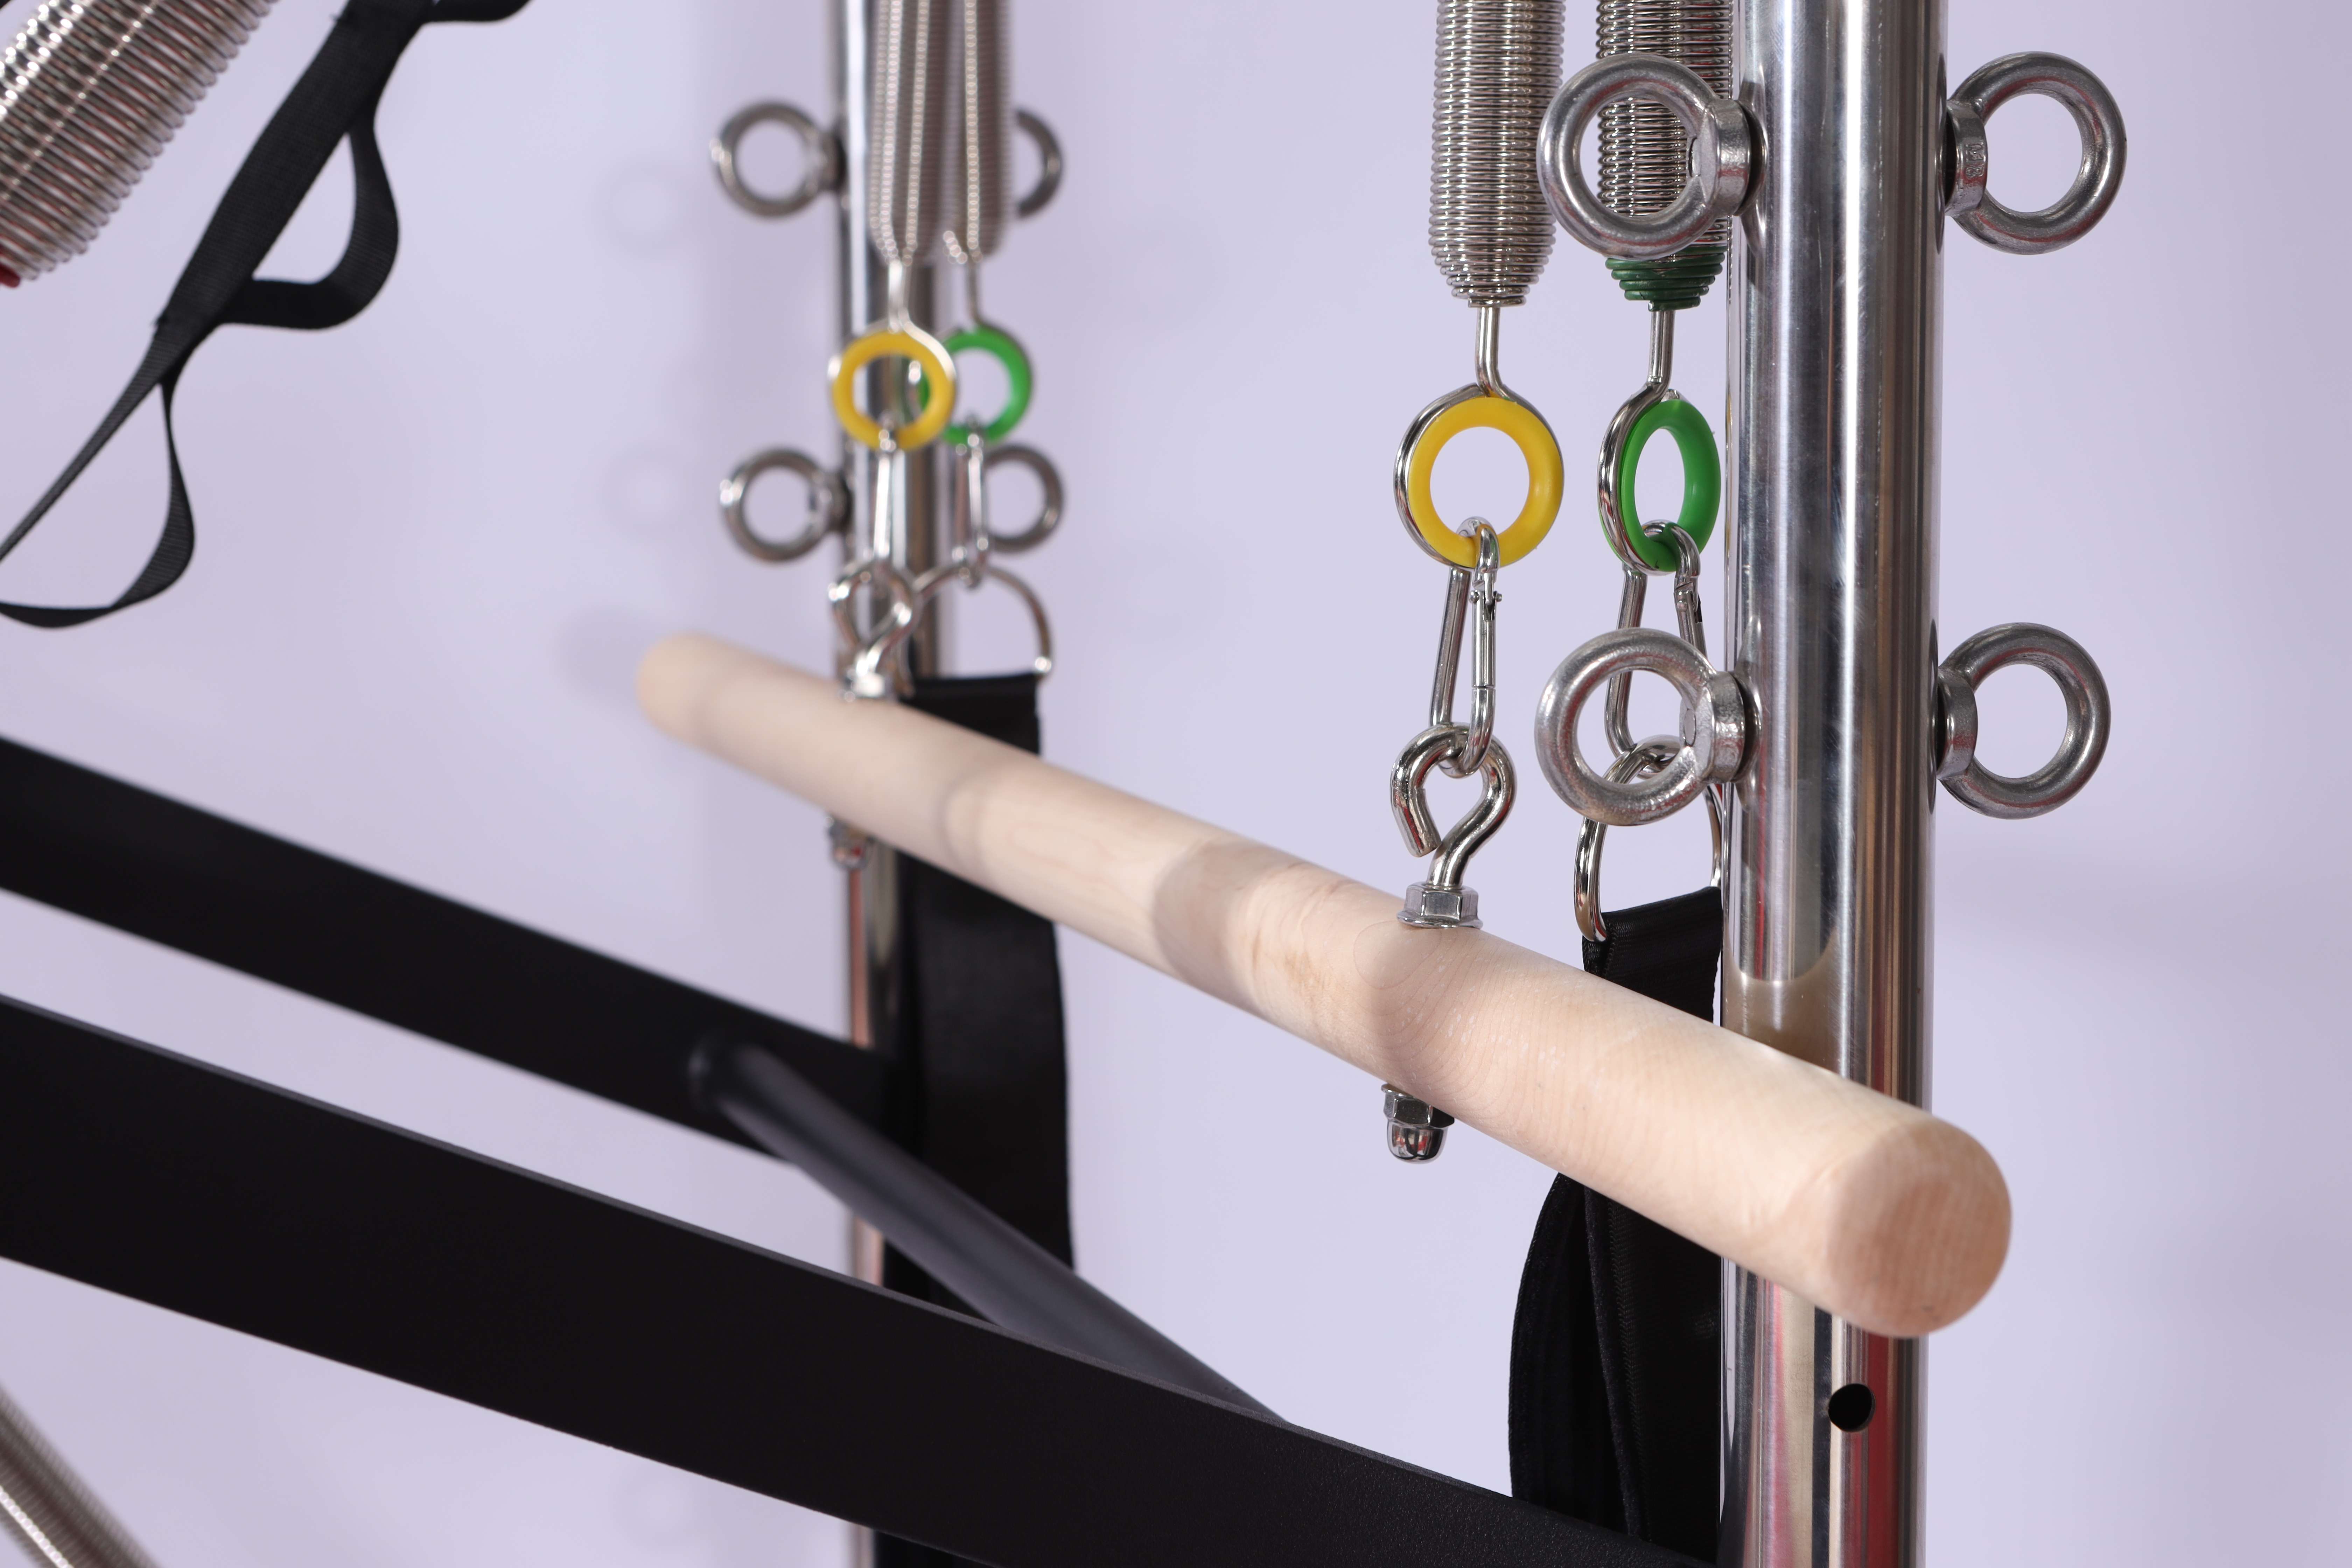
·Attach each spring individually and feel whether the tension matches its rating.
·Confirm each spring hook is properly seated with no risk of disengagement.
·Gently stretch each spring — confirm no unusual friction or clicking.
Carriage glide test:
·With no springs attached, manually slide the carriage along the full rail length — feel for sticking or uneven resistance.
·Apply moderate pressure (simulating body weight) and glide again — check noise levels and smoothness.
·If you detect noticeable noise or unevenness, note the exact position.
Adjustment mechanism test:
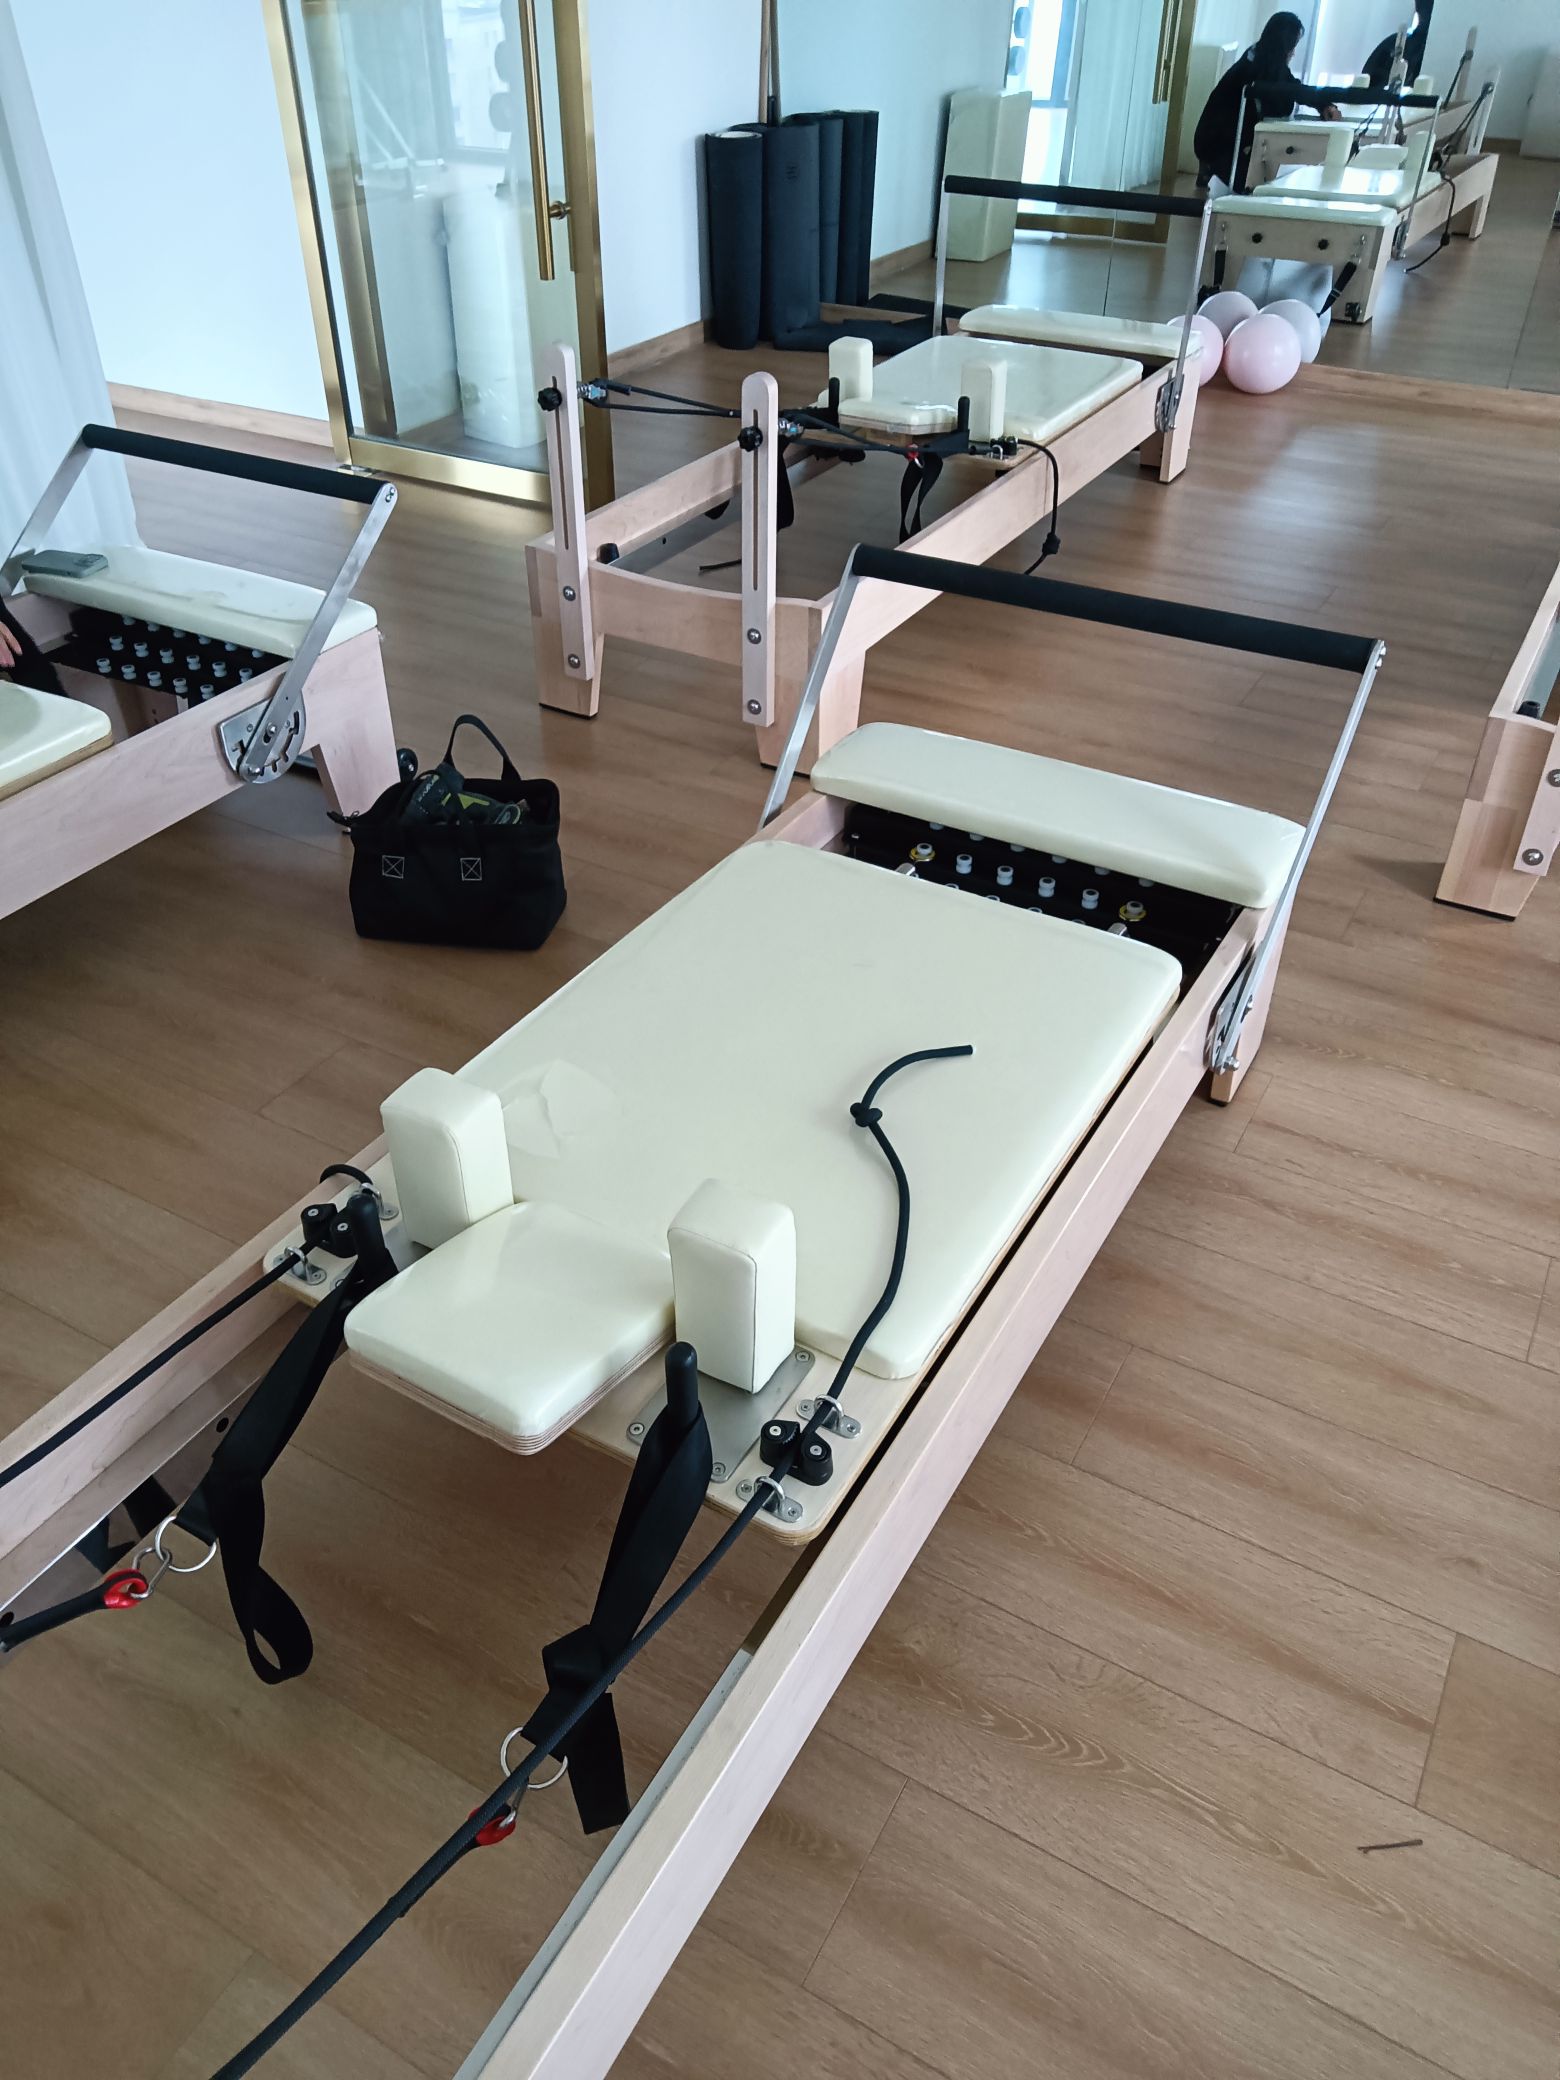
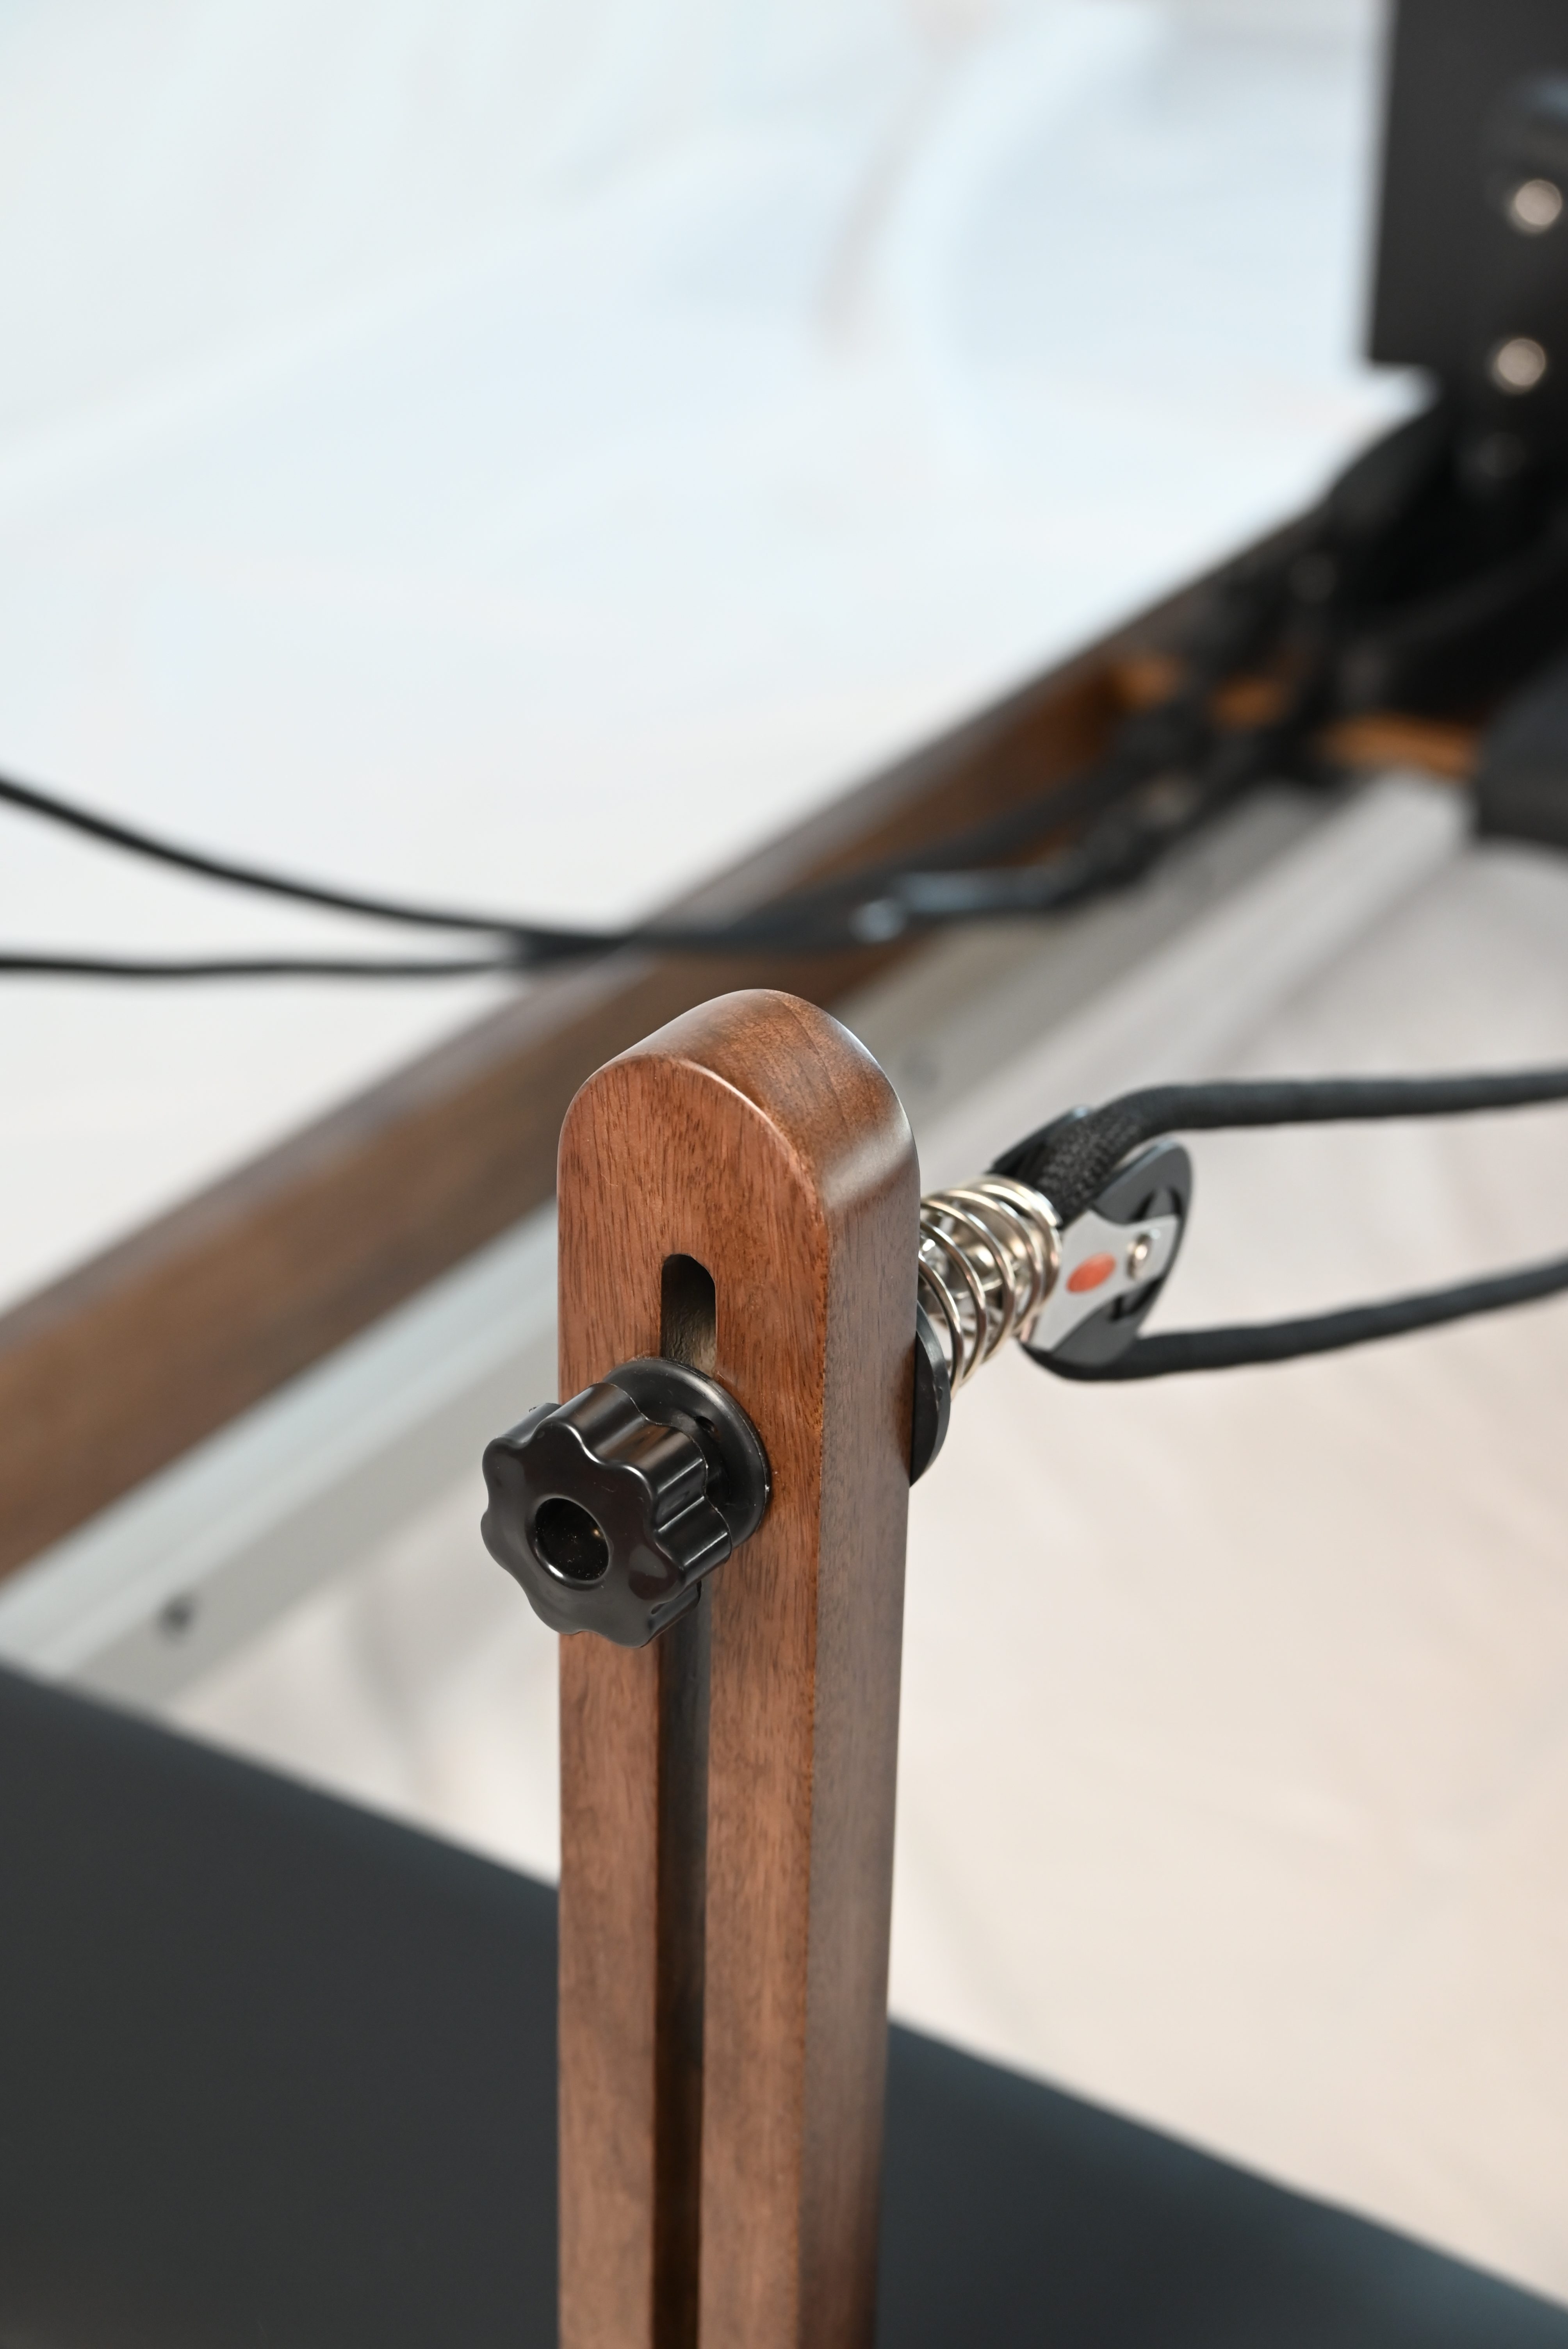
·Test all adjustable components — footbar, shoulder rests, headrest, rope lengths.
·Confirm every adjustment position operates smoothly and locks securely.
·Apply moderate pressure while locked — ensure no movement during exercise.
Rope and pulley check:
·Pull ropes and check that pulleys rotate freely without unusual noise.
·Check ropes for fraying, knots, or insecure attachment.
IV. Quality Assessment: Basic Criteria
Without specialized tools, these simple tests give a good indication of equipment quality:
Carriage smoothness: Sit on the carriage and glide from end to end at consistent speed. Quality glides smoothly, with even resistance throughout. Localized sticking or screeching indicates rail or wheel precision issues.
Weld quality: Visually inspect all metal welds. Quality welds show uniform fish-scale patterns without porosity, cracks, or spatter. Rough welds affect appearance and may indicate structural weakness.
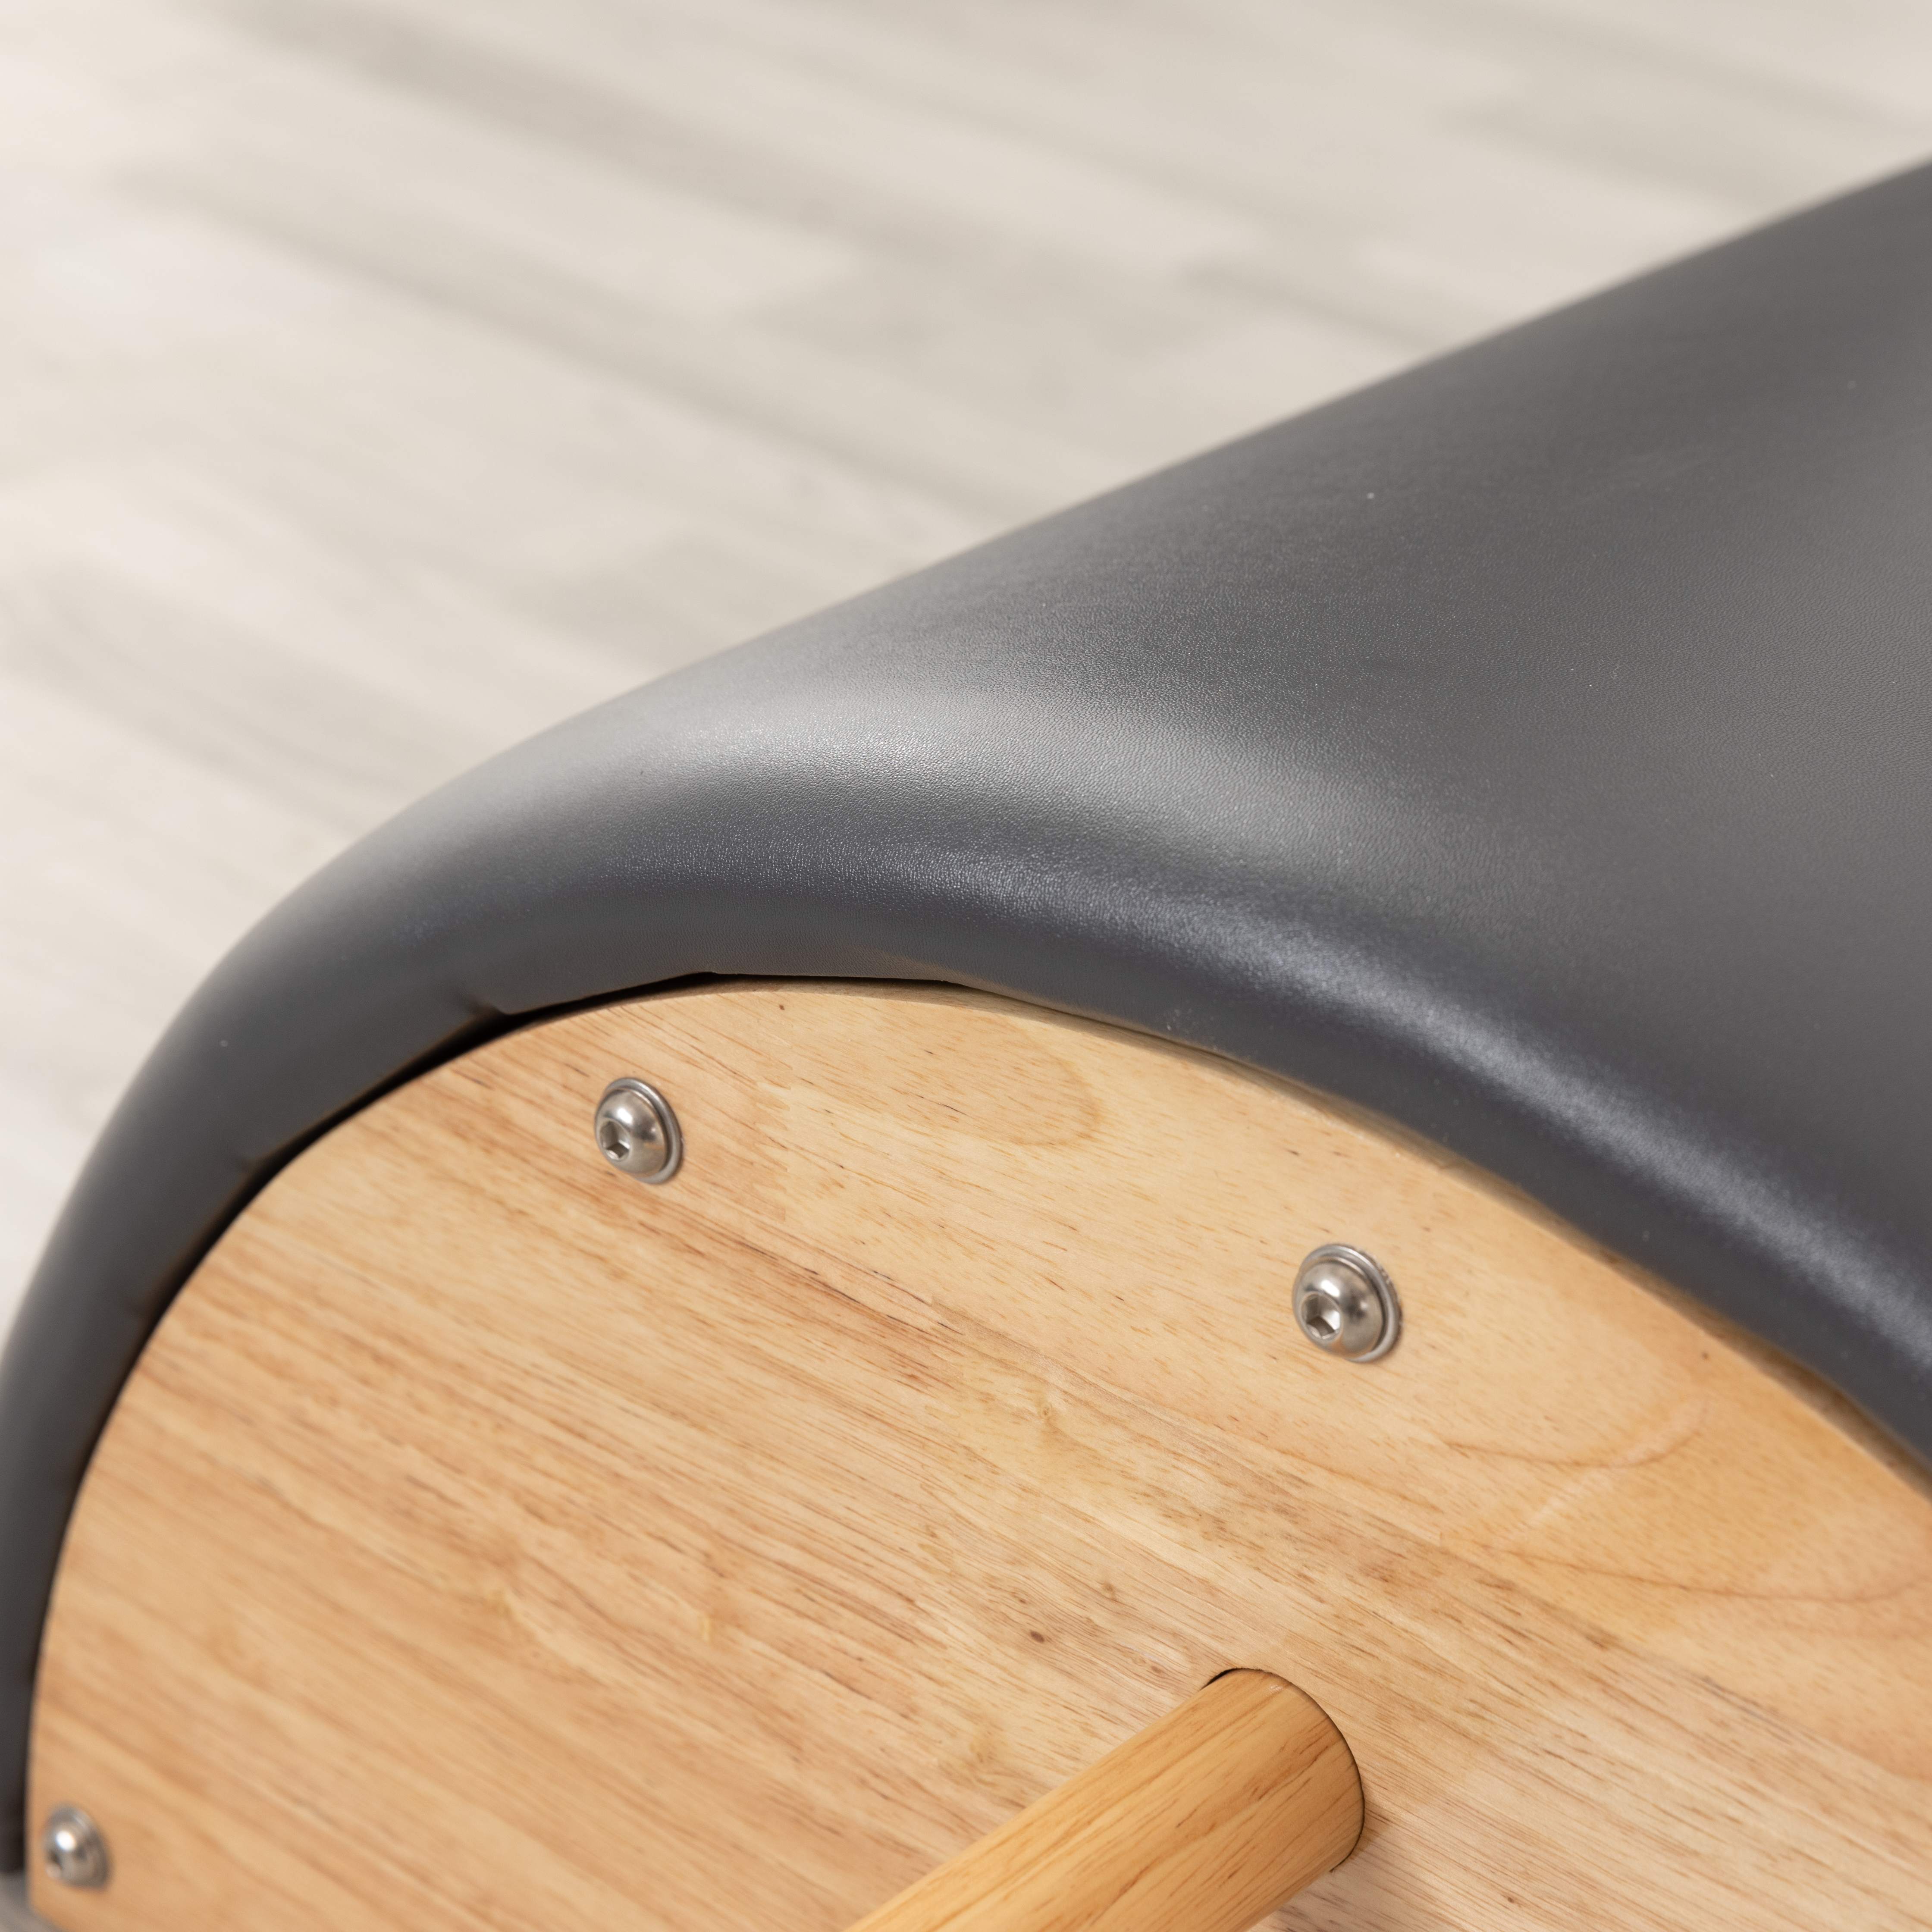
Stitch quality: Check upholstery seams — even, uniform stitching with double-stitching at stress points. Single or crooked stitching will tear within months of use.
Wobble test: Apply lateral force to the frame. Quality equipment is stable and firm; cheap equipment may squeak or twist.
Spring force uniformity: Compare springs with the same rating by hand tension — force differences between same-spec springs on the same machine should be small.
V. First Seven Days to One Month: The Break-In Period
Equipment enters a "break-in" period during the first weeks. Pay special attention to:
Loose screws: New equipment may have fasteners that loosen during transport and early use. Check all visible screws and bolts after the first week.
Spring tension changes: Some low-quality springs may show noticeable tension drop after the first few dozen stretches. If a spring suddenly feels softer, consider replacement.
Increasing noise: If initially quiet equipment becomes noisier after some use, it could indicate inadequate lubrication or premature wear of a component.
VI. Understand the Return Policy
Before confirming receipt, understand the seller's after-sales policy — often overlooked but essential when issues arise.
Warranty scope: How long is the frame covered? Springs? Pulleys? Upholstery? Does coverage include labor and shipping?
Return conditions: What qualifies for return or exchange? Who pays return shipping? Are there time limits for claims?
Keep purchase records: Save order screenshots, payment records, and all seller communications.
Summary: Online Pilates equipment purchases carry less risk of "paying too much" than of "buying wrong and discovering it too late." From unboxing and assembly to no-load testing and break-in observation — inspect at every stage. Remember: the first 24 hours are your inspection window; the first week is your problem-finding period. If you find issues, take photos immediately, communicate in writing, and keep records — these habits will save you substantial after-sales headaches.